Introduzione

The purpose of this guide is to instruct the reader on how to replace the faceplates of their HP iPAQ H2200 device.

  1. PnVDK2Hv5WKMs4kc
    • Press and slide the battery cover tab to remove battery cover.

  2. iNDAU2mPyVI6QHeL
    iNDAU2mPyVI6QHeL
    gd6jVAA1uXxCGb5P
    • Pull on the black tab to lift the battery out of the battery compartment.

  3. 5RLAWONBvnEUBq3t
    • Remove the stylus by sliding it out of the slot.

  4. U5KZBIVRAFYBSmru
    • Remove the CF card by sliding it out of the slot at the top of the device.

  5. VFaMmZrhBNvqlVND
    • Press down and push the black side strips toward the top of the device to remove them.

  6. 2tMuTqwgaHg3GOIK
    2tMuTqwgaHg3GOIK
    JWQUvjCDBkKgfU2T
    OGZVM1t2STBPYARy
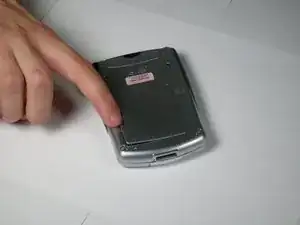
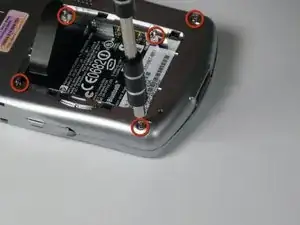
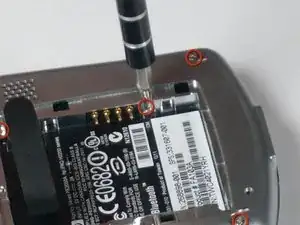
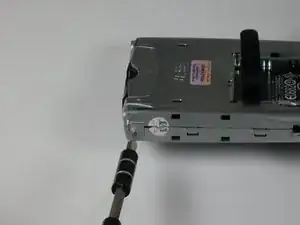
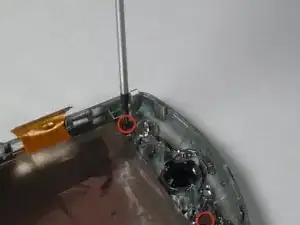
    • Using the T5 Torx screwdriver, remove all six screws on the back and all screws on each side of the device.

  7. ZaIT5jp2NgQrHRlD
    ZaIT5jp2NgQrHRlD
    JktAwnYNoV2YHkX5
    • Remove the back faceplate by pushing and loosening the 4 side slots (2 on each side).

  8. LjQuIPC4dqAUkNIO
    • Open the LCD connector, where the orange strip attaches to the main board.

  9. O4FaPbNyNEdUeVEM
    • Carefully remove the orange LCD strip from the connector.

  10. oTqoQ5JSGVb2ml5F
    • Unscrew the 2 screws located at each top corner of the main board.

  11. qEeBXFCdWA3HfHl3
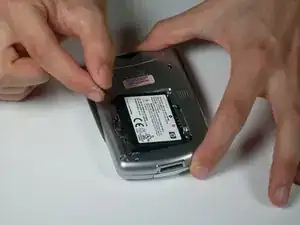
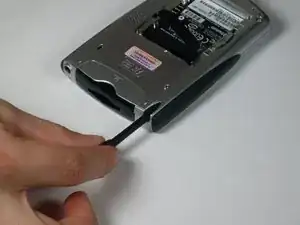
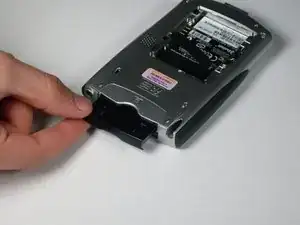
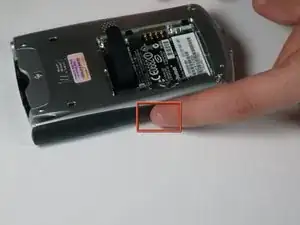
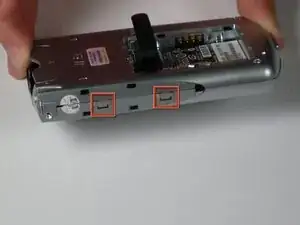
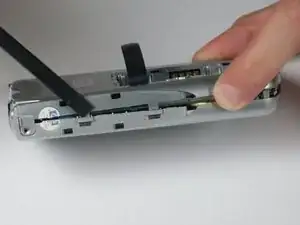
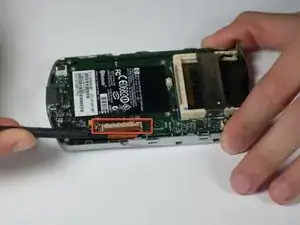
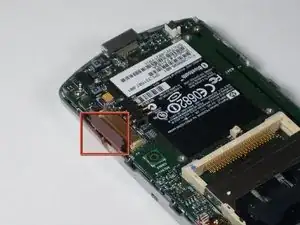
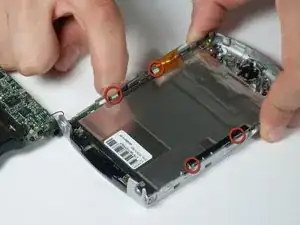
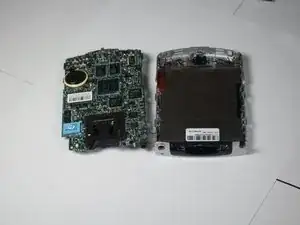
    • Remove the main board by pushing outward on the two tabs located on each side near the bottom of the device.

  12. RdNDOTTsl3XfwU6l
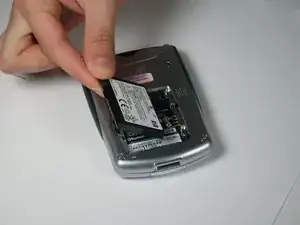
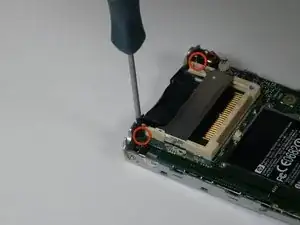
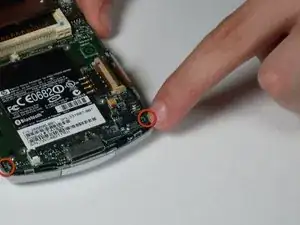
    • Unscrew the two bottom screws on LCD screen that were previously located under the main board.

  13. JBDysPUmLfIthqF4
    JBDysPUmLfIthqF4
    FHYkfSJBMLqQjI6t
    • Press on side tabs to loosen and remove the LCD screen.

  14. mQUO6POu22D3qDxw
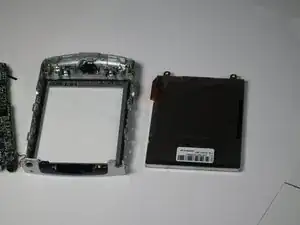
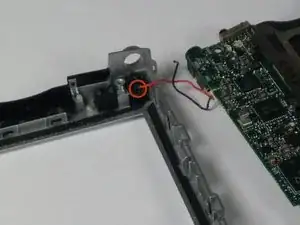
    • Remove the faceplate by unscrewing the green screw located on the top right of the front faceplate.

Conclusione

To reassemble your device, follow these instructions in reverse order.

Tyler Andrews

Membro da: 13/01/10

209 Reputazione

0 commenti