Introduzione
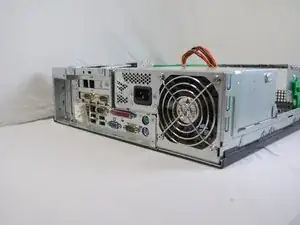
The power supply functions exactly as it sounds, it supplies power to the computer. Some components inside the computer need a direct connection to the power supply whereas others may draw power directly through their connection to the motherboard. Many power supply will have power cables that hang loss inside the case. These loss cables are there in case there are new components added to the computer that need them.
-
-
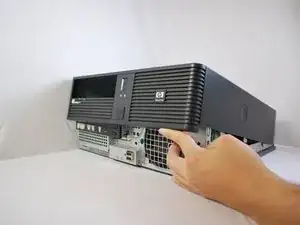
Make sure the computer is unplugged.
-
Make sure all auxiliary cords are disconnected from the desktop. If not, remove them using your hands.
-
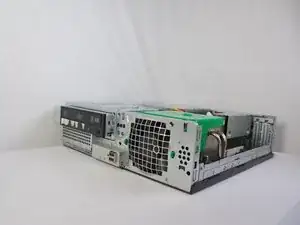
Set the desktop down horizontally with the front side facing you.
-
-
-
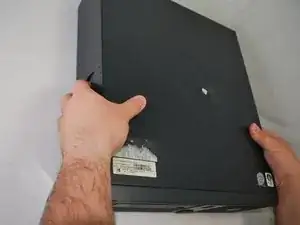
Hold the desktop with two hands by grasping both sides of the desktop.
-
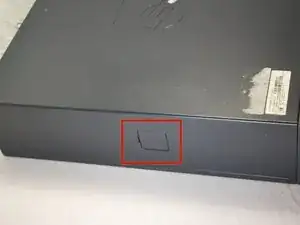
Press the buttons on both sides using your index fingers.
-
-
-
Slide the top cover about an inch forward using your thumb to push it towards you.
-
Make sure that the bottom is still secured by both hands.
-
Lay the desktop back on the table and pull the case forward as far as it can go.
-
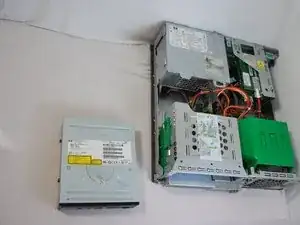
Lift the cover up and off.
-
-
-
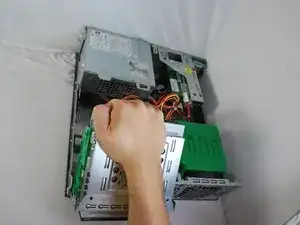
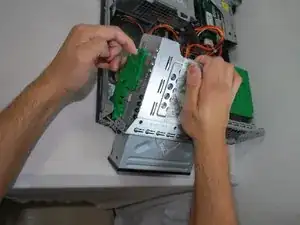
Using your left index finger, lift the upper green tab found on the left side of the green piece.
-
Using your opposite hand, use your fingers to push the back of the drive forward and slide it out away from the desktop.
-
-
-
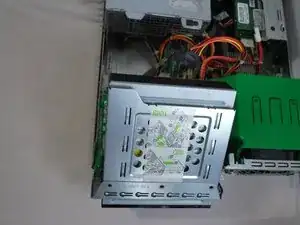
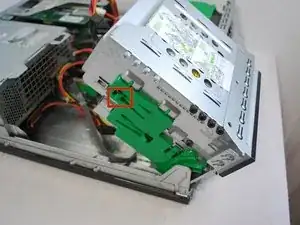
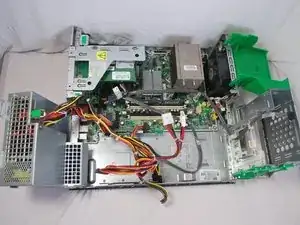
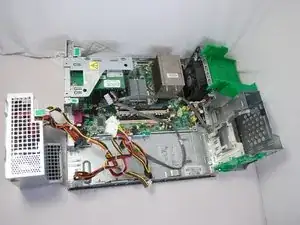
Using your right index finger, press the tab with the green sticker located underneath the power supply.
-
While pressing the tab, lift up the power supply the same way you lifted up the optical drive.
-
-
-
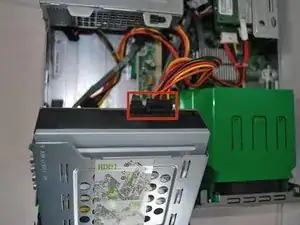
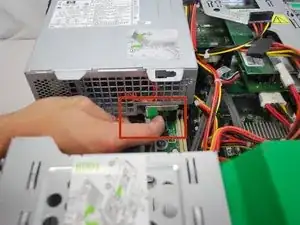
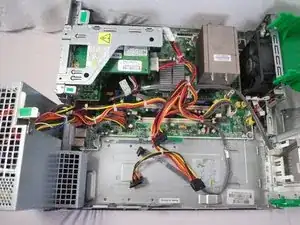
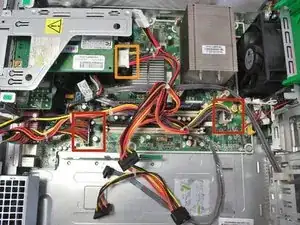
Remove the two cables on the motherboard by grasping the cables with your hand and pulling the cables up and out.
-
Repeat the same process to remove the internal card power cable.
-
This is the same process as preformed when you previously removed the power cables from the optical drive and the hard drive.
-
Some cables may have small clips securing them in place. If so, be sure to press these clips inward using your fingers before pulling them out.
-
-
-
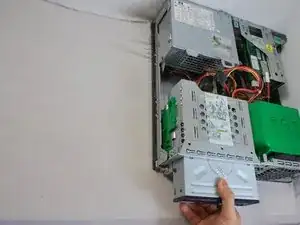
Continue to rotate the power supply to a 90 degree angle pointing upward.
-
Gripping the power supply with your hand, lift the power supply up to remove from the desktop.
-

To reassemble your device, follow these instructions in reverse order.
Un commento
Thank you so very much for this manual! Very clear and easy to understand! Keep up the good work! Much appreciated!
jan 2332 -