Introduzione

  1. XUAqBDBC2kprdewb
    XUAqBDBC2kprdewb
    yy2ASyIbMFrXxKp2
    • It is best to open the case at the rear of the connectors.

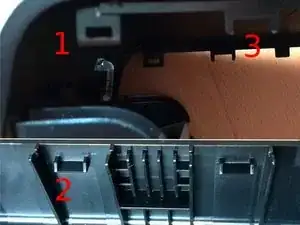
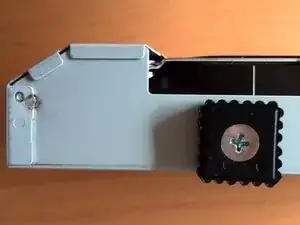
    • The lid has plastic tabs (1) which are stuck in the base (2). They can be loosened by pushing the base outwzards with a flat screwdriver or similar tool.

    • The manufacturer did not intend for the case to be opened, so some damage to the case is to be expected. (3)

  2. 4Nrbt2joLbFaxy4I
    4Nrbt2joLbFaxy4I
    1M5xc5ZLsB32DjCh
    • The hard disk can now be lifted out of the plastic housing. It is not attached any further.

  3. ItUuhqXvZBBqYcQh
    ItUuhqXvZBBqYcQh
    JdJALcqvM1hBFwZV
    oVhZKFbRCKC2MCsI
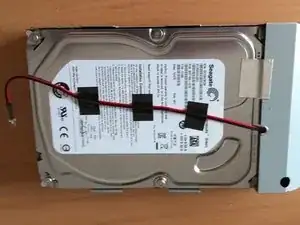
    • Unscrew the side screws.

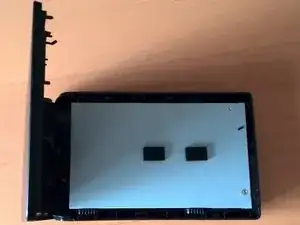
    • Remove the permanently attached cables and stickers from the grease plate.

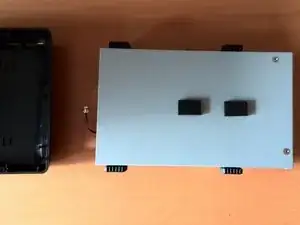
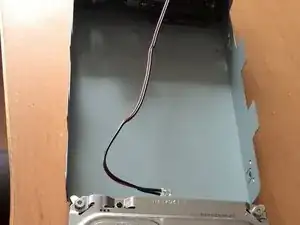
    • Then pull the hard drive backwards with a little force.

    Mine was a GoFlex Desk enclosure. I used the iFixit Essential Electronics Toolkit. I used the iFixit Opening Tool, Spudger and the Jimmy to work my way around the case. The rubber tabs on the side of my case were over the screws. Pry them off, remove the screws and remove the old drive. There were no wires to deal with. Insert the new drive, install the screws and push the rubber tabs back on. One tab hung up when trying to put the drive back into the enclosure. The trick is to push it in evenly so no one tab gets pinched.

    Craig Monsen -

Conclusione

Repeat the steps in order to reassemble your device.

Nicola

Membro da: 29/03/16

61 Reputazione

0 commenti