Introduzione
The motherboard of the headphones is arguably its most important component. Your headphones' numerous parts are connected to and communicate with one another via a motherboard. If necessary, replace this with another guide.
-
-
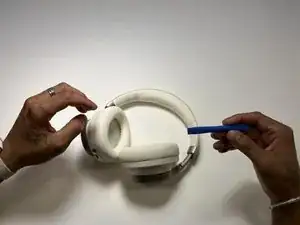
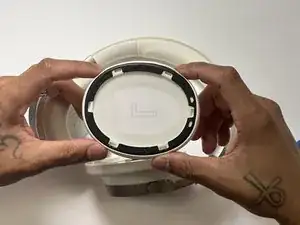
Position the headphones so that you can see the opening for the cushion as you take out your blue iFixIt opening tool. In between the earpad cushion and the headset, place the iFixit opening tool.
-
-
-
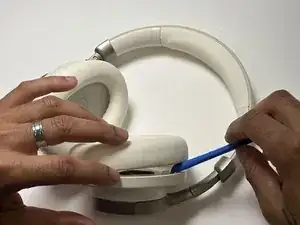
After the earpad cushion has been disconnected from the connectors you can take your new earpad cushion and install it.
-
-
-
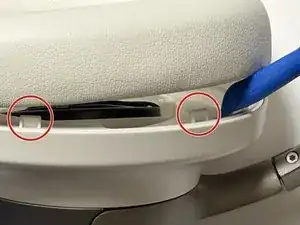
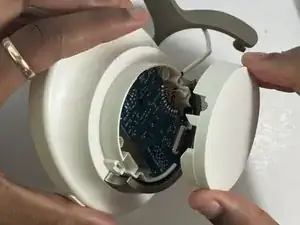
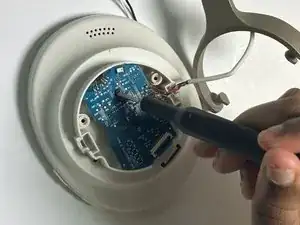
You can see the mother board as it is in the picture if you pull back the stiff white casing. To prevent the tabs from breaking, watch your pressure.
-
-
-
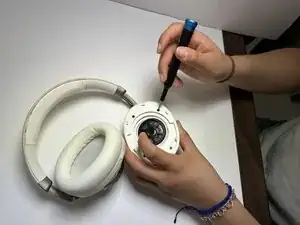
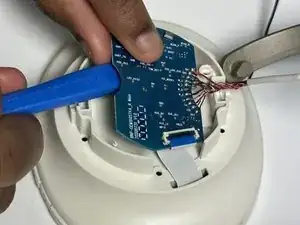
To release the hold on the tab that is attached to the chip, use your ifixit opening tool. To unplug power from the headphones and motherboard, remove the tab away from the chip.
-
-
-
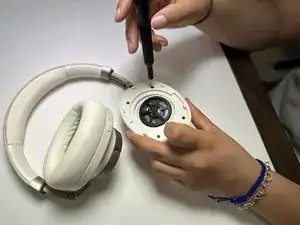
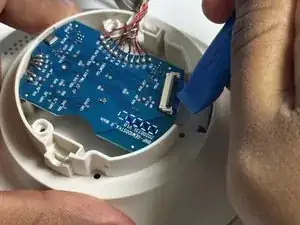
Use the Phillips #00 screwdriver to remove the single 2.4mm black screw from the motherboard.
-
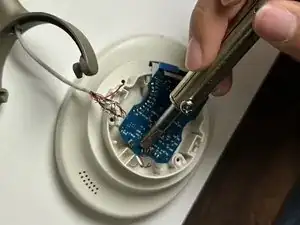
After removal, you can ready to solder the motherboard by using the opening tool to lift it up.
-
-
-
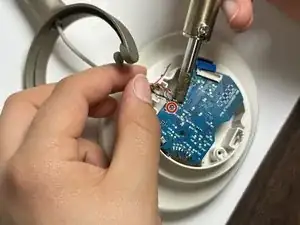
You must wait for your soldering tool to heat up after plugging it into a nearby outlet. Using a soldering tool requires burning the metal circular components connected to the motherboard's circuits. The wiring that was originally attached to the motherboard and the tool will burn when they get hot enough. Burn them away securely.
-


To reassemble your device, follow these instructions in reverse order.
