Introduzione
Did your expensive hockey gloves rip while playing with them, putting a hole in your palm and an even bigger hole in your wallet? Well, do not fret, as this guide to repairing a hole in your hockey glove works for all shapes, sizes, and most importantly, sticks within your budget.
Wear and tear is a natural thing that occurs on hockey gloves as they are used over time. Often, it is possible to repair holes on the palm to avoid having to pay for replacements.
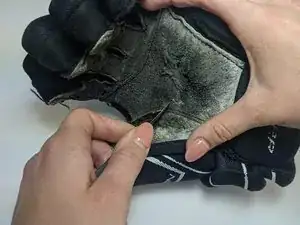
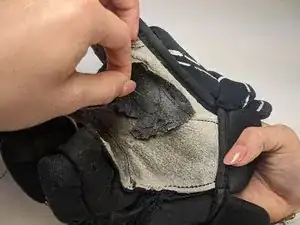
Make sure to inspect the glove before following through with the following steps. It is important to keep in mind that some holes are too large to fix. If the wear covers more than unworn portion of the glove, it may be time to replace the whole palm.
Strumenti
Ricambi
-
-
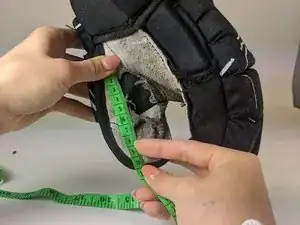
Using measuring tape, measure the dimensions of the hole to approximate how much material is needed.
-
-
-
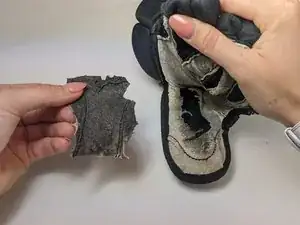
Using the dimensions gathered from the previous step, cut the fabric to size leaving some excess material.
-
-
-
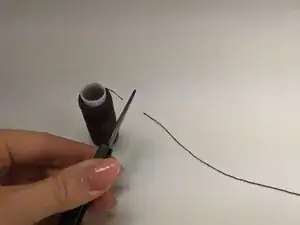
Draw an approximate shape of the hole on the fabric as a guide for stitching using a marking tool that will show up on fabric.
-
-
-
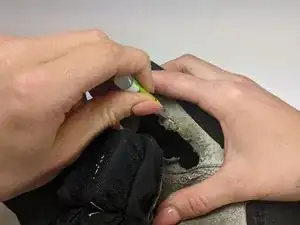
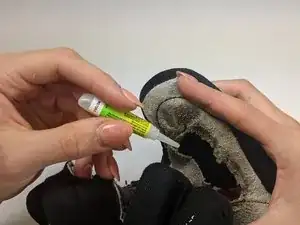
Position the material on the glove to completely cover the hole leaving a bit of overlap.
-
Allow the adhesive time to dry so that the material is firmly stuck to the glove.
-
-
-
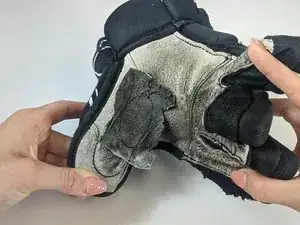
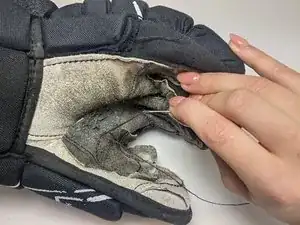
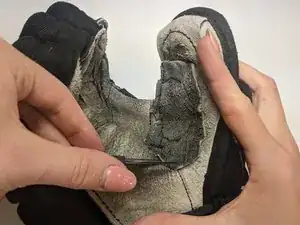
Reinforce replacement material to the palm through hand stitching.
-
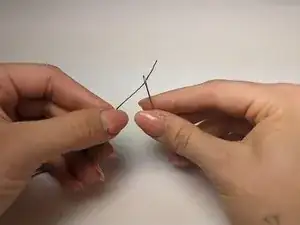
To hand stitch, push the needle through the front of the fabric and pull the thread through. Do the same from the inside of the glove. Continue to weave in and out creating stitches that are as close together as possible.
-

To reassemble your device, follow these instructions in reverse order.