Introduzione

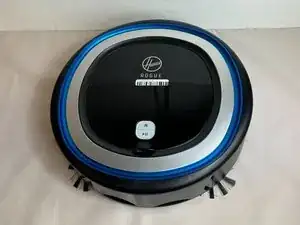
This guide is for the Hoover Rogue 970 (Model BH70970) Smart Vacuum.

Is your Hoover Rogue 970 bumping into walls repeatedly? Is it wandering around aimlessly with no direction? This may be the fix for you! This is a guide to replace your vacuum's sensor!

  1. j2matRB1XYF5I6eD
    j2matRB1XYF5I6eD
    LgwHhUyNRqnHOGKu
    AQtHty11kt2eXy3f
    • Flip the vacuum over so the wall brushes are facing up.

  2. MpsGeD42cHbEaU1A
    MpsGeD42cHbEaU1A
    jNNcFEeHfxslGRLi
    uQsvGIEqjAgUNnVq
    • Remove the two 8.2 mm screws using a Phillips #2 screwdriver.

  3. cmsvdpIOPKDVNCaT
    • Gently lift up on the wall brushes to remove them from the vacuum.

  4. KtBGhNdgvqjowbEW
    KtBGhNdgvqjowbEW
    FZlA3OOVECtAJuGs
    yyJYSKmX4w1REmHZ
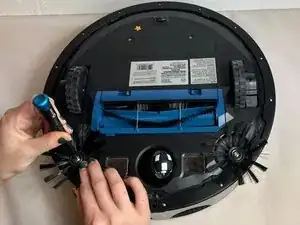
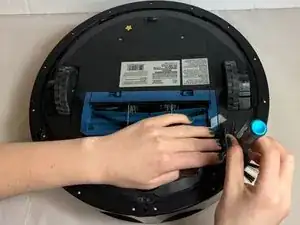
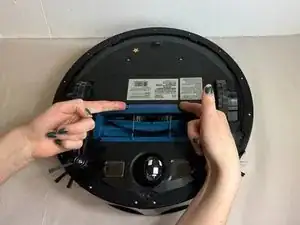
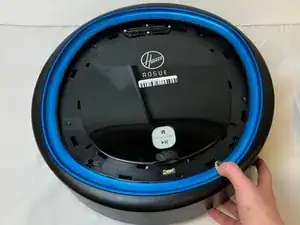
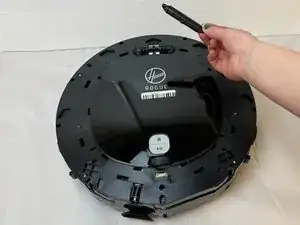
    • Press the buttons on the brush roll cover inward.

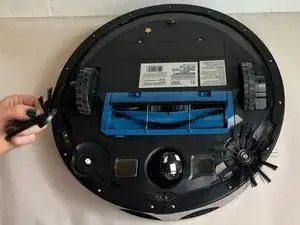
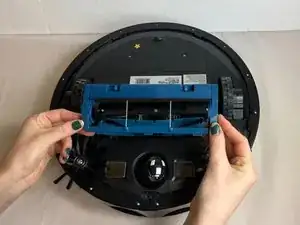
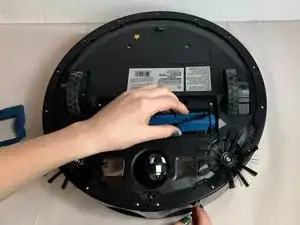
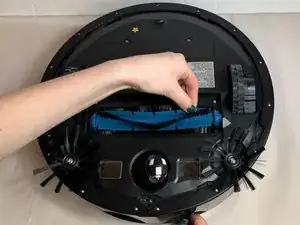
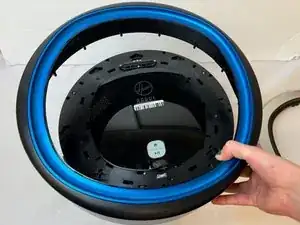
    • Gently pull the brush roll cover away from the vacuum.

  5. VKaOAgl1NCH1saSK
    VKaOAgl1NCH1saSK
    2sLAxbADgb5CSLuO
    Rlm2XvyK4bXlAqic
    • Pull the brush roll straight out of the vacuum.

  6. KLX2NU3ayNvEAgXm
    KLX2NU3ayNvEAgXm
    1QJVlu2XEhgicQi1
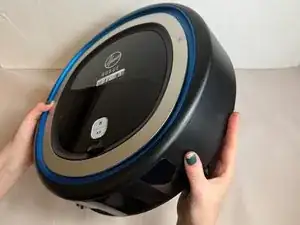
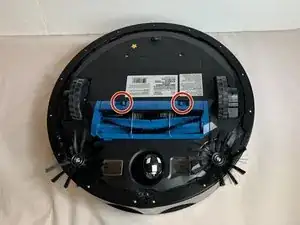
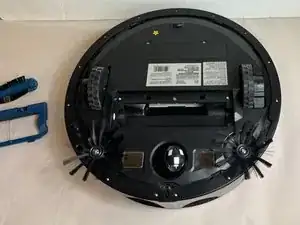
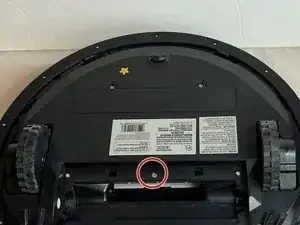
    • Flip the vacuum over so that the underside is facing up.

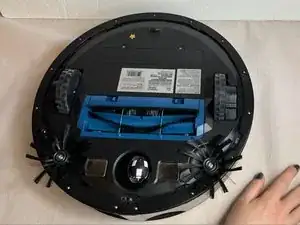
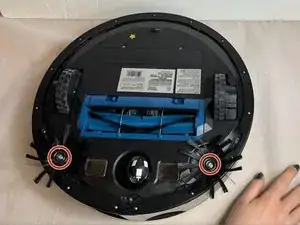
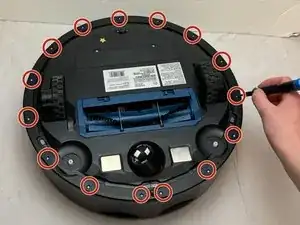
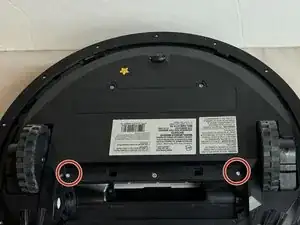
    • Remove the fifteen 9.3 mm screws from the bottom frame with a Phillips #0 screwdriver.

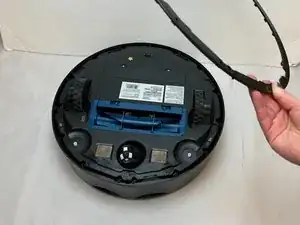
    • Lift the bottom frame away from the vacuum.

  7. bN5DUhNluNZbMItO
    bN5DUhNluNZbMItO
    lipYnUsxsVO2LPlo
    • Remove the two 11.9 mm screws using a Phillips #0 screwdriver.

  8. CBdUoqEwyOllI1FW
    CBdUoqEwyOllI1FW
    YyjfWBuRhKuvEuOT
    • Remove the single 5.9 mm screw using a Phillips #0 screwdriver.

  9. ST12Y1SLTAc4gJYR
    ST12Y1SLTAc4gJYR
    Yt56heqQoHgb12QO
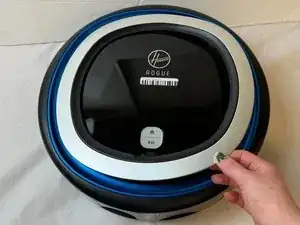
    • Flip the device over so that the top side of the vacuum is facing up.

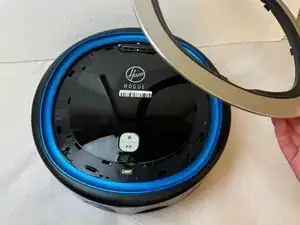
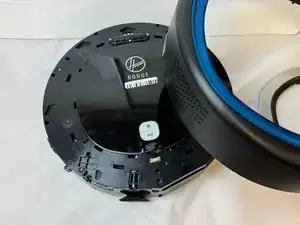
    • Firmly pull the silver face-plate away from the vacuum.

  10. UIvABraISXf6W1km
    UIvABraISXf6W1km
    ZF2XlSwcVUWFHIM5
    UsGKjHbVAJe2oOcL
    • Firmly pull the surrounding black and blue cover away from the vacuum.

    • You may need to clasp the vacuum with both hands on opposite sides of the device. Place both thumbs exerting pressure on the center of the device while firmly wrapping your remaining fingers around the edges of the surrounding cover.

  11. uQYAIVblyVSU2mlN
    uQYAIVblyVSU2mlN
    VmiArDsBCpIAYVjK
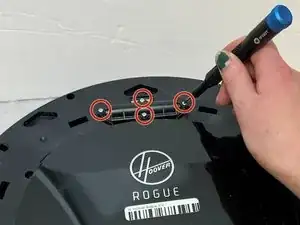
    • Remove four 8.7 mm screws using a Phillips #0 screwdriver.

    • Pull the top cover with the 'Hoover Rogue' markings away from the vacuum.

  12. rqYoPLToFJkUYLok
    rqYoPLToFJkUYLok
    IBEZXWSLdxBStDNf
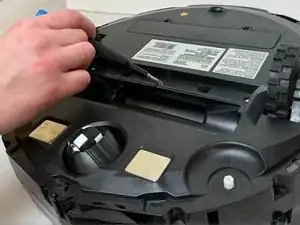
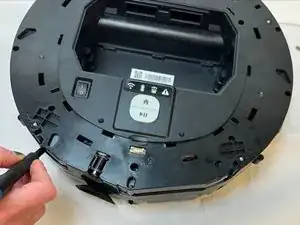
    • Remove the eight 15.8 mm screws from the vacuum using a Phillips #0 screwdriver.

    • Gently pry along seam with an iFixit opening tool in order to break the glue seals.

  13. DVFEXflHKYKG2Y6D
    DVFEXflHKYKG2Y6D
    uKPNYTNWFjtqQvj5
    vg23qp6vgWg3MKcv
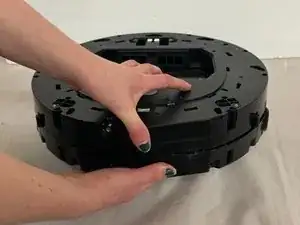
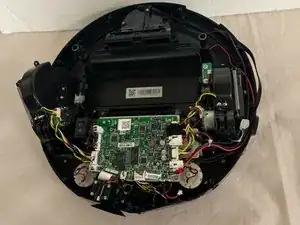
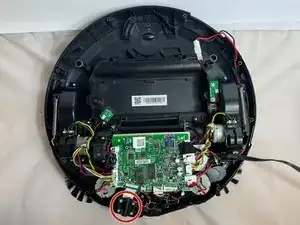
    • Firmly grasp the top and bottom portions of the vacuum with each thumb exerting pressure in opposite directions.

    • The device may be glued together making it difficult to pull the vacuum apart. Use of an opening tool may be appropriate to avoid injury to yourself or the vacuum.

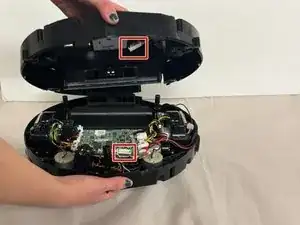
    • Disconnect the motherboard from the base assembly.
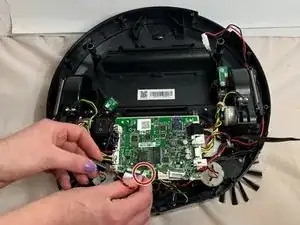
  14. OSOGZASP6FcodYlf
    OSOGZASP6FcodYlf
    3ZegiKIbJZYArULy
    HjDSAHPXyGipVRDj
    • Locate the sensor.

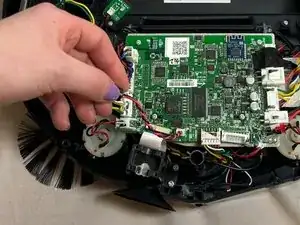
    • Remove the four 12.5 mm screws with a Torx TR7 screwdriver.

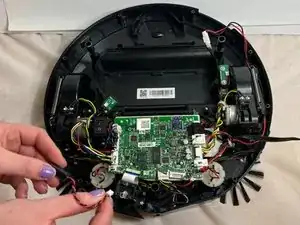
    • Lift the sensor up and away from the device to access the white power cable connecting the sensor to the circuit board.

  15. WKrKIhZfkCDShj2Q
    WKrKIhZfkCDShj2Q
    DnkNOQGWRgFgExhp
    BXexSwNhkFRR3FOW
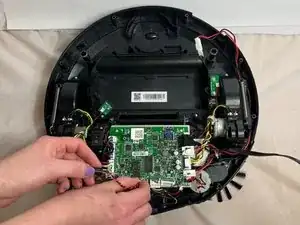
    • Disconnect the white power cable that connects the sensor to the circuit board.

    • You may find it helpful to place your other hand's index finger and thumb firmly on the white tab to secure it, avoiding injury or damage to the vacuum.

    • Lift the disconnected sensor away from the vacuum.

Conclusione

To reassemble your device, follow these instructions in reverse order.

Austin Killstrom

Membro da: 25/09/23

135 Reputazione

0 commenti