Introduzione
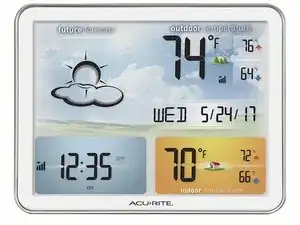
Array Sensor
"The sensor itself is ergonomically designed – simple remote style machine with a small hanger on the top. Capable of being hung either via a screw, nail, or small strings, you can put this sensor wherever you think best – such as a porch, outside wall, or even a tree branch. ." -Weather Station Experts Review
Additional Information
Manufacturer's Website: AcuRite 02081M
-
-
First, unscrew the 4 M2x1.5-7 screws (7mm length) from the back of the device using a number 1 Phillips screwdriver.
-
Pry the front silver panel away from the back black panel with a plastic opening tool.
-
-
-
Next, the ribbon cable needs to be carefully removed from the back of the LCD screen.
-
Use a plastic opening tool to press the black bar towards the ribbon and away from the white bar gently. This will release the ribbon.
-
-
-
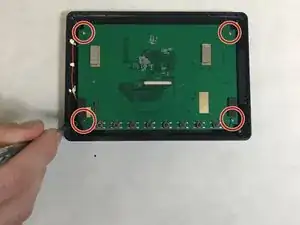
Remove the 4 M2x1.5-7 screws (7mm length) from the green PCB board.
-
This will result in two pieces, the back black cover and the PCB board.
-


To reassemble your device, follow these instructions in reverse order.