Introduzione

Many people, in all fields of career and studies, use books. Whether you are a college student renting a textbook or a person who loves to read in their downtime, books can get expensive and damaged easily. They are prone to tearing, whether it be from old-age fragility to improper care.

This repair guide is the perfect tool for those who wish to repair torn pages using household items and minimal time. Your pages will look good as new, and it can all be accomplished in a few easy steps.

It is recommended to not use an excessive amount of fabric glue during the repair, as this may make it difficult when removing the wax paper later in the process. In Step 4, the use of a paintbrush and fabric glue requires the skills of precision and accuracy, so be sure to remove excess glue and instead apply only in necessary areas.
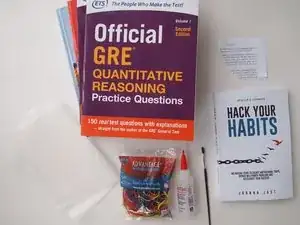
  1. rR3doyBBHZFGKQJc
    • Lay out all of the equipment needed for the repair.

  2. OxWbZqfFQC3ZDZmW
    • Place one piece of wax paper behind the torn page.

    • The wax paper is used to protect the other pages from the glue.

  3. 24cUO1EeLNiofbdu
    • Be very careful in aligning the torn piece with the page, as realignment after gluing will be difficult.

    • Make sure to align the torn pieces precisely. Placing them too closely or too far apart may create an issue in reading the pages later.

    • Align the torn pieces, so they connect the images/text accurately and neatly.

    • You may use a clamp to hold the torn pieces together to make gluing easier.

  4. ZuGaC4K2vhWvPFH3
    ZuGaC4K2vhWvPFH3
    ZENXndZpjQ2YJ5hf
    kNjHDifRJRM1VQCZ
    • Do not apply too much glue, only enough to evenly cover the tear between the page and the torn piece.

    • Remove any excess glue to prevent the pages from sticking to the wax paper.

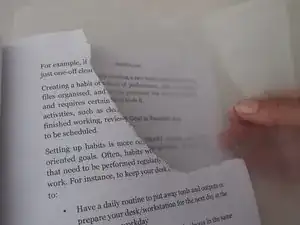
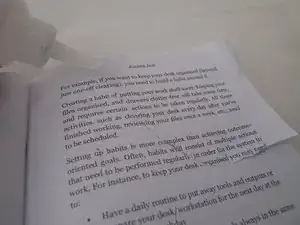
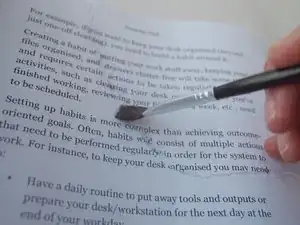
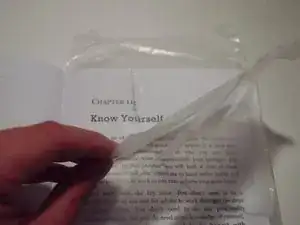
    • Grab the fabric glue and squeeze a line of glue all the way along the crevice (tear).

    • Use a small paintbrush to apply a moderate amount of glue along the edges of the ripped areas.

  5. WHNGHqSCJAPek5Gx
    • Place the second sheet of wax paper on top of the page you just glued.

    • Be careful when placing the wax paper on top of the wet glue. Moving the wax paper around will make the glue smear.

  6. CmtCtiAhl1BIQOUd
    • Wrap the closed book with several rubber bands to squeeze and compress during drying time.

  7. 2BkB1JRsBhW4uDYl
    2BkB1JRsBhW4uDYl
    Jv2bkujqNBHvjERW
    • You can also use several books or other heavy items to add extra weight.

  8. xrAnowyYVi52hYAK
    xrAnowyYVi52hYAK
    y4ATCxn1TKhR2RVY
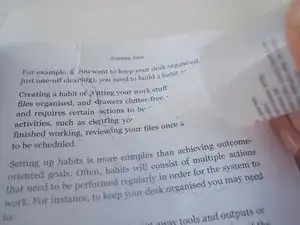
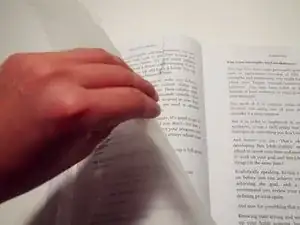
    • Let the glue dry for 6 hours minimum to ensure that it dries completely.

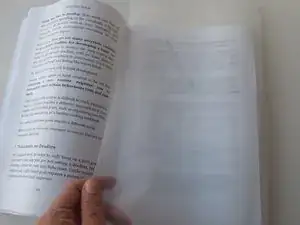
    • Carefully peel the top sheet of wax paper first, and then remove the bottom one afterwards.

Isa Camacho

Membro da: 16/09/19

190 Reputazione

Un commento

Thanks for article!

Alex White -