Introduzione
This simple guide is intended to help with adjusting skirt length using a sewing machine. If a purchased skirt feels too short to wear then the steps outlined in this guide will help in adjusting the skirt to your desired length. The material that will be added to lengthen the skirt should be a thin material to ensure that the fall of the material looks more natural.
Strumenti
-
-
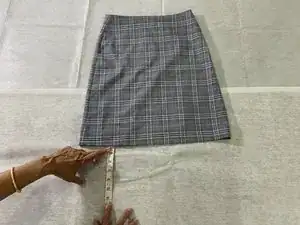
Try on your skirt and measure to your desired length.
-
Mark the preferred length with chalk.
-
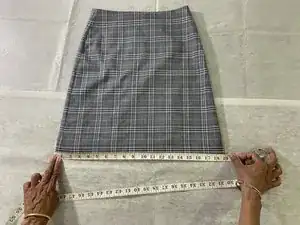
Next, measure the width of the skirt.
-
-
-
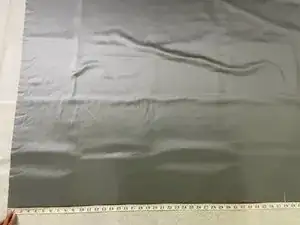
Lay out the fabric.
-
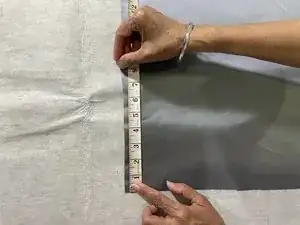
Use the sewing tape to measure the required width of the skirt which would be the width of the skirt x2.
-
Use the sewing tape to measure the required length which would be the length of the skirt plus 2 inches.
-
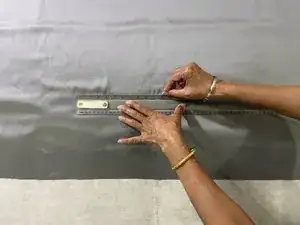
To ensure a straight line is cut, make chalk markings on the left side, the middle, and the right side. Use chalk and a ruler to make a connected line.
-
Use sewing scissors to cut the material in line with the chalk marks.
-
-
-
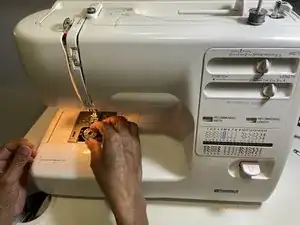
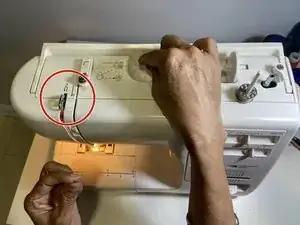
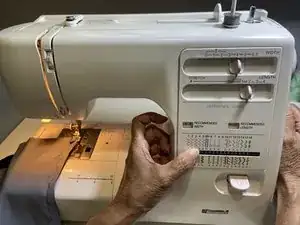
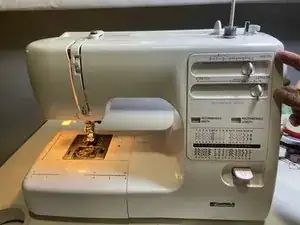
Insert matching thread into the sewing machine.
-
Ensure that the thread chosen is based on the diagram on the cover of the machine.
-
-
-
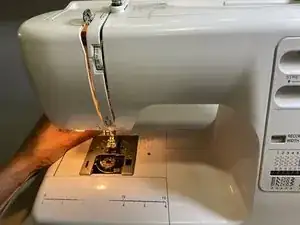
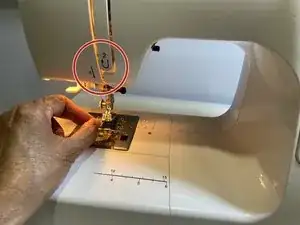
For the next thread roll, use the four numbers on the sewing machine to guide the thread through.
-
-
-
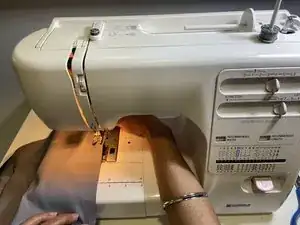
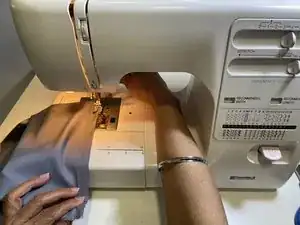
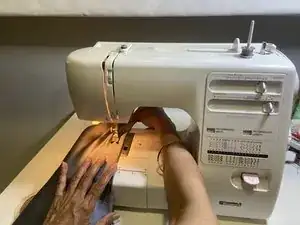
Set the sewing machine to straight stitch and join the front and back material together by running the material through the sewing machine.
-
-
-
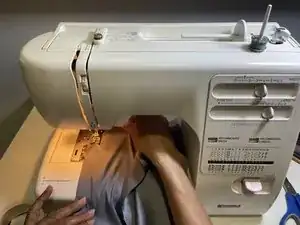
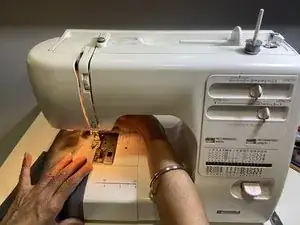
Set the sewing machine to zig-zag stitch and use the setting over the joint area to sew in any loose threads from the material.
-
-
-
Keep the sewing machine at zig-zag stitch and use the setting on one side.
-
Start sewing the side that is considered the top of the additional material. This side will be attached to the skirt in later steps.
-
-
-
Set the sewing machine to straight stitch and to to the longest and width length to the widest it can go.
-
This will keep the thread loose which will help in the next step when making gathers.
-
-
-
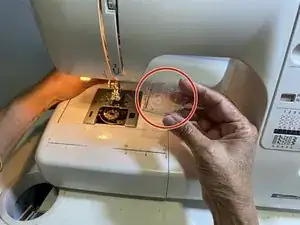
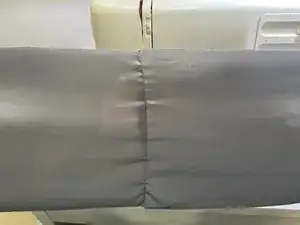
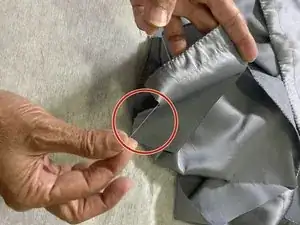
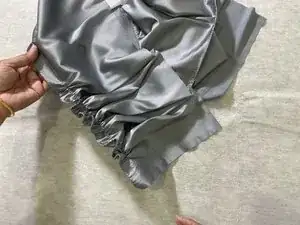
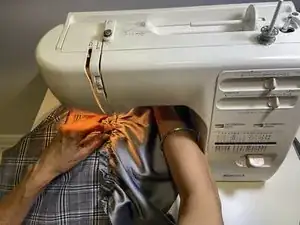
There will be two threads hanging from the material. Pull the bottom thread (bobbin thread) to make the gathers. Make sure to pull the thread until the length of the material fits the width of the skirt.
-
Next, continue using straight stitch but adjust stitch length and width to the normal range.
-
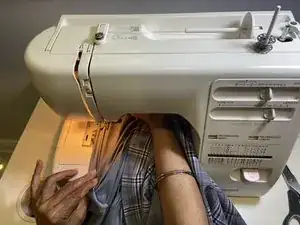
Attach the material to the skirt.
-
-
-
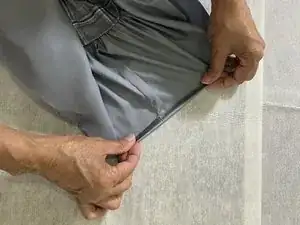
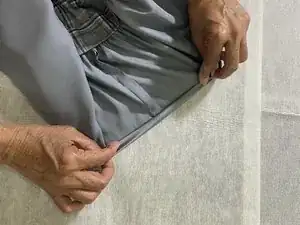
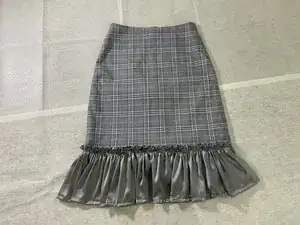
For the bottom of the skirt, fold it over ¼ inch twice to make the material look more put together.
-
Continuously hold the fold down and then apply a straight stitch around that side to complete the skirt.
-

To reassemble your device, follow these instructions in reverse order.