Introduzione
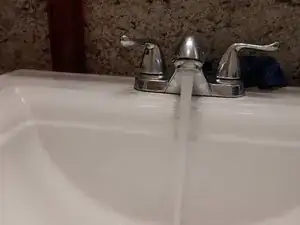
If your sink is slow to drain or is not draining, the cause may be a clog in the P-trap. Use this guide to disassemble and clear any clogged hair and soap scum from the P-Trap.
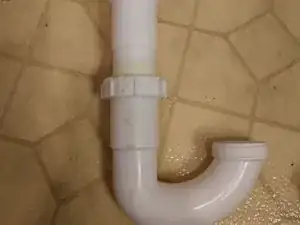
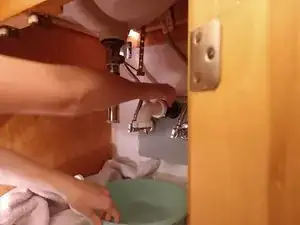
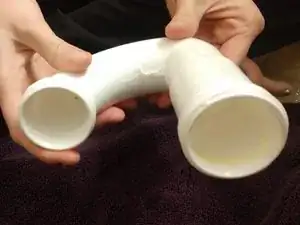
The P-Trap is P shaped piping that directly follows the drain stopper and is usually located in the cabinets below a sink. The P-Trap is mainly intended to hold water in the bend with the intent of blocking foul smelling air from deeper within the plumbing of a house from coming out through the sink. It also serves the secondary purpose of catching small items dropped into the sink and allowing them to be retrieved.
Before beginning, ensure water to the sink being worked on is shut off and that your workspace is prepped for any potential spills.
Strumenti
-
-
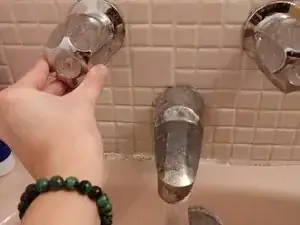
Clear out the space if the trap is located in a hard-to-reach place.
-
Turn off the water valve for the sink.
-
-
-
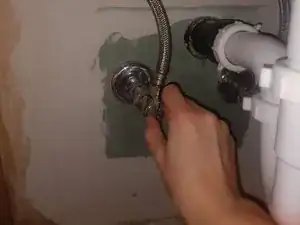
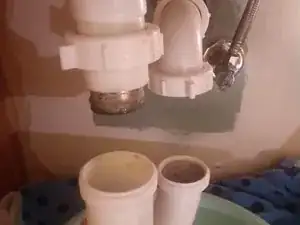
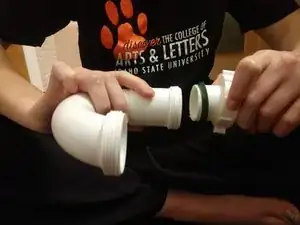
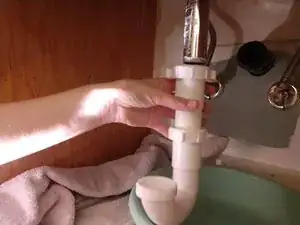
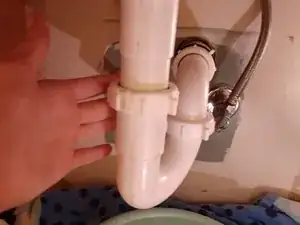
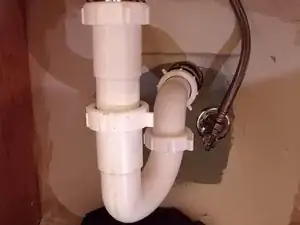
Loosen the nuts on the upper and lower pipe and disconnect the the P-trap.
-
Remove the U shape from the piping, and dump any water into bowl.
-
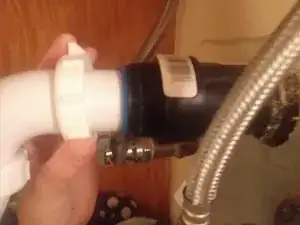
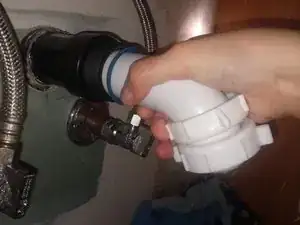
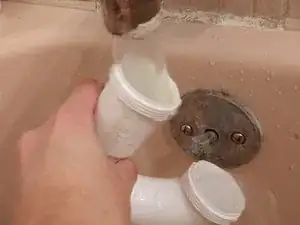
Pull the PVC pipe that is connected to the wall out horizontally.
-
Pull the PVC pipe closest to the drain in a downward motion.
-
-
-
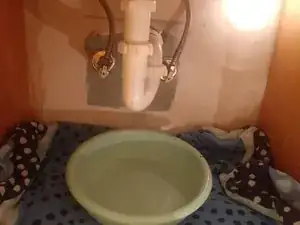
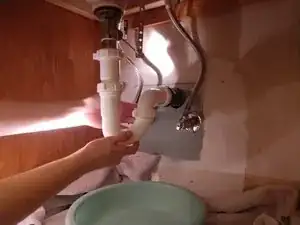
Empty any water into a bucket.
-
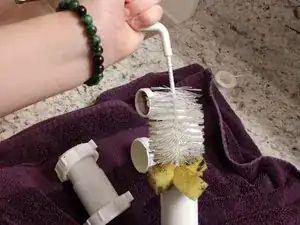
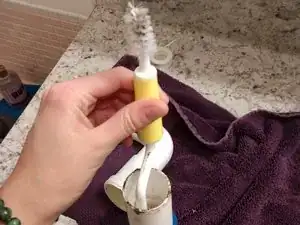
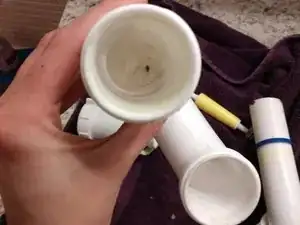
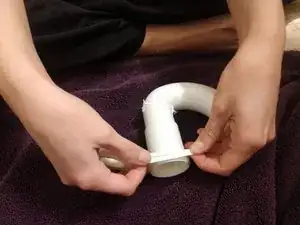
Clear out the interior of the PVC pipe using a bottle brush or wire, spinning and moving the brush through the pipe.
-
Remove any soap scum.
-
-
-
Using a different water source, run the hot water through the P-trap parts.
-
Check that the P-Trap parts are clear.
-
-
-
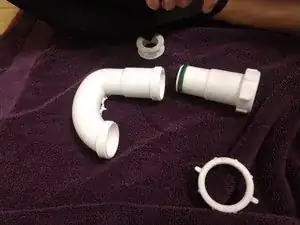
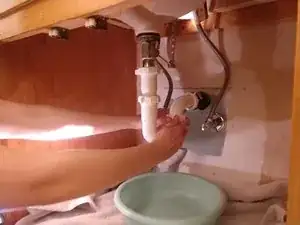
Reassemble the trap, but leave the horizontal pipe disconnected.
-
Insert the short pipe into the the U shape and loosely tighten the nut.
-
-
-
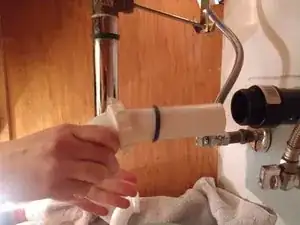
Insert the horizontal pipe back into the water output in the wall. Begin to tighten the nut closest to the wall.
-
-
-
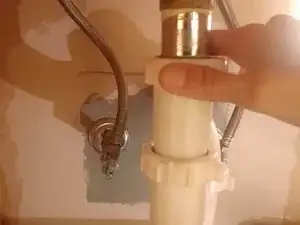
Insert the top of the P-trap back onto drain pipe.
-
Align the pipes so the pipes are touching.
-
Once aligned, secure all the nuts tightly.
-
-
-
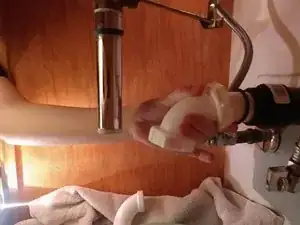
Turn the water valve back on to check the P-Trap for leaks.
-
Run hot water for 30 seconds or more, and use your hand to feel for any leaking.
-
If you do, identify which section is leaking and tighten the nut.
-
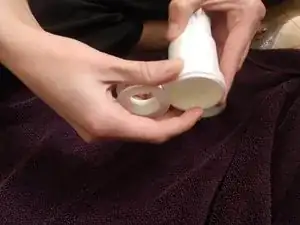
If it continues to leak, you may need to use threading tape, which is shown in the next step.
-
-
-
Take the P -trap off after locating the leak.
-
Use the threading tape on the PVC pipe to help the nuts tighten. Simply wrap the threading tape around the threading on the pipe where the leak was found.
-
Put the PVC P-trap back on and tighten the nuts.
-
Turn the water back on as you check for leaks.
-
-
-
Put the P trap back into place.
-
Give the P-trap one more look to ensure all the nuts are tightened.
-
Double check alignment and you are finished.
-


To reassemble your device, follow these instructions in reverse order.