Introduzione

Use this guide to remove the blower housing of your Whirlpool Dryer.

The Blower Housing allows you to gain clear access to the motor for testing.

This technique is the prerequisite to any motor testing or replacement.

  1. j5WuYKZKI1NqScK5
    j5WuYKZKI1NqScK5
    Qk1fOAmrkBw2Ogq6
    • This step shows the thermal fuse location and appearance.

  2. mDXDPYf63yRakYXo
    mDXDPYf63yRakYXo
    JW1EYP5mQSXJVhZg
    rJLsZC3BTrx4xDM6
    • Disconnect the two spade connectors attached to the thermal fuse.

    • Always remove wires by pulling on the connector, not the wire.

  3. dDnjrG22SU1FSWVK
    dDnjrG22SU1FSWVK
    XDO1xt4eKY5THQYE
    3YfkvSulBHtLCrBU
    • Disconnect the two spade connectors attached to the outlet thermistor.

  4. G36hGumqrDYlOfD6
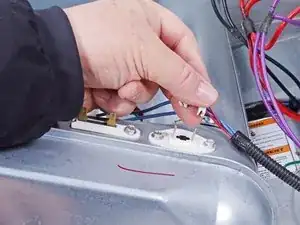
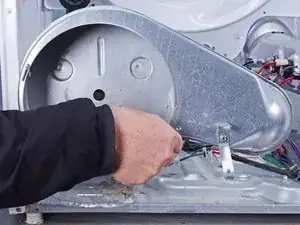
    • Remove the sheet metal screw securing the vent pipe to the blower housing.

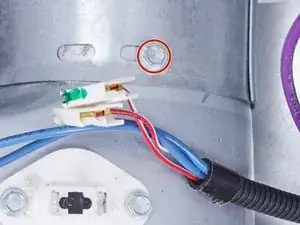
    • Remove the vent pipe by sliding it toward the rear of the dryer to free it from the blower housing.

  5. cNheZoYLKYlFDdBJ
    • Remove the sheet metal screws securing the blower housing.

  6. UQRT5fxXJRDVaytN
    UQRT5fxXJRDVaytN
    jRPvHgVLaADuFTIA
    cmj2U2JcCiVZTJoC
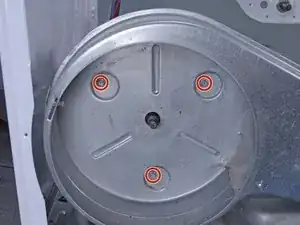
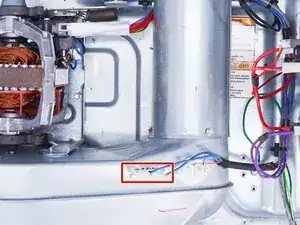
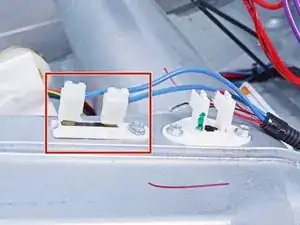
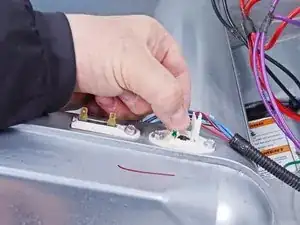
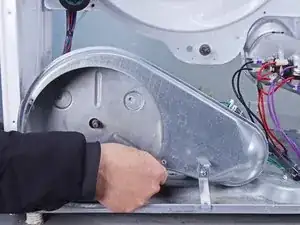
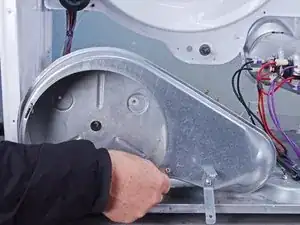
    • Move the blower housing toward the front of the dryer about 1–2 inches to clear the motor shaft.

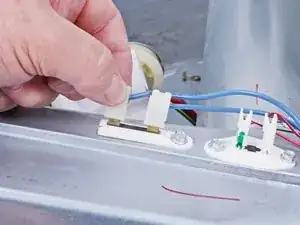
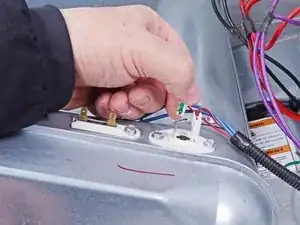
    • Lift the blower housing up and away to remove it.

Conclusione

To reassemble your device, follow these instructions in reverse order.

Repair didn’t go as planned? Ask our Answers community for help.

Bill Gilbert

Membro da: 30/06/22

29837 Reputazione

0 commenti