Introduzione
-
-
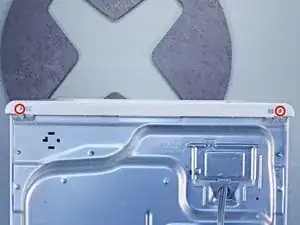
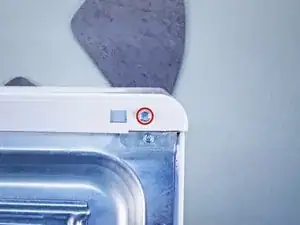
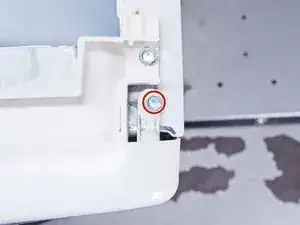
Use a 5/16 inch nut driver to remove the two 15.7 mm-long screws securing the top panel to the rear panel bracket.
-
-
-
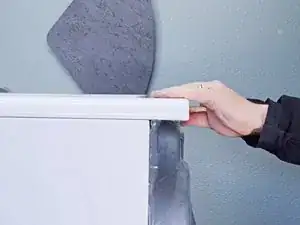
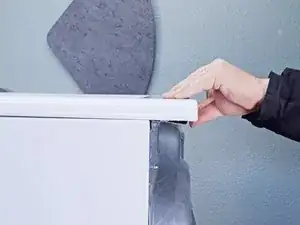
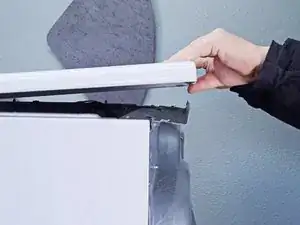
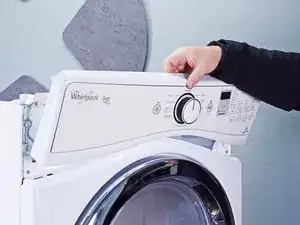
Lift the top panel upward to separate it from the chassis.
-
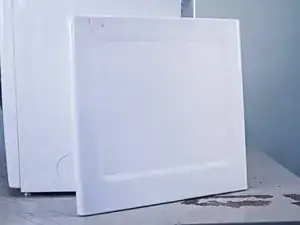
Remove the top panel from the machine.
-
-
-
Use a 1/4 inch nut driver to remove the two 16.3 mm‑long sheet metal screws located at each end of the control panel.
-
-
-
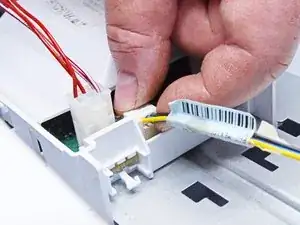
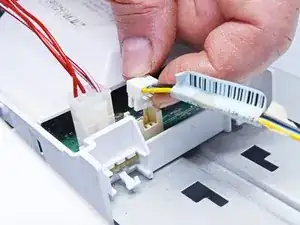
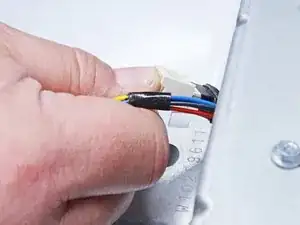
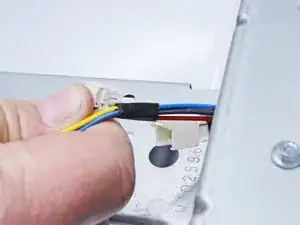
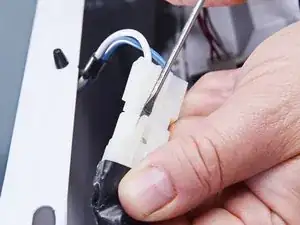
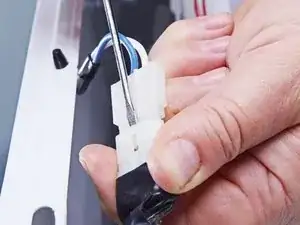
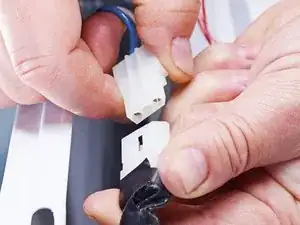
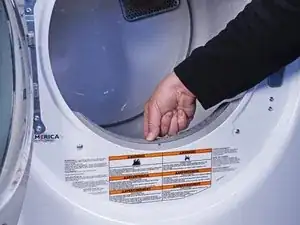
Use a small flat blade screwdriver or a spudger to unlatch both sides of the door switch connector.
-
Unplug the connector.
-
-
-
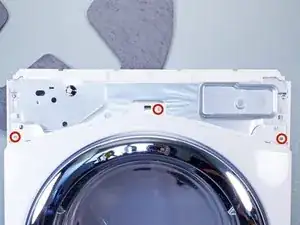
Use a 1/4 inch nut driver to remove the three upper front panel 16.4 mm-long sheet metal screws.
-
Tilt the machine backwards and prop it securely, or have a friend hold it.
-
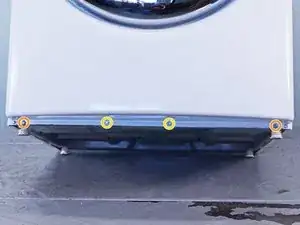
Use a 1/4 inch nut driver to remove the four sheet metal screws on the bottom edge of the panel:
-
Two 16.4 mm screws
-
Two 13 mm screws
-
-
-
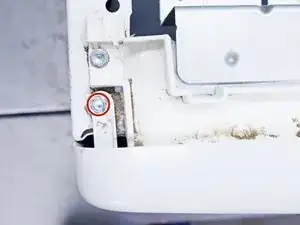
Use a Phillips driver to remove the two 15.8 mm‑long screws inside the door area below the drum opening.
-
-
-
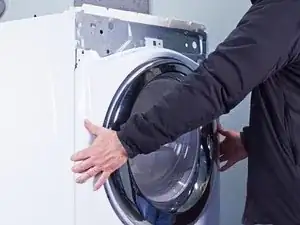
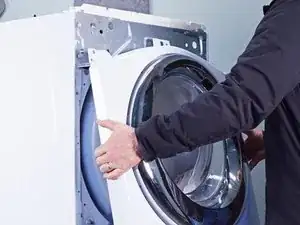
Pull the bottom of the panel away from the chassis about two to three inches.
-
Lift the front panel off the small tabs on the chassis near the top of the panel and remove it.
-
-
-
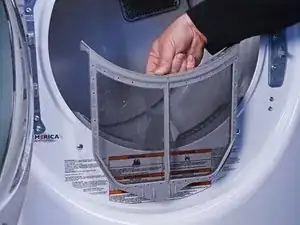
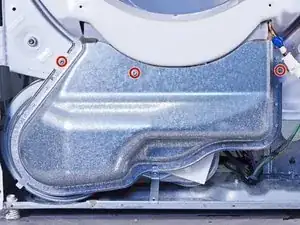
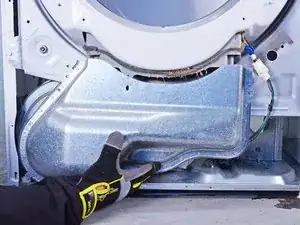
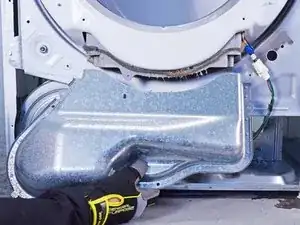
Use a 1/4 inch nut driver to remove the 16.4 mm‑long mounting screws securing the lint filter housing.
-


To reassemble your device, follow these instructions in reverse order.