Introduzione
If you experienced water damage under your sink cabinet but it is still intact, this guide will show you how to restore the area under your sink so you don't have to call a repair person.
Before using this guide, inspect the area for additional leaks. You will want to make sure water is not leaking before beginning this guide or your work will be ruined potentially. Typically, if you have some water damage and can repair the leak then you can dry out your cabinet with a fan or even leave the cabinet open and dry it out for 24 hours before restoration.
Step 2 requires you to sand. I would recommend you wear gloves if you are sanding by hand.
Before beginning, here is a link to a video demonstrating repair for more severe water damage where you would need to replace a rotten sink floor.
Strumenti
-
-
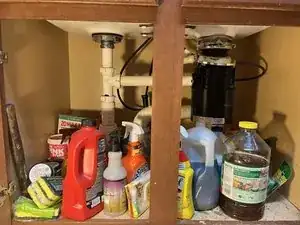
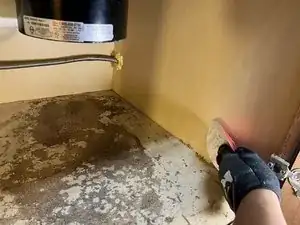
Remove all items from under your sink.
-
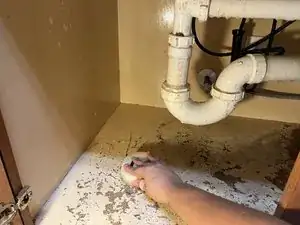
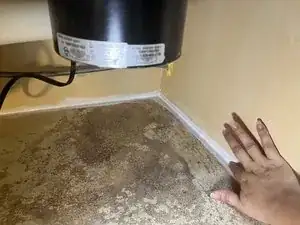
Test for water leaks by gently pressing the cabinet with your fingers and seeing if it's wet and by looking for drips from the sink.
-
Clean the cabinet using a sponge or cloth with a cleaner or disinfectant of your choice.
-
-
-
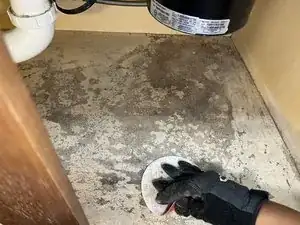
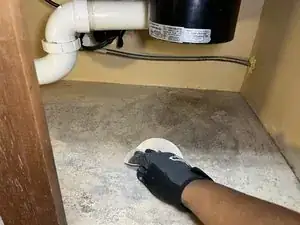
Use work gloves to sand the cabinet.
-
Use 100-grit sandpaper to sand the interior of the cabinets using a circular motion.
-
Sand until you can move your hand across the cabinet, and it feels smooth.
-
Clean the sand dust from the cabinet with a damp cloth or sponge.
-
-
-
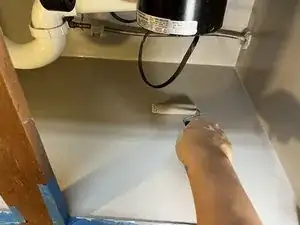
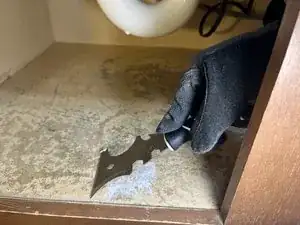
Apply wood filler with a paint tool making sure you don't apply too much of the filler.
-
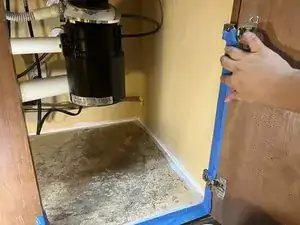
Use painter's tape to mark the areas that you don't want paint on.
-
-
-
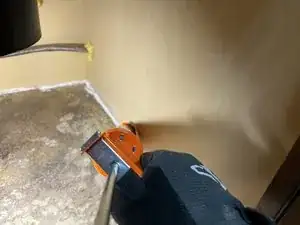
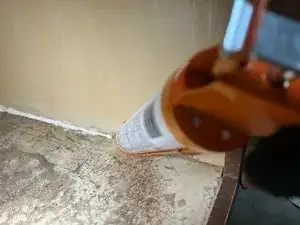
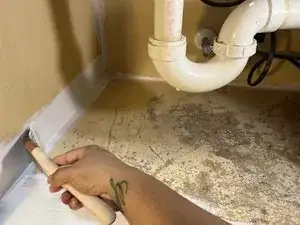
Use a caulking gun to seal the edges of the base. Gently press down on the applicator and follow the perimeter of the cabinet.
-
Use your finger to wipe all excess caulk off.
-
Let it dry for 30 minutes.
-
-
-
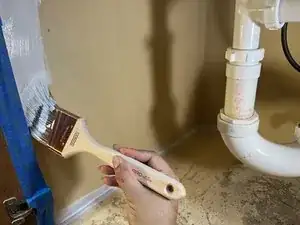
Use an angle brush to paint all the edges with primer.
-
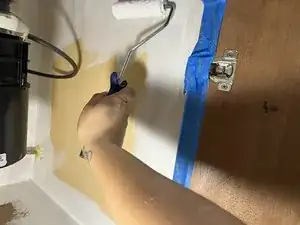
Use a roller to paint the rest of the cabinet with primer.
-
Let it dry for 1 hour or until it is completely dry.
-
-
-
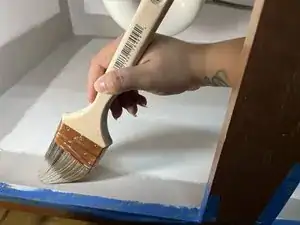
Use an angle brush to paint all the edges with the paint of your choice.
-
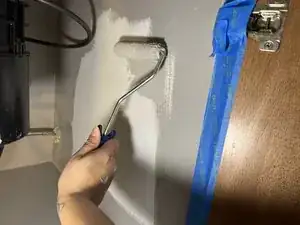
Use the roller to complete painting the cabinet.
-
Let the paint dry.
-
Place your items back under the sink.
-


Now, you've got a good-as-new cabinet! You can reapply as needed if paint chips or dulls.

How do you check to see if it's a water leak?
Alex Watkins -