Introduzione
Clothing clasps, like other garment closures such as buttons or zippers, have threads that often break, leaving a garment in a less wearable state. This particular guide shows the process of sewing on a rectangle closure hook clasp that is falling off or has become unattached. The information in this guide can be used by anyone, whether or not you have sewing experience. Before beginning the sewing, check to ensure that you have this specific type of clasp. Also, please be aware that poking your fingers with the needle is a common by-product of sewing, so be careful!
Strumenti
-
-
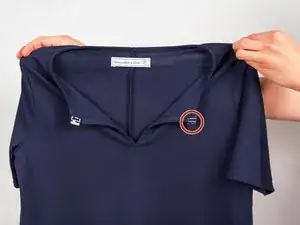
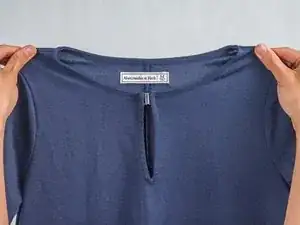
Collect the article of clothing that requires a clasp repair.
-
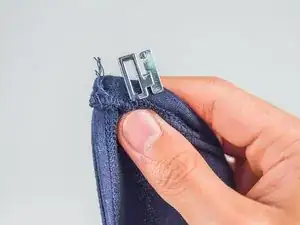
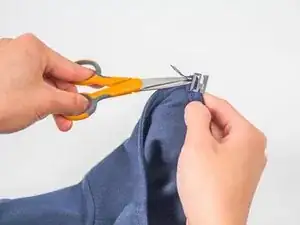
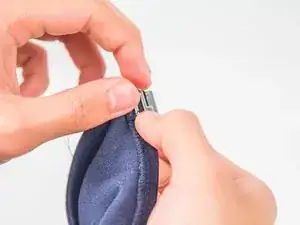
Locate the clasp and identify the area that needs the sewing repair.
-
-
-
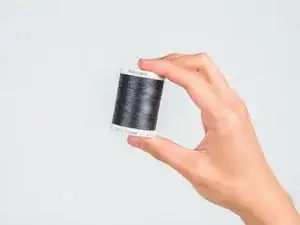
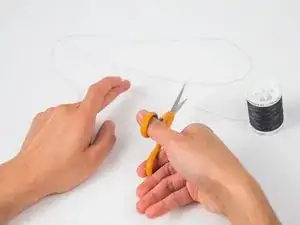
Choose some thread in a matching or similar color to the garment.
-
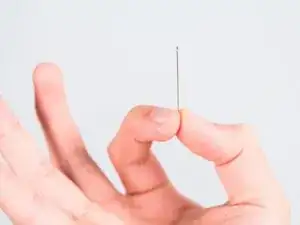
Choose a needle, preferably one that is small and thin.
-
-
-
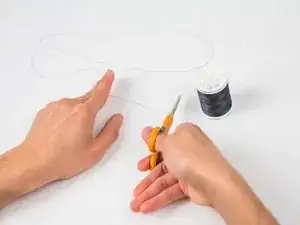
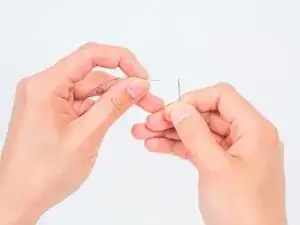
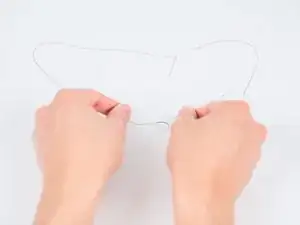
Take the cut length of thread and poke it through the eye (hole) of the needle.
-
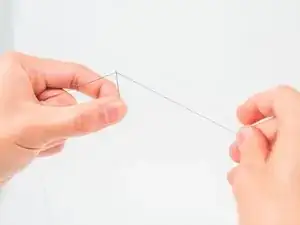
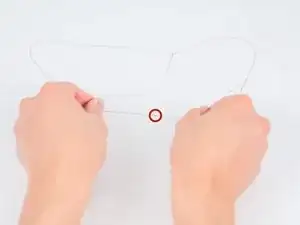
Pull the thread through the eye of the needle until it is about a hand's length.
-
-
-
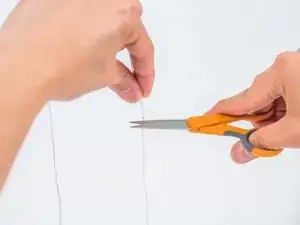
Take the threaded needle and make a simple double knot on the long end of the thread.
-
Snip off the extra thread near the knot.
-
-
-
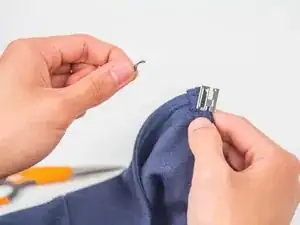
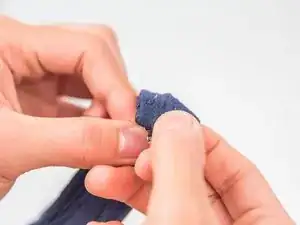
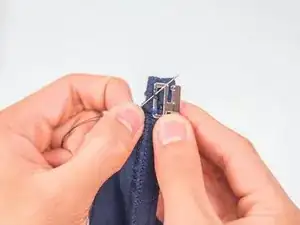
Hold the clasp firmly in its desired place.
-
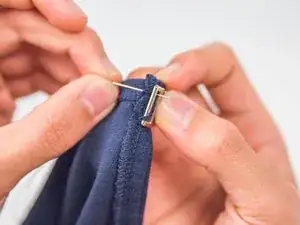
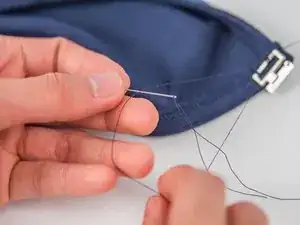
Poke the needle through the inside of the garment, aiming for the inside of the clasp.
-
Pull the needle through until the knot catches and you are unable to pull anymore.
-
-
-
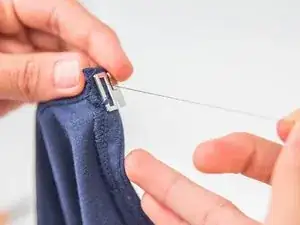
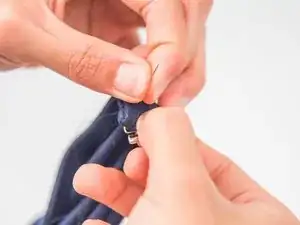
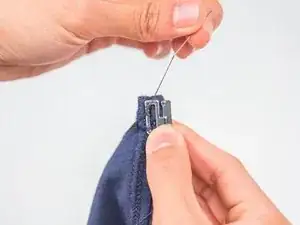
Flip to the outside of the garment.
-
Poke the needle through the fabric. Aim for a spot in the garment's seam to hide your new stitches.
-
Pull the needle all the way through until the thread has snugly pushed the clasp close to the garment's fabric.
-
-
-
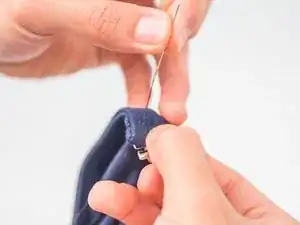
Turn the garment to the inside again.
-
Poke the needle through the fabric, aiming for the inside of the clasp.
-
Tug the needle all the way through until it catches.
-
Repeat Steps 7-9 as many times as necessary. This action creates a group of stitches that hold the clasp in place.
-
-
-
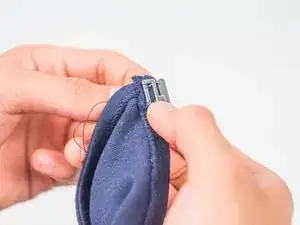
Make sure to end your last stitch on the inside of the garment.
-
Poke the needle through the stitches you made and tug until there is a loop.
-
Take the needle and pull it through the center of the loop.
-
Pull the needle through the center of the loop again.
-
-
-
Pull on the needle until a knot is formed on top of your stitches.
-
Straighten the threaded needle and hold it firmly.
-
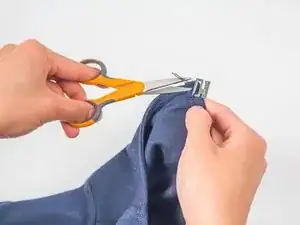
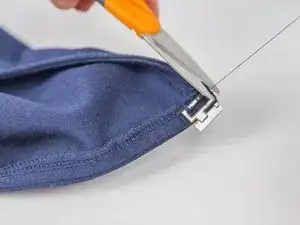
Take a pair of scissors and snip off the extra thread.
-
-
-
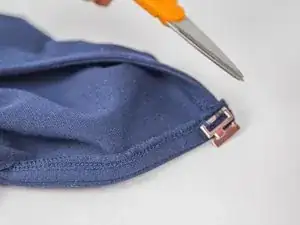
Examine the finished repair in good light.
-
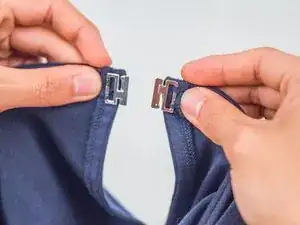
Test the clasp to ensure that it works properly.
-
Check the garment and make sure that the repair stitches are not too noticeable from the outside.
-


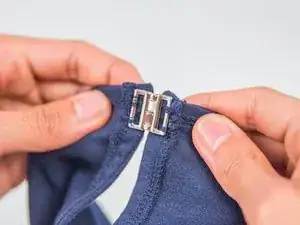
You have now completed the repair of the rectangle closure hook clasp on your article of clothing. Wearing your mended clothing is highly recommended!