Introduzione

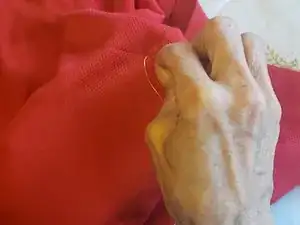
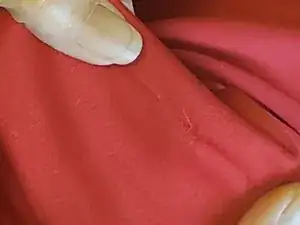
As the title suggests, this is a guide to fix a snag that is on clothing. This guide will go through step-by-step and explain how to fix pieces of clothing that have snags such as the one that I used for the project. This is a guide that takes a little bit of precision and patience, but it will work out.

  1. IBNJoBPKj3OwVY2x
    • Push the snagged thread to back of the piece of clothing.

    • Its easiest to use the eye of the threaded needle to assist in pushing the snagged thread to the inside of the garment.

  2. FYdZsGUWJPtG66Y3
    • Gently dab the fabric with a slightly damp paper towel.

    • This allows the fabric to open itself up while working. Allows the threads to be slightly more elastic when manipulating the snagged thread back into the fabric

  3. VBIobZr3kuUtSVfL
    VBIobZr3kuUtSVfL
    jJAEERBsUb16sRo2
    • Determine what side of the garment you want the repair to be on.

    • Try to draw all the snagged threads to the interior of garment.

  4. BWOCZndJhjNSGORq
    BWOCZndJhjNSGORq
    xXqxaZWSIiYmIObN
    • Gently pull the fabric apart to loosen the snag.

    • Don't pull the thread too much. Try to incorporate the snagged thread back into the fabric.

  5. hyKuhjUgFHDO3UFt
    hyKuhjUgFHDO3UFt
    OkPOpxS4G2sQFWXO
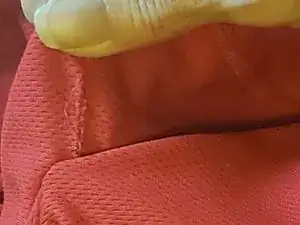
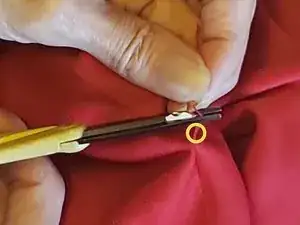
    • Once the snag is minimized, snip the snag on back of the garment with a pair of scissors.

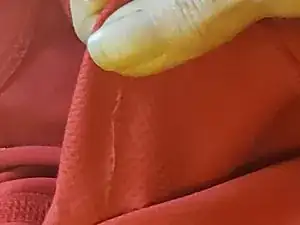
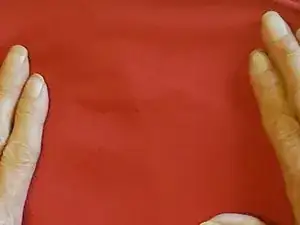
    • Tie a square knot with thread and carefully snip the ends with the scissors.

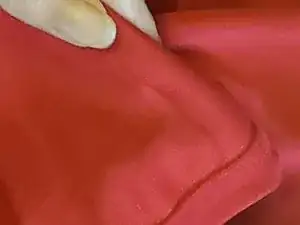
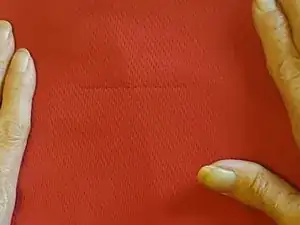
    • Trim the threads close to knot to minimize any further snagging of the threads.

  6. 4l2qgNOVtNx5bN1m
    4l2qgNOVtNx5bN1m
    kQvhDMwKkauWR2XM
    • After work is finished, smooth the garment and hang it to dry.

    • This signals the end of the project. If you've followed all the steps, the snag should be less visible and these steps should stop any further damage, and make the garment wearable again.

Conclusione

To reassemble your device, follow these instructions in reverse order.

Leo Sprankle

Membro da: 06/01/21

133 Reputazione