Introduzione

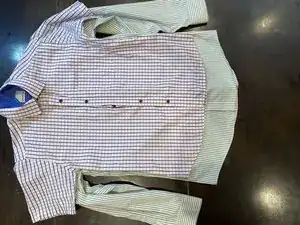
When individuals purchase formal shirts, they may find that the length of the shirt does not fit their body accurately. This guide will display the process of altering and sewing formal shirts for better fit.

  1. uoDWLOviJuNRiEGy
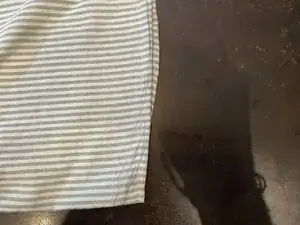
    • Pick the shirt that requires alterations, then select a different shirt has your desired fit and measurements.

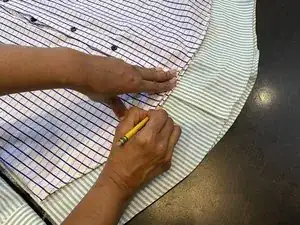
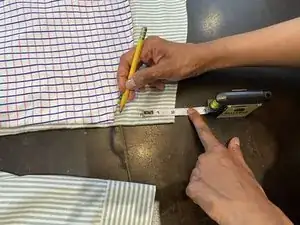
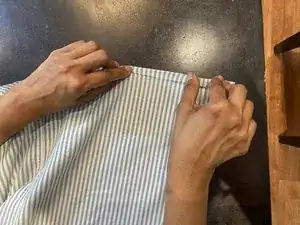
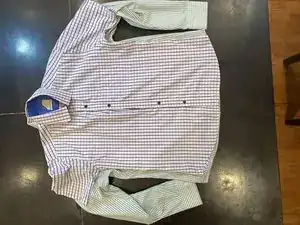
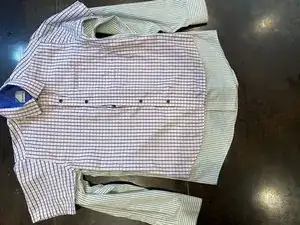
    • Place the shirt that currently fits you on top of the shirt that is meant to be shortened.

    • Make sure both shirts line up perfectly with each other from the top, as you are going to use the shirt that fits you as the marker.

  2. UAX3QprOxtLae2oF
    UAX3QprOxtLae2oF
    man44GDCDIUZxX1y
    5ecEYAVbl1Hg6ROi
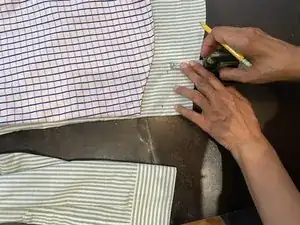
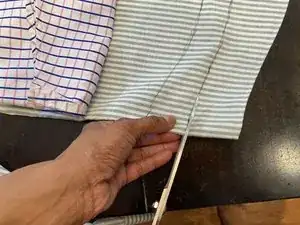
    • Trace a line along the oversized shirt to differentiate the extra length between the two shirts.

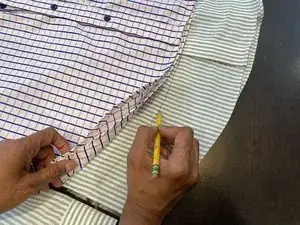
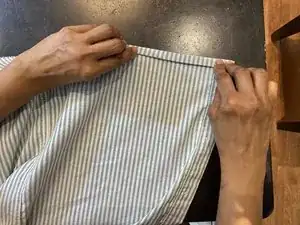
    • Follow the bottom edge of the above shirt, and draw a curve (or line) on the bottom shirt.

  3. 6g25OkSEONMrCTrv
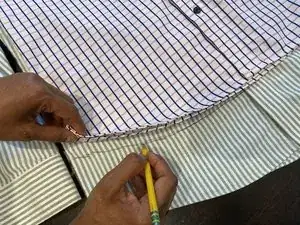
    • Measure the length from the curve drawn in the previous step to the bottom of the shirt to be altered.

    • The measurement should be done by holding the measuring tape vertical to the shirt.

  4. UIHiKveArsTJUZgA
    UIHiKveArsTJUZgA
    iENqxxrRUEJaAl5M
    cKCZWhOSirmhogSi
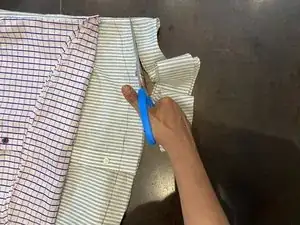
    • Measure two inches up from the bottom of the shirt to be altered.

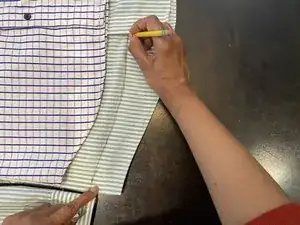
    • Use a pencil to make dots at the end of your measurement, and repeat this as you measure the entire length of the shirt.

    • Trace a line through the connection of the dots you drew in the last step.

  5. LVBI4xbovyArROaQ
    LVBI4xbovyArROaQ
    k4LERsZsU2w3vaFR
    gSrMVVrvGAJIsco5
    • Your shirt after tracing the two lines should look like this.

    • Cut the shirt to be altered along the newly drawn curve from the previous step.

  6. gd5tNIfSOOHlbaB4
    gd5tNIfSOOHlbaB4
    NEvVqSB6R5UdflWM
    • Prepare the sewing machine with thread that matches the shirt color.

    • If you don't have a string that matches the exact same color, then use one that has a similar shade.

  7. g23XvNuYRBiShf4X
    g23XvNuYRBiShf4X
    4eSbMJhFTLYjB2LO
    GfQwi5ZKTKTYSAUS
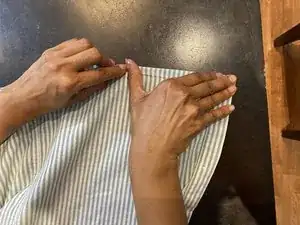
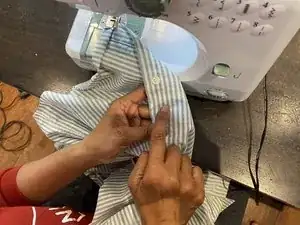
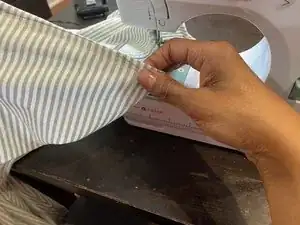
    • Make a straight crease at the bottom of the shirt; the crease should be half an inch to one inch in length from the bottom.

  8. tCARSLKcYjhTVbKT
    tCARSLKcYjhTVbKT
    GUEPM4ot4PXlMDFD
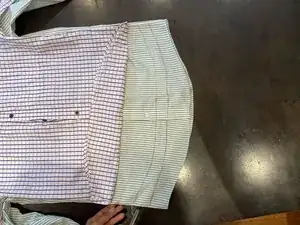
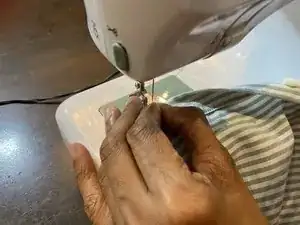
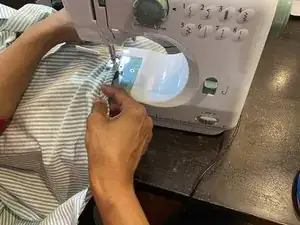
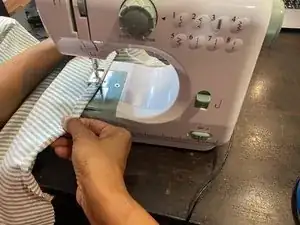
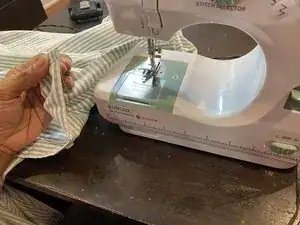
    • Identify the side of the shirt which faces the exterior; fold the shirt inside-out and flip the crease inwards when stitching the border.

    • The extra fabric at the end of the shirt should not be visible from the outside.

  9. XIrIIEBHSBKoVn2k
    XIrIIEBHSBKoVn2k
    EVYvLQyxixVEdEWj
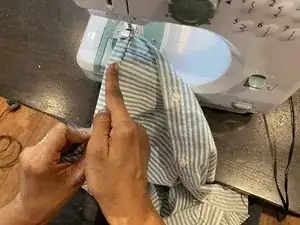
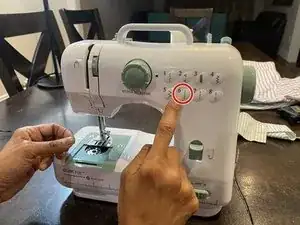
    • Stitch on the regular setting of your sewing machine.

    • Set your range between 4 mm or up to 6 mm for your stitching.

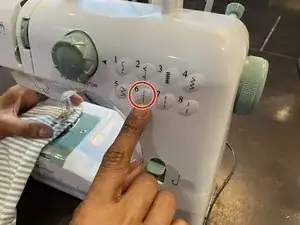
    • On that stitching pattern, select the straight stitch on the sewing machine dial, or any alternative controls available (stitch selector should be 6 or 7).

    • The stitch tension should be 4.

  10. SCVrR4ixo2Gdkk2A
    SCVrR4ixo2Gdkk2A
    AcDOUQnTCSlZMwEb
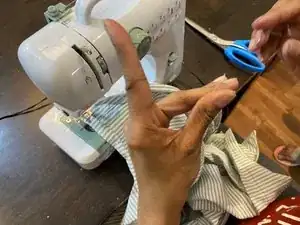
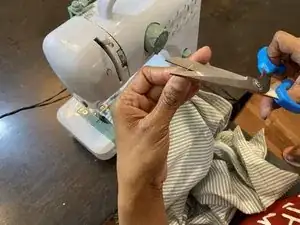
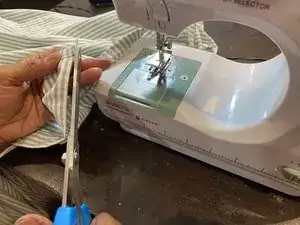
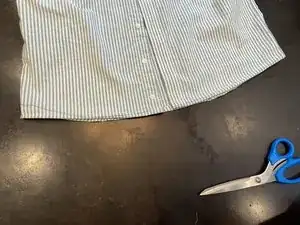
    • Before you start sewing, make sure to cut any loose or long threads (extra thread) that may interfere with your sewing.

    • This is important to ensure that the final product turns out nice.

  11. tLqvrnTOtEosgbl5
    tLqvrnTOtEosgbl5
    3s26gVCPZiBsJxpE
    EsMLAqgAqowACINS
    • Start to stitch on the folded line.

  12. KUcjpMTRPL2AElA5
    KUcjpMTRPL2AElA5
    Gec3AbuHTOYwVXMH
    14CGDmpRoKbLYpGe
    • After finishing stitching the folded line, cut the extra thread.

  13. yZgLqF4OTfDy3Fql
    yZgLqF4OTfDy3Fql
    GhWqLLLHPHOFNGGp
    • Iron the shirt and you have finished the fixing process.

    • Ironing the shirt is optional.

  14. QUE4nxKA4vWOOORc
    QUE4nxKA4vWOOORc
    Zm2fWanMdYHT1FTO
    C65nttC3PBpwoDU6
    • Examine the result.

    • Wear it and look great.

Vishal Mohan

Membro da: 27/01/21

247 Reputazione

0 commenti