Introduzione

Use this guide to replace the condenser fan in an older Whirlpool side‑by‑side refrigerator.

The condenser fan serves to blow air on the condenser tubing to cool the hot refrigerant when it leaves the compressor. This process serves to remove heat from inside the refrigerator. Air from the condenser fan also cools the compressor unit.

If the condenser fan fails, the refrigerator will stop cooling, and likely the compressor will shut down.

This guide is rated difficult because of the skill needed to remove the fan and to put it back into place. Otherwise, the procedure is fairly straightforward.

This guide is based on a Whirlpool model ED5FTGXKQ02 refrigerator.

  1. GAB31IUS1UwNdE6E
    • Before you begin your repair, perform the following:

    • Turn off your main water supply (if connected)

    • Unplug your device

  2. JJ5QT3RxMgkx6K1d
    • Use a nut driver to remove the screws from the condenser cover

  3. m1aQ6dX2XS326AkL
    m1aQ6dX2XS326AkL
    2Pk1mevJrLnye25R
    GhAvd1BBETPYJ3Tm
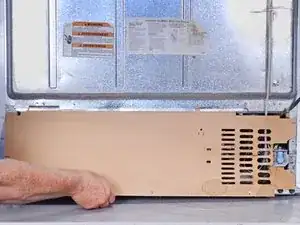
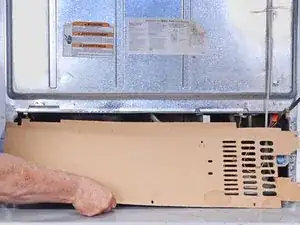
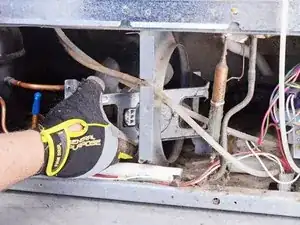
    • Lift the bottom edge of the condenser cover away from the refrigerator.

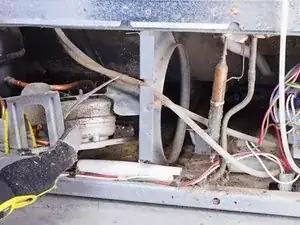
    • Pull down on the condenser cover to free it from the retaining tabs at the top edge and remove it.

  4. FSkjGPPgwMjixPnb
    FSkjGPPgwMjixPnb
    WjCWovmm1JRmOvQd
    cEIraS34mQ55nTOF
    • The condenser fan connector location is shown by the red box. The connector is partially obscured by the fan motor bracket in the photo.

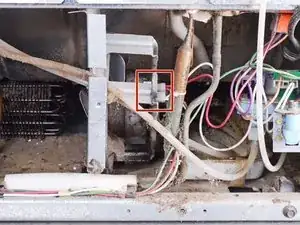
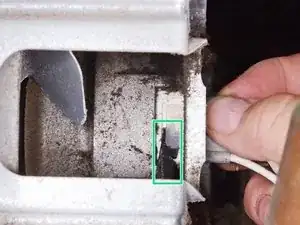
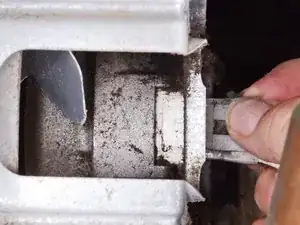
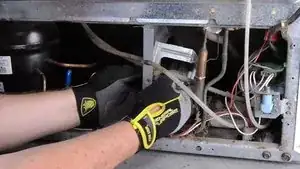
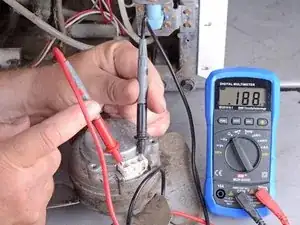
    • Use a spudger or a flat blade screwdriver to lift the retaining tab on the condenser fan connector.

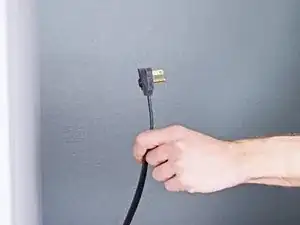
    • Disconnect the connector by pulling it straight out.

  5. HZOELS5RpfPrODWJ
    HZOELS5RpfPrODWJ
    PdaNFWEAHQjU4SUY
    • Use a 1/4‑inch socket to remove the screws securing the fan bracket.

    • Alternatively, you can use a 1/4‑inch nut driver to remove these screws, but you may find access to be cramped.

  6. RmTPHCT3EacBEnK1
    RmTPHCT3EacBEnK1
    FhL5EKDBcYyQQn12
    5eb2GpVDAUWy3p1H
    • Wear gloves for this step to protect your hands from sharp metal edges.

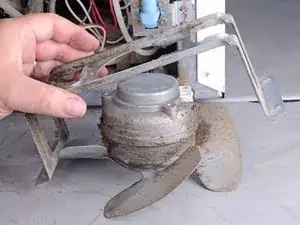
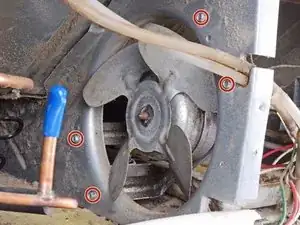
    • Push the fan assembly back about an inch away from the mounting plate.

    • Rotate the left edge of the fan assembly so that it is in the hole where the fan was located.

    • Push the fan assembly through the hole where the fan was located and remove it.

    • There is a short video in the next step.

  7. Here's a short video showing how to remove the fan and bracket.
    • Here's a short video showing how to remove the fan and bracket.

    • It has sound so you can see that it takes a bit to pivot it around. The key is lead with the part of the bracket that faces you.

  8. 1htLDYJEjiW6mrMK
    1htLDYJEjiW6mrMK
    34JMZGCpnLGyuXnS
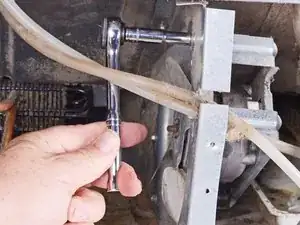
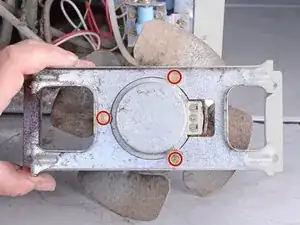
    • Use a 5/16‑inch nut driver to remove the machine screws securing the fan motor to the fan motor bracket.

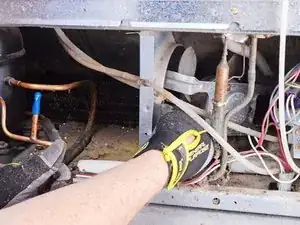
    • Remove the fan motor bracket. At this point, disassembly is complete.

  9. fYwvNJTqLRyoBF3c
    • This step shows how to test the resistance of the motor windings with a multimeter.

    • Test the outer two terminals on the three terminal connector on the motor.

    • Note 188 ohms in the picture (0.188kΩ).

Conclusione

To reassemble your device, follow these instructions in reverse order.

Repair didn’t go as planned? Ask our Answers community for help.

Take your e-waste to an R2 or e-Stewards certified recycler.

Bill Gilbert

Membro da: 30/06/22

29837 Reputazione

0 commenti