Introduzione
Caution! The Canyon manual recommends to attach the saddle to the frame while the frame is still in the box. If you want to do so jump over to step 4 and follow the instructions while the frame is still packed. Then install your bar as seen in step 2 once the frame is out of the packaging.
Anyway we had the feeling, it is a lot easier if you take your bike out of its box.
Strumenti
-
-
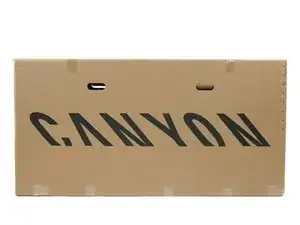
This is the big mysterious Canyon Box where the Strive AL 6.0 Race sleeps in.
-
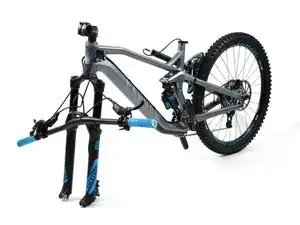
And here is the first glimpse we can get of our version of the bike, with a 'jet grey' frame color. It comes with an unmounted saddle, front wheel and bar.
-
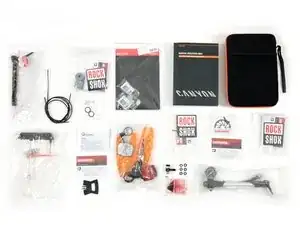
In an additional box, next to the frame and the front wheel, we find a couple of useful things you need, to set up your Strive:
-
A tool case with the manual, a torque wrench, Canyon assembly paste, a bunch of stickers, the thru axle, cat's eyes, a special pump for your suspension fork and a couple more small parts.
-
-
-
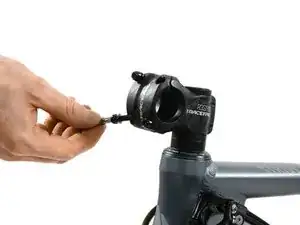
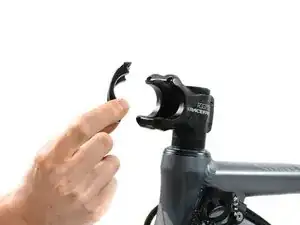
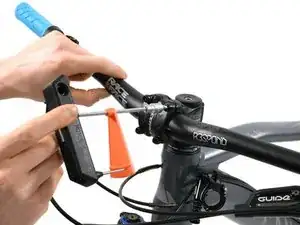
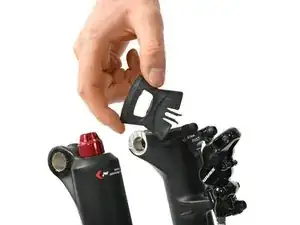
Loosen the bolts of the stem with the torque wrench and remove its faceplate completely.
-
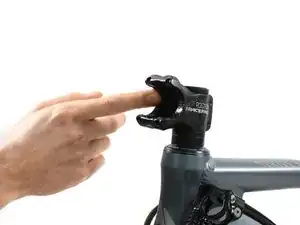
Take a bit of the assembly paste and apply a thin layer of it on the inner side of the faceplate as well as in the clamping area of the stem body.
-
-
-
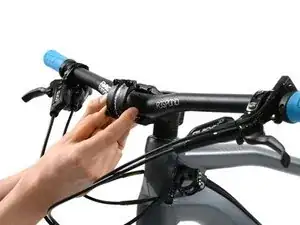
Position the handlebar centered in the stem clamp and put the faceplate back on.
-
Retighten the bolts of the faceplate while the bar is in a adequate position with slightly pointing down brake levers, until they hold the bar.
-
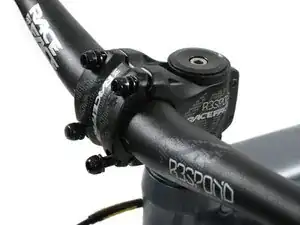
Now tighten the bolts in a cross pattern, starting with upper left going to lower right, then upper right going to lower left. The torque wrench value for this should be around 8 Nm.
-
-
-
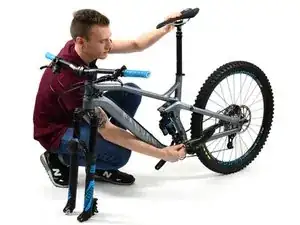
Attaching the saddle to the frame is a piece of cake. Take the saddle and apply assembly paste to the bottom part of the seat post, around the clamping area of it and inside the seat tube.
-
Slide the saddle into the seat tube while pulling out the cable at the lower end of the tube.
-
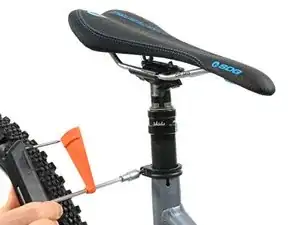
Tighten the bolt of the clamp with the torque wrench.
-
-
-
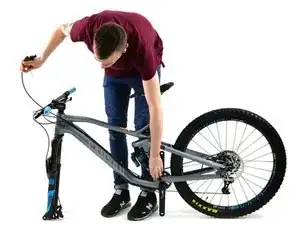
Loosen all screws of the hangers along the frame which hold the saddle cable.
-
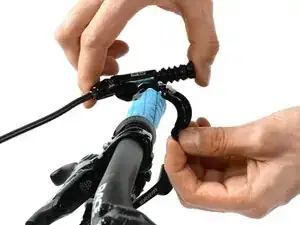
Bring the front end with the switch to the bar by pulling it through the hangers along the frame. Take care of the other cables around your bar.
-
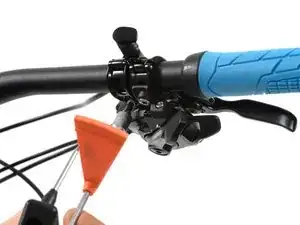
Position the lever on the right side of your bar and tighten it's screw loosely. Bring it into a comfortable position for your riding stance and tighten its bolt with the torque wrench to 5-6 Nm.
-
-
-
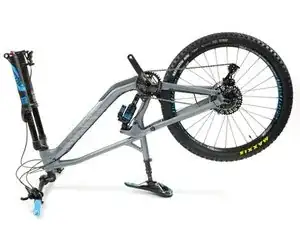
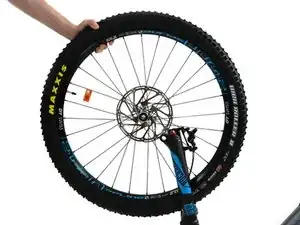
Flip your bike upside down or attach it to a bike stand.
-
Remove the disc break protector of your front fork.
-
Put the front wheel into the fork and mount the rotor at the same time into the brake calliper.
-
-
-
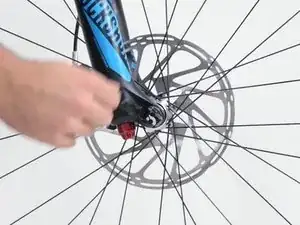
Slide the axle in with the quick-release lever opened. As soon as the axle thread engages with the thread of the opposite side, close it by turning clockwise.
-
In its end position the quick-release lever should be tight so that it can no longer be turned.
-
-
-
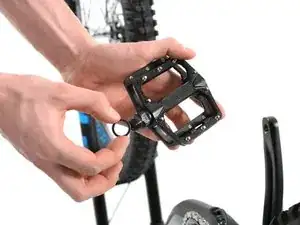
Your Strive doesn't necessarily come with pedals - we show you how to place them anyways.
-
At first coat the threads of your pedals in grease. YUM!
-
Afterwards put its cover ring onto the threads.
-
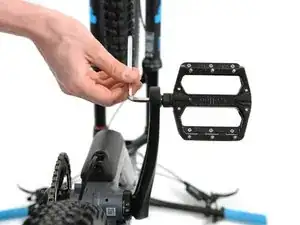
At last take an allen key or your torque wrench and screw them into the threads of your crank arms! Go as tight as you can, you don't want to lose one of those while riding!
-
-
-
Congratulations! Flip your bike up again and your Strive AL 6.0 is now more or less ready to ride!
-


Before you give your bike a go, you should give all the important bolts a double check and if needed do some gear, brake or preassure adjustments!
