Introduzione
Is your massage gun not turning on? It probably means that the battery has reached the end of its usage. This is a guide will show you how to replace the battery of your Hyggly percussive massage gun.
Strumenti
-
-
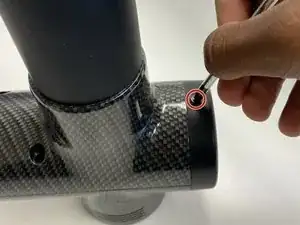
Using the Phillips #00 screwdriver, unscrew the 1 Phillips head screw underneath the power button.
-
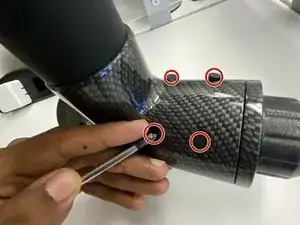
Using the Phillips #00 screwdriver, unscrew the 4 Phillips head screws under the rubber stopper.
-
-
-
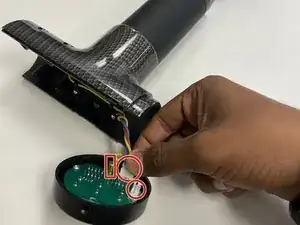
Twist and remove the circular black lid that houses the main circuit board.
-
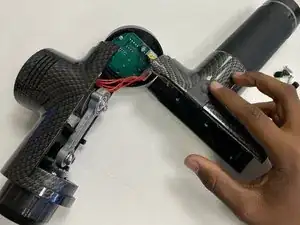
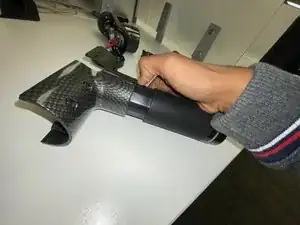
Pull apart the main body of the massage gun. The gun should now be in three parts.
-
Detach the wires connected to the main circuit board.
-
-
-
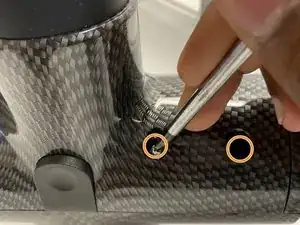
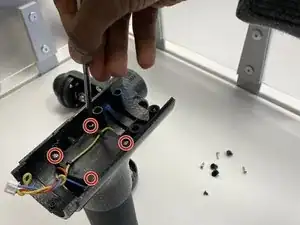
Using the Phillips #00 screwdriver, unscrew the 4 Phillips head screws inside the main body of the massage gun.
-
Pry open the lid once the screws are removed.
-
-
-
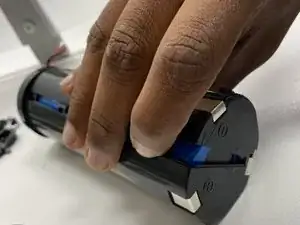
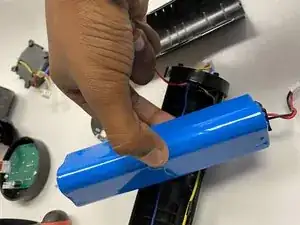
Remove the top cover from battery compartment.
-
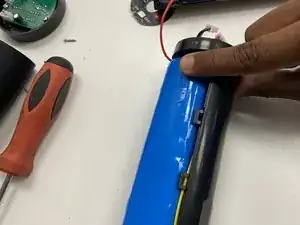
Remove the rubber sleeve off the battery compartment.
-
-
-
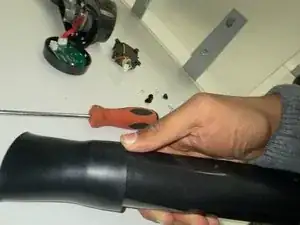
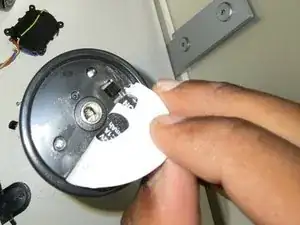
Remove the sticker off the bottom of the battery compartment near the power switch.
-
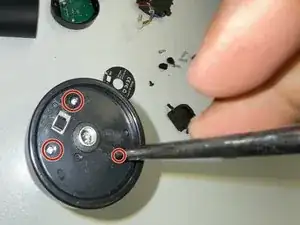
Using the Phillips #00 screwdriver, unscrew the 3 Phillips head screws around the power switch to access the inside of the battery compartment.
-
-
-
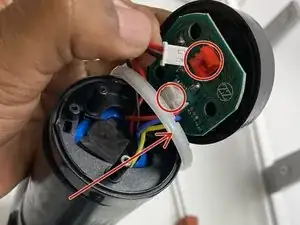
Remove the bottom lid of the battery compartment to reveal the second circuit board.
-
Detach the wires of the battery from the circuit board.
-

To reassemble your device, follow these instructions in reverse order.
