Introduzione

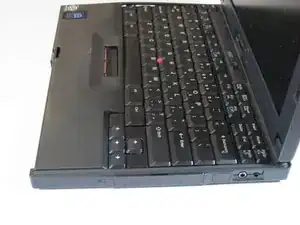
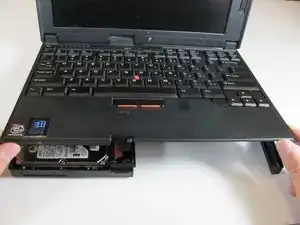
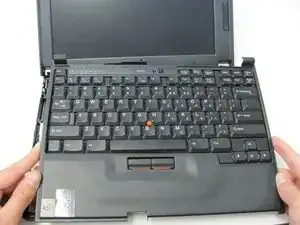
How to remove the keyboard for repair or replacement on the IBM ThinkPad 560z.

  1. VLkFL2UfT6Avn6wX
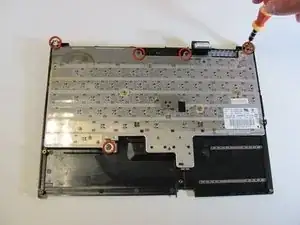
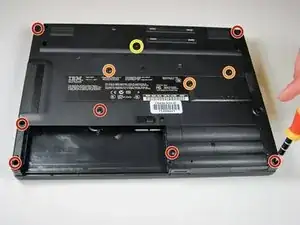
    • Remove the 7 mm Phillips #0 screws.

    • Remove the 10 mm Phillips #0 screws.

    • Remove the 14 mm Phillips #0 screw.

  2. YQ3s3lITJaXxSCNf
    YQ3s3lITJaXxSCNf
    usAFDpMjSYxJoFyN
    • Open the flap on the left hand side.

  3. KdhnFNUWxMDIFbht
    KdhnFNUWxMDIFbht
    RBfWQgDyMXEGKqN1
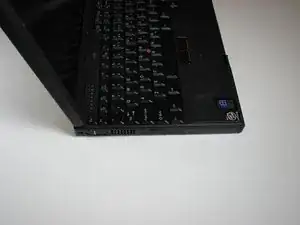
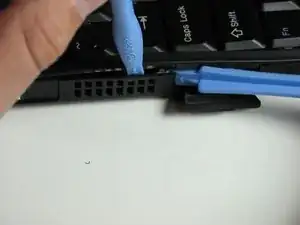
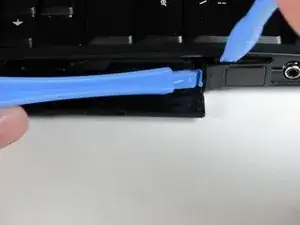
    • Insert the plastic opening tools between the right and left sides of the latch.

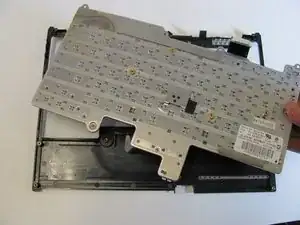
    • Pry the right side of the latch, and then pry the left side to detach the laptop's cover.

  4. ZVfWmXFW1bjZeXmj
    ZVfWmXFW1bjZeXmj
    qXOgpy1FtrImEMkr
    • Open the flap on the right side.

  5. YZb4nrmyEiOPCkvT
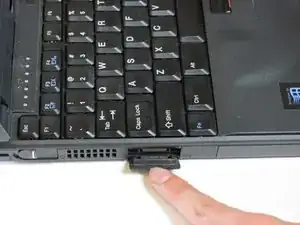
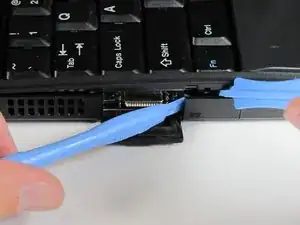
    • Insert the plastic opening tools towards the right side of the latch.

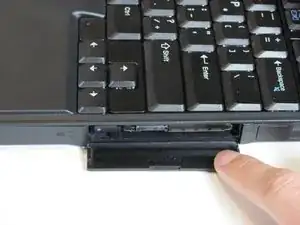
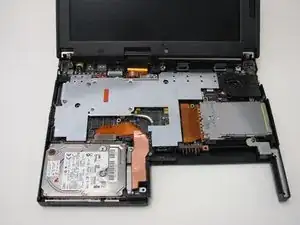
    • Gently pry the right side out to release the top cover.

  6. v6xk3s11FGIGoEuL
    v6xk3s11FGIGoEuL
    4rssWmqTTQafTdhg
    • Lift the keyboard slowly.

    • A cable connects the keyboard to the motherboard. If you are not careful, you will damage the cable.

  7. Fsqs41ePJIKwPW1j
    • Use your fingers or a spudger to detach the connector.

  8. UyDXc35JRDNJVCjX
    UyDXc35JRDNJVCjX
    HCyNMETCC5vDRCiV
    • Carefully lift and remove the keyboard.

  9. E1eFsbarsksUPGBA
    E1eFsbarsksUPGBA
    gTaxjnkZv5oAy3IG
    • Remove the five Phillips screws from the underside of the keyboard, then gently lift it up.

Conclusione

To reassemble your device, follow these instructions in reverse order.

Derek Driscoll

Membro da: 15/04/10

119 Reputazione

0 commenti