Introduzione
Prerequisiti interni
-
-
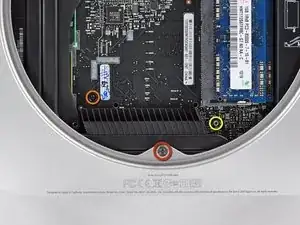
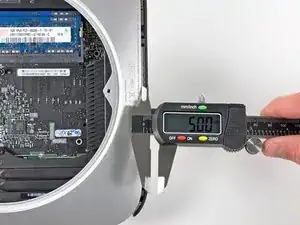
Rimuovere le tre viti seguenti:
-
Una vite Torx T8 da 5 mm o vite esagonale da 2 mm (vanno bene entrambi i cacciaviti)
-
Una vite Torx T6 da 16,2 mm
-
Un distanziatore Torx T6 da 26 mm
-
-
-
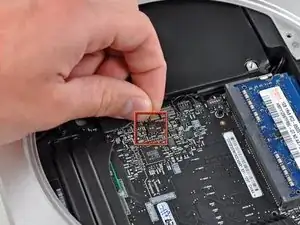
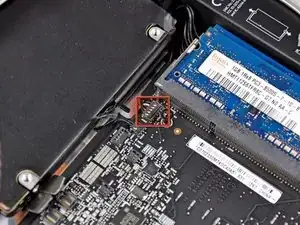
Estrarre con attenzione i fili da entrambi i sensori termici del disco rigido verso l'alto, per sollevare i connettori e rimuoverli dai rispettivi connettori femmina sulla scheda logica.
-
-
-
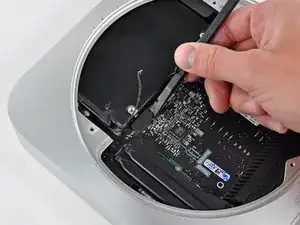
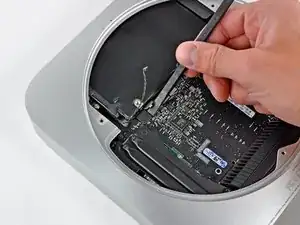
Utilizzare l'estremità piatta di un inseritore per scollegare i connettori del disco rigido e dell'unità ottica dai rispettivi connettori femmina sulla scheda logica.
-
-
-
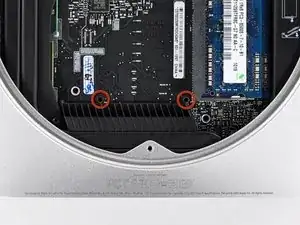
Inserire un attrezzo per la rimozione della scheda logica per Mac mini nei due fori evidenziati in rosso. Verificare che avvenga il contatto con il case esterno sotto la scheda logica prima di procedere con l'operazione.
-
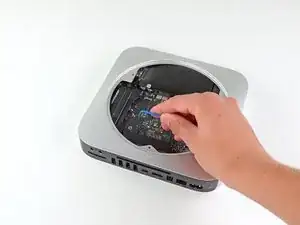
Tirare con attenzione l'attrezzo verso la scheda I/O. La scheda logica e il gruppo della scheda I/O dovrebbero scorrere leggermente fuori dal case esterno.
-
Interrompere l'operazione quando la scheda I/O è visibilmente separata dal case esterno. Rimuovere l'attrezzo per la rimozione della scheda logica per Mac mini.
-
-
-
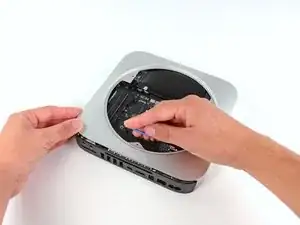
Premere contemporaneamente le due levette di plastica nei lati all'estrema sinistra e destra della scheda I/O verso la parte centrale di quest'ultima, rimuovendola leggermente dal case esterno.
-
-
-
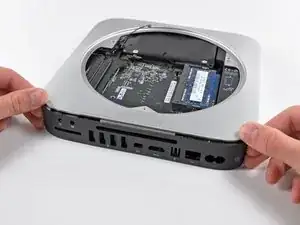
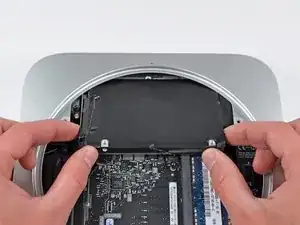
Sollevare il disco rigido dal bordo più vicino alla scheda logica e rimuoverlo dal Mac mini, facendo attenzione a non incastrare il connettore della memoria RAM e i cavi.
-


Per riassemblare il dispositivo, seguire queste istruzioni in ordine inverso.

On mine I needed to remove the 26 mm T6 Torx standoff during step 3
philipashlock -