Introduzione
Utilizzare questa guida per sostituire una ventola usurata e rumorosa.
Strumenti
Ricambi
-
-
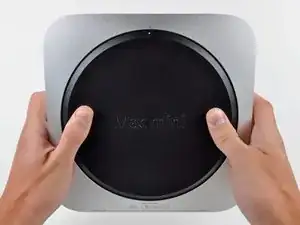
Posizionare i pollici negli incavi tagliati nel coperchio inferiore.
-
Ruotare il coperchio inferiore in senso antiorario finché il puntino bianco dipinto su di esso non è allineato con il cerchio in rilievo sul case esterno.
-
-
-
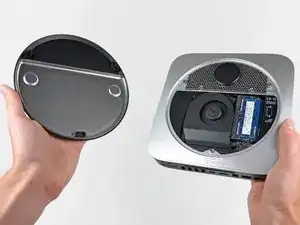
Inclinare il Mac mini abbastanza da sganciare il coperchio inferiore dal case esterno.
-
Rimuovere coperchio inferiore e conservarlo altrove.
-
-
-
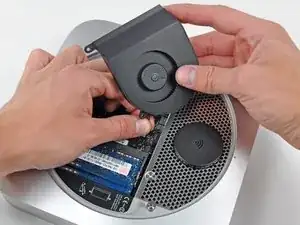
Rimuovere le due viti Torx T6 da 11,3 mm che fissano la ventola alla scheda logica, in prossimità della piastra dell'antenna.
-
-
-
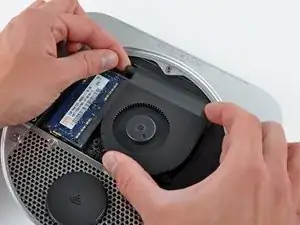
Sollevare la linguetta della ventola più vicina alla memoria RAM più vicina al distanziatore fissato al case esterno.
-
-
-
Sollevare la ventola dal Mac mini affinché sia possibile accedere al connettore.
-
Tirare con attenzione i cavi della ventola verso l'alto, per sollevare il connettore dal connettore femmina sulla scheda logica.
-
Rimuovere la ventola.
-


Per riassemblare il dispositivo, seguire queste istruzioni in ordine inverso.

2 commenti
How do you know the order of the wires when placing the 4 wires back onto the motherboard?
The connector is a snap in / snap out or more properly lift out connector. The connector goes back in only one way with the 4 pins aimed towards the wifi icon. To get it out you GENTLY lift the wires. I used my fingernail under the wires as they went from the fan into the connector.