Introduzione
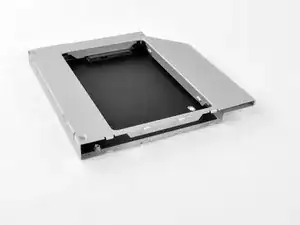
L'aggiunta di un secondo drive nell'iMac offre diversi vantaggi, fra cui velocità più elevate, maggiore spazio di archiviazione e la possibilità di installare nuovi software senza problemi. Usae questa guida per eseguire l'installazione mediante un case per disco rigido nell'alloggiamento ottico.
-
-
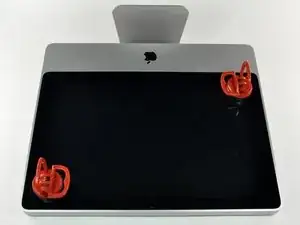
Poggiare l'iMac sul lato anteriore su un tavolo, con il bordo inferiore rivolto verso l'utente.
-
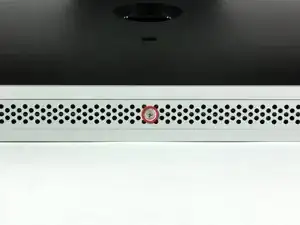
Allentare la vite con testa a croce al centro dello sportello di accesso.
-
Rimuovere lo sportello di accesso dall'iMac.
-
-
-
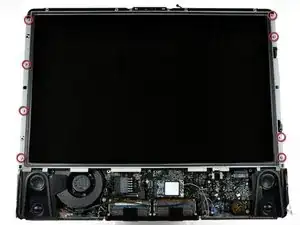
Rimuovere le 12 viti seguenti, che fissano la mascherina anteriore al case posteriore:
-
Otto viti Torx T8 da 13 mm.
-
Quattro viti Torx T8 da 25 mm.
-
-
-
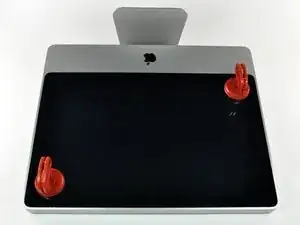
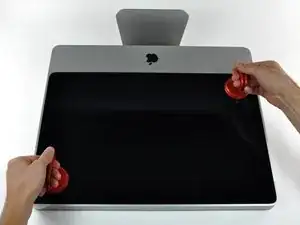
Sollevare delicatamente la mascherina dal bordo superiore, lontano dal case posteriore.
-
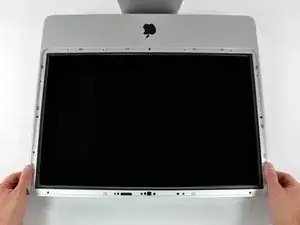
Dopo aver rimosso il bordo superiore della mascherina anteriore dal case posteriore, ruotare la mascherina verso la staffa ed estrarla dal case posteriore.
-
Ruotare la mascherina anteriore lontano dal resto del dispositivo e adagiarla sul bordo superiore dell'iMac.
-
-
-
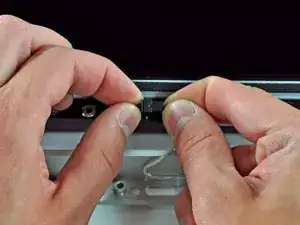
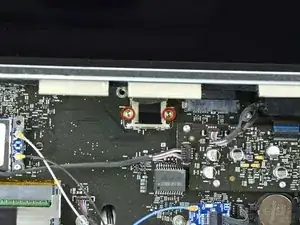
Rimuovere le due viti Torx T6 da 5,3 mm dal connettore dell'LCD.
-
Tenere saldamente la linguetta sulla parte superiore del connettore e rimuoverla dalla porta.
-
-
-
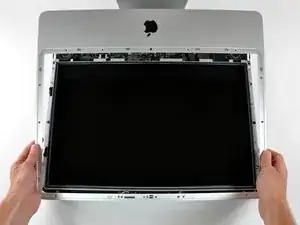
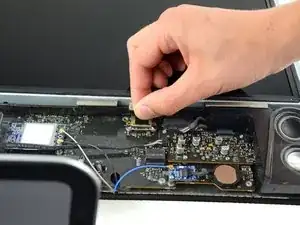
Posizionare le mani su entrambi i lati della parte inferiore del pannello del display e sollevarlo affinché sia possibile raggiungere i connettori all'interno.
-
Tenendo il pannello del display con una mano, individuare e rimuovere il cavo del sensore termico del display dal connettore.
-
-
-
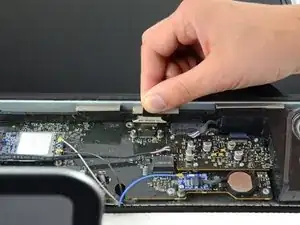
Tenendo ancora sollevato in display, premere saldamente il connettore del cavo dell'alimentatore con due dita per estrarlo dal relativo connettore femmina.
-
-
-
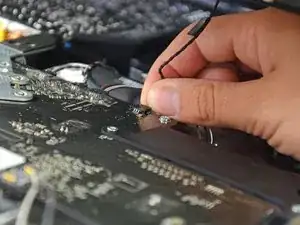
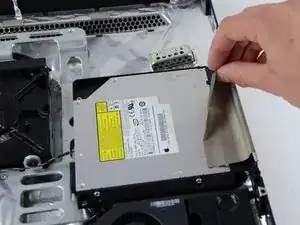
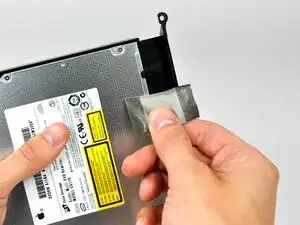
Rimuovere il nastro che tiene l'unità ottica in posizione.
-
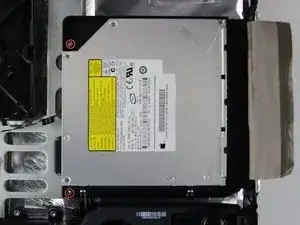
Rimuovere le due viti Torx T10 da 7,1 mm.
-
-
-
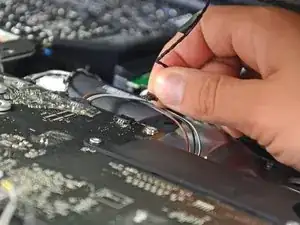
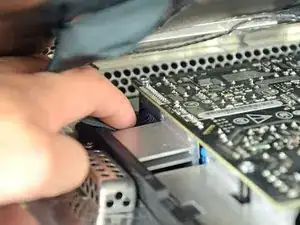
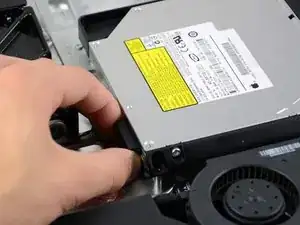
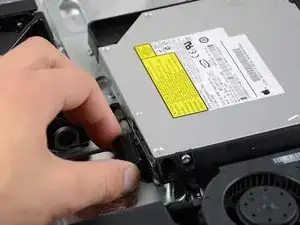
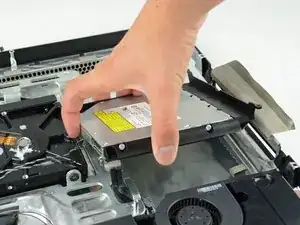
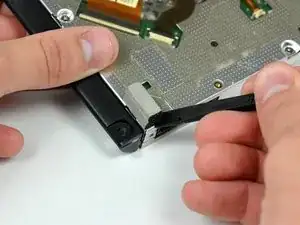
Tenere saldamente il connettore dell'unità ottica ed estrarlo direttamente dall'unità stessa.
-
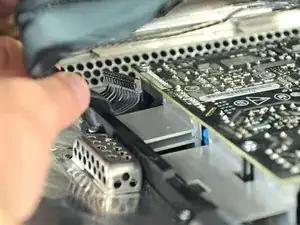
Rimuovere l'unità ottica dal dispositivo.
-
-
-
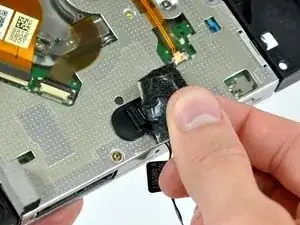
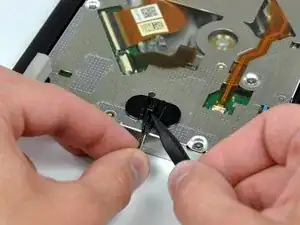
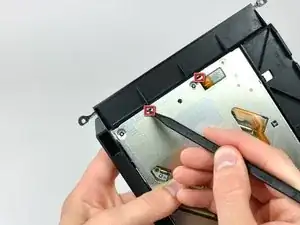
Per rimuovere il sensore termico dell'unità ottica, utilizzare la punta di uno spudger per sollevare l'aletta centrale della staffa del sensore termico, applicando una leggera tensione al cavo del sensore.
-
-
-
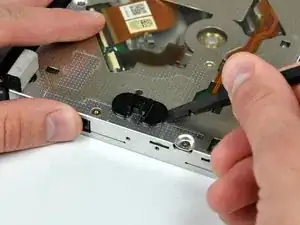
Mediante l'estremità piatta di uno spudger, rimuovere la staffa del sensore termico dell'unità ottica dall'adesivo che la fissa all'unità stessa.
-
-
-
Mediante uno spudger, rimuovere la piccola parte di schiuma EMI dal lato inferiore dell'unità ottica.
-
-
-
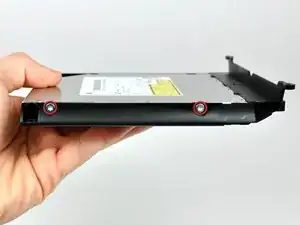
Rimuovere le due viti Torx T10 da entrambi i lati dell'unità ottica, per un totale di quattro viti.
-
-
-
Mediante la punta di uno spudger, premere ciascuna delle linguette della staffa dell'unità ottica fuori dai rispettivi slot, nella parte inferiore dell'unità stessa.
-
-
-
Ruotare leggermente la staffa dell'unità ottica, allontanandola dall'unità stessa.
-
Estrarre la staffa dall'unità ottica dall'estremità aperta di quest'ultima, prestando attenzione a non fare incastrare le linguette.
-
-
-
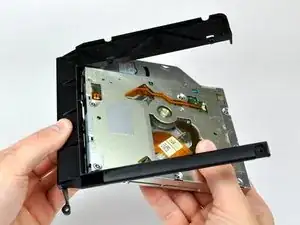
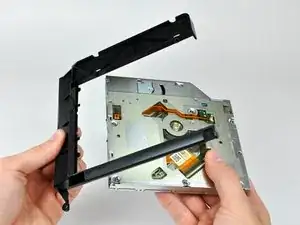
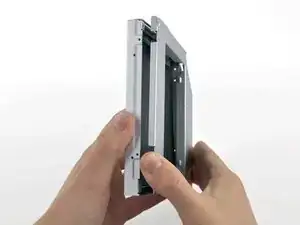
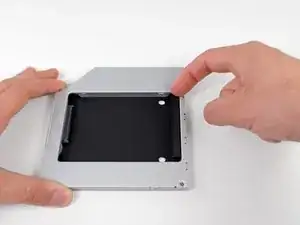
A partire dal bordo sinistro, apri delicatamente il case dell'unità ottica.
-
Continua ad aprire le due metà del case fino a separarle.
-
-
-
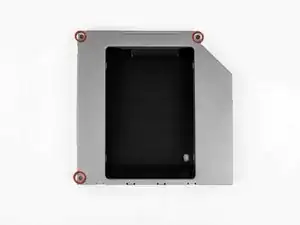
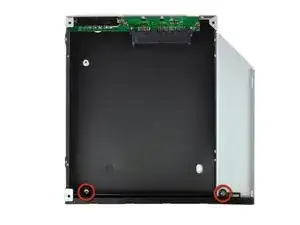
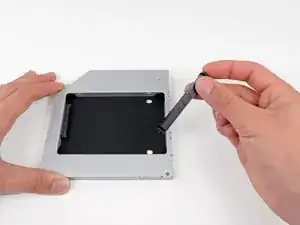
Rimuovi le due viti con testa a croce Phillips n. 0 da 3 mm che fissano la mascherina al case dell'unità ottica.
-
-
-
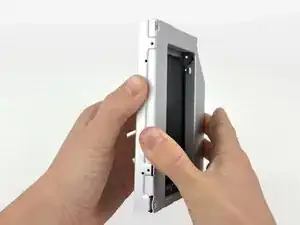
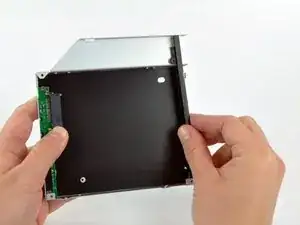
Solleva la mascherina in plastica nera dal case dell'unità ottica.
-
Riassembla il case dell'unità ottica senza la mascherina, riutilizzando le tre viti con testa a croce da 3 mm originali per preservarne l'integrità.
-
-
-
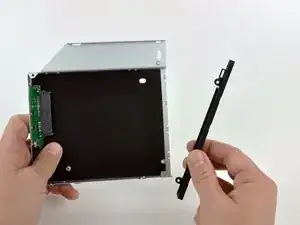
Rimuovi il posizionatore di plastica dal case del disco rigido dell'alloggiamento ottico, premendo una delle clip poste lateralmente e sollevandolo dal case.
-
-
-
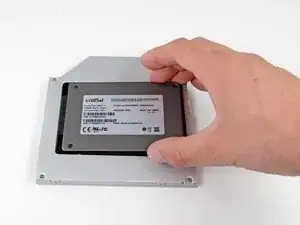
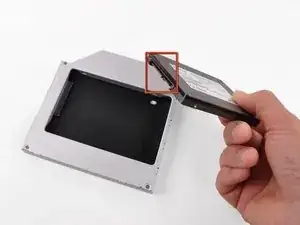
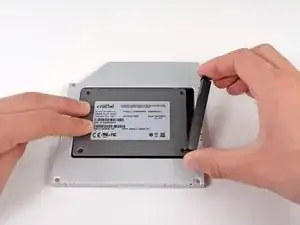
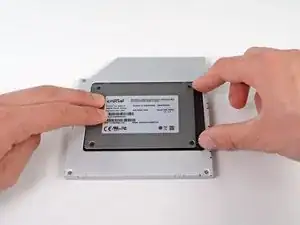
Verifica che i connettori del disco rigido siano rivolti verso il basso prima di posizionarlo nel case.
-
Posiziona il disco rigido delicatamente nell'apposito slot del case.
-
Tenendo saldamente il case in posizione con una mano, premi il disco rigido nei connettori del case con l'altra.
-
-
-
Una volta agganciato il disco rigido, reinserisci il posizionatore di plastica tenendo il disco premuto contro la parte inferiore del case.
-
Ricollega tutti i cavi rimossi dall'unità ottica originale nel case dell'alloggiamento ottico.
-


Per riassemblare il dispositivo, segui queste istruzioni in ordine inverso.

3 commenti
Many many many thanks, everything went fine with my iMac early 2009 which is now ready for a second life with my kids :)
Mystery: I have removed and replaced my bezel many times - most recently to repair the vid card. However this time while powering up fine before replacing the bezel - now, once bezel is in place it won’t power on - but I hear a ‘click’ in the lower right corner after pushing the power. But then, if I pull the bezel back about an inch from the top - it starts >Something seems to be ‘shorting’ ?
Many thanks Brittany and ifixit, no problems encountered and it took me about 2 hours only because I checked and double checked everything I did. iMac early 2009, saved it from the scrap heap for a while longer.
The grid won't fall off by itself. You'll have to help it. Use the smallest screwdriver you have; the Torx 6 worked fine for me. It should enter in one of the many holes composing the grid. Use it as a lever to ploy the grid a little bit. You may catch it with your fingers and that's it.
Be carefull not to damage the hole by a too strong leverage.
Laurent -
much more safer to use duct tape, instead of torx 6. (glue it along the length of the grid and pull). it will loose instantly and smooth;)
Hofmann78rus -
Anyone know a guide to replace the plastic piece this screw connects to? I accidentally forgot this step - went to remove the front bezel and bent the plastic piece the access door connects to.
Jason Augustin -