Introduzione

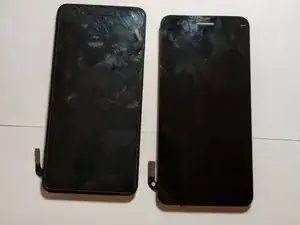
If you've dropped your LG Fortune 2 and noticed screen cracks or greenish imperfections (backlight bleed), it may be time to replace your screen. The process is very straightforward, requires two tools, and will help salvage your phone. Don't overpay for a professional or buy a new phone. Instead say "I fix it" and use this guide.

  1. JyQ4HVmLjZ5MUtJZ
    JyQ4HVmLjZ5MUtJZ
    S4HMTl42LgoIXBbP
    I1k2jwPKjmSBJYZI
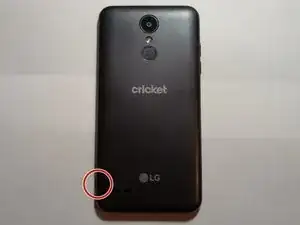
    • Use the slit on the bottom left side of the phone to open the back cover using your hand.

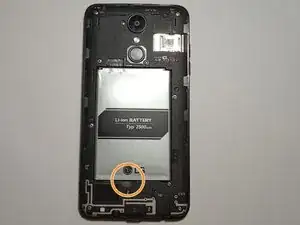
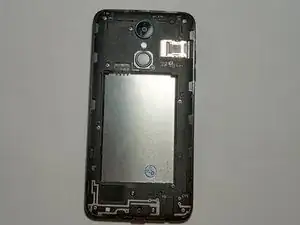
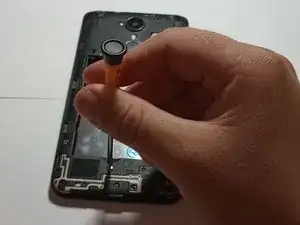
    • Use the groove at the bottom of the phone to remove the battery.

    • Remove the battery for safety purposes before moving on to step 2.

  2. T3pFPl24UkODEQIk
    T3pFPl24UkODEQIk
    tFZL3tl2OpdAri3G
    2iPg2USFWELXfxFp
    • Remove the twelve 4 mm screws on the back paneling using a Phillips #000 screwdriver.

  3. SZ4VsBhTywVCMXpL
    SZ4VsBhTywVCMXpL
    U1LPfmkXSWOnCmyB
    EmROGF1gpOLml6PB
    • Use the plastic opening tool to wedge between the glass screen and midframe.

    • Wedging the glass screen from the midframe will require some force, so be careful not to damage/snap the opening tool, as you will need it for later steps.

    • Make sure all screws are removed prior to this step, as not doing so will make it impossible to wedge the screen from the midframe.

  4. jRuDigMfl6fZjStm
    jRuDigMfl6fZjStm
    VbnihVc6NXhgWKyS
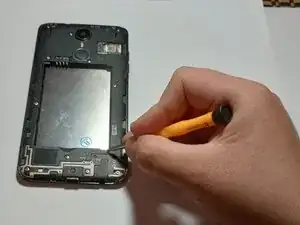
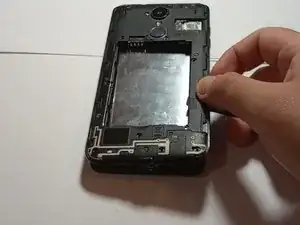
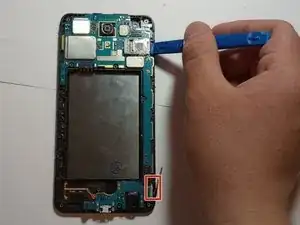
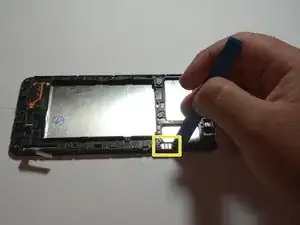
    • Use the plastic opening tool to release the flex cable.

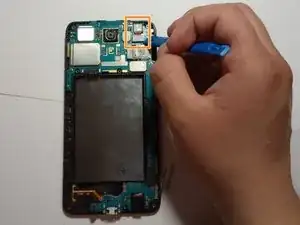
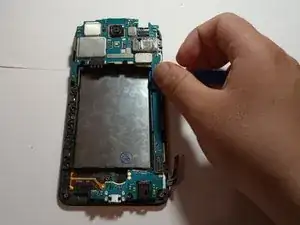
    • Pry off the front camera located above the SIM card slot using the plastic opening tool.

  5. EBIW4WtxPeMkKhxq
    EBIW4WtxPeMkKhxq
    d1QWvw3JeR2NPmAT
    BG1phEGh1FfXLn3R
    • Use the plastic opening tool to pry off the motherboard from the rest of the device.

    • Preferably, start from the bottom of the phone as there is more space to wedge the plastic opening tool into.

    • Handle the motherboard with care, as it is the backbone of the device

  6. W1U3hrZobawUNylZ
    W1U3hrZobawUNylZ
    E6K6XZdWNxodqQcZ
    BDvTiRmTfYqPEPNp
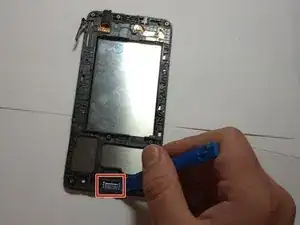
    • Use the plastic opening tool to remove the ear speaker on the underside of the device.

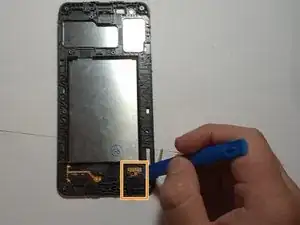
    • Remove the headphone jack using the plastic opening tool.

    • The headphone jack is protected by a small rubber piece that will need to be removed by scraping it with the prying tool.

    • The headphone jack is covered by a fairly strong adhesive, so extra force may be required. Do not damage the piece.

    • Remove the volume rocker/button on the side of the phone using the plastic opening tool.

  7. lvov6qVfqn2ISI52
    lvov6qVfqn2ISI52
    R2VwQ233FP2rMZPO
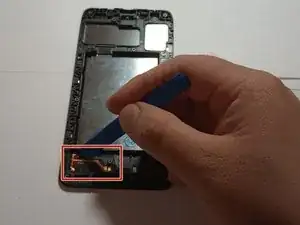
    • Disconnect the loudspeaker antenna on the bottom of the phone using the plastic opening tool.

    • Scrape off the small rubber piece from the antenna.

    • Photo 2 shows the new LCD screen replacement with frame.

    • If you order the glass and LCD in one piece without the frame, you will need to remove the previous glass and LCD with some heat around the edges and use the plastic opening tool to wedge between them and the frame.

    • To mitigate screen damage, use a glass screen protector and a cell phone case.

Conclusione

To reassemble your device, follow these instructions in reverse order.

Bryam Ochoa

Membro da: 23/01/23

145 Reputazione

0 commenti