Introduzione
Use this guide to replace the freezer drawer slides in your LG model LFX25973 refrigerator.
The drawer slides provide support for the main freezer drawer and also for a secondary drawer mounted in the freezer. The drawer switch for the freezer drawer is also located on the left-hand slide.
The slides themselves are usually trouble-free, but you may need to remove them to access other parts, like the light switch or the evaporator cover.
Strumenti
-
-
Unplug your refrigerator before you begin your repair.
-
Condenser Fan Motor
-
Compressor Motor and Thermal Overload Device
-
Water Supply Valve Assembly
-
-
-
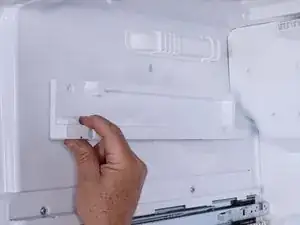
Use your finger or a flat-blade screwdriver to depress the two locking tabs on the right drawer rail cover.
-
Lift the cover off of the rail and remove it.
-
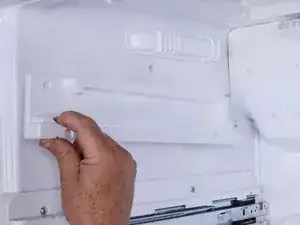
Repeat this procedure for the left drawer rail cover.
-
-
-
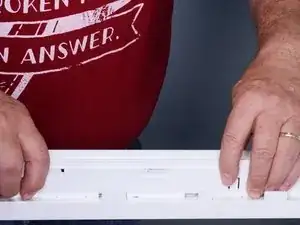
Hold the drawer rail cover flush against the side of the drawer rail.
-
Push the rail cover straight downward to install. It should click into place.
-
-
-
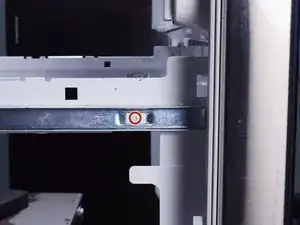
Use a Phillips screwdriver to remove the 10.4 mm‑long screw securing the drawer to each of the drawer slides.
-
-
-
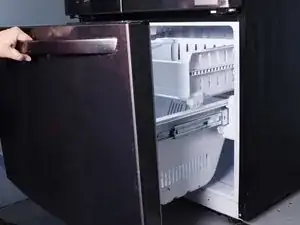
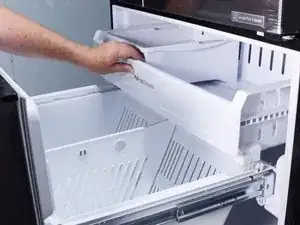
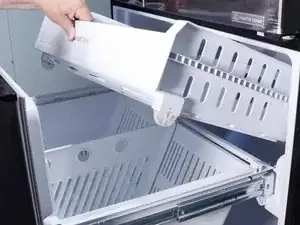
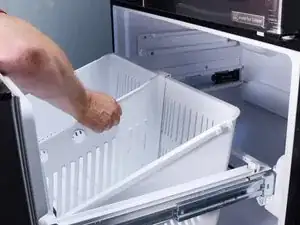
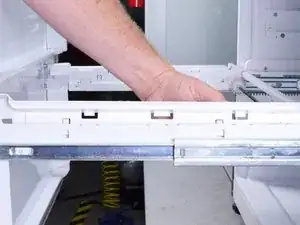
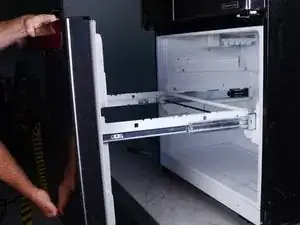
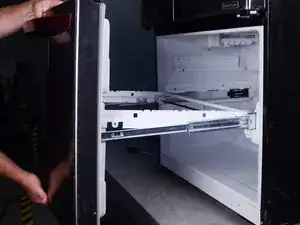
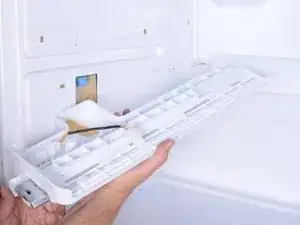
Lift the front of the drawer up.
-
Pull the drawer toward you to release the drawer from the drawer slides.
-
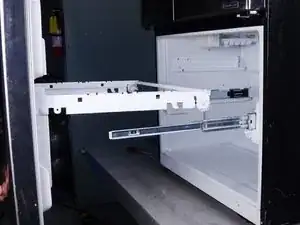
Remove the freezer drawer.
-
-
-
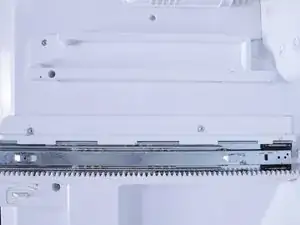
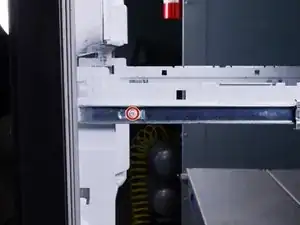
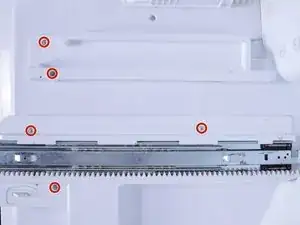
Use a Phillips screwdriver to remove the five 22.4 mm‑long screws securing both left drawer slides.
-
-
-
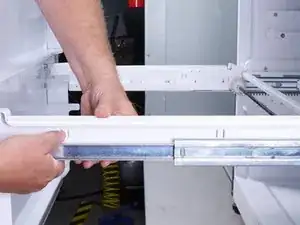
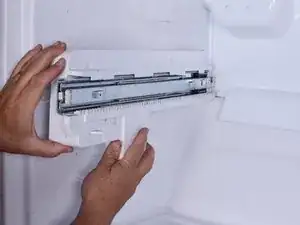
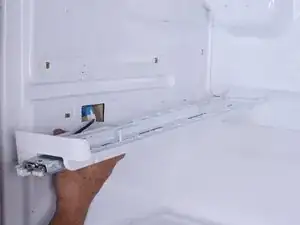
Pull the upper left drawer slide slightly towards you to release the locking tab at the rear.
-
Remove the upper left drawer slide.
-
-
-
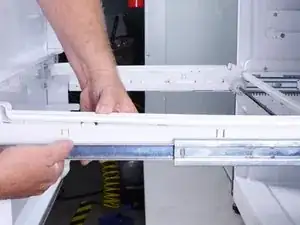
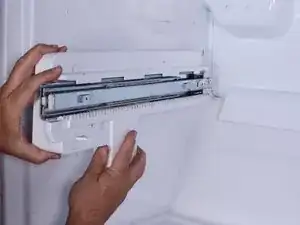
Pull the lower left drawer slide slightly toward you to release the locking tab at the rear.
-
Reposition the lower left drawer slide to gain access to the door switch connector.
-
-
-
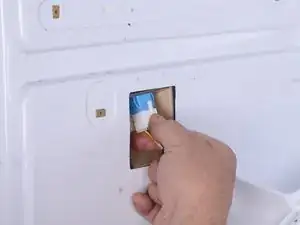
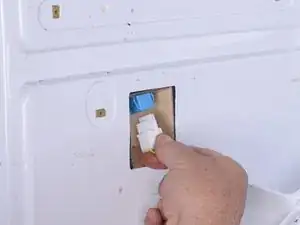
Squeeze the door switch connector to release it.
-
Pull the door switch connector down to disconnect it.
-
Remove the lower left drawer slide.
-


To reassemble your device, follow these instructions in reverse order.
Take your e-waste to an R2 or e-Stewards certified recycler.
Repair didn’t go as planned? Try some basic troubleshooting, or ask our Answers community for help.