Introduzione

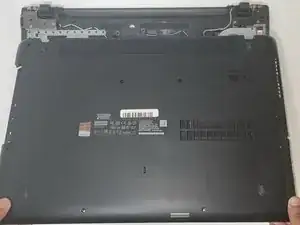
If the laptop is not showing any signs of turning on, there's a chance the battery is defective or loose. You can secure the battery in place and learn how to remove it by following this device tutorial.

  1. GGoueNGYIcUEoSwt
    GGoueNGYIcUEoSwt
    lbiHkgBM3NrMn1Fa
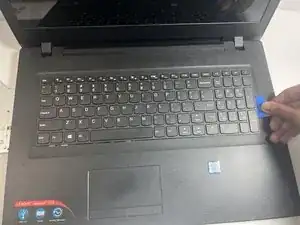
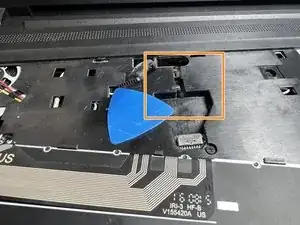
    • Insert an opening pick between the chassis and keyboard.

    • Gently slide the pick around the perimeter of the keyboard while prying until it releases completely.

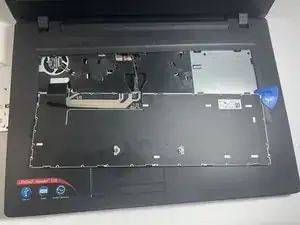
    • Remove the keyboard.

  2. kjhMe4oaLPaxmxxI
    kjhMe4oaLPaxmxxI
    iZmHVND1YwePkcfK
    • Disconnect the cable connector from the motherboard.

    • Slide the cable out of the case.

  3. JcLiDr1QhvFKMbGK
    • Place the the computer bottom facing up. Unscrew the eleven Phillips #0 6 mm screws.

  4. qBbfZK5DHyhHGUE2
    qBbfZK5DHyhHGUE2
    kgH2IhVEgp3MsJKF
    • Pry the disk drive opposite of the laptop.

    • Since the screws has already been removed, you will not need to worry about any more screws on the optical drive.

  5. yvsuXfnVLYBfFSTr
    yvsuXfnVLYBfFSTr
    DajLlGwDqYfFg3Oy
    • Release any of the remaining retaining clips and remove the lower case.

  6. 456RSA6ruxULlToT
    456RSA6ruxULlToT
    VRmQQBEKLUbjcNcb
    21hFUN3wY5RrGm5s
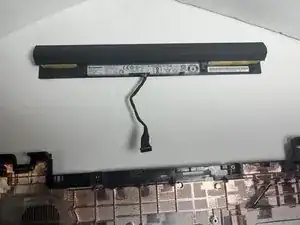
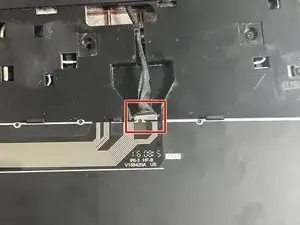
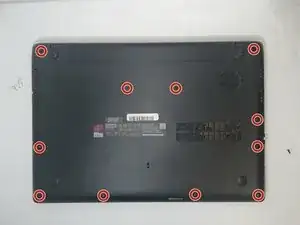
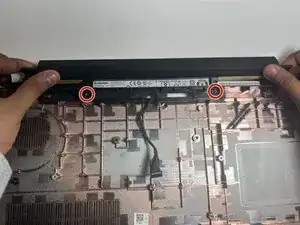
    • Remove the two 9 mm Phillips #0 screws that secure the battery.

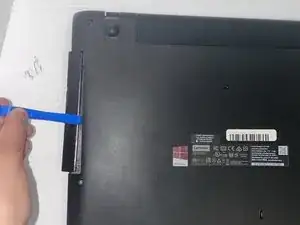
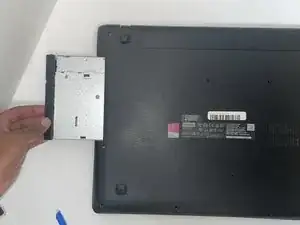
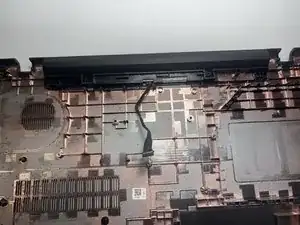
    • Remove the battery from the device.

Conclusione

To reassemble your device, follow these instructions in reverse order.

Cameron Mounce

Membro da: 06/09/23

668 Reputazione

0 commenti