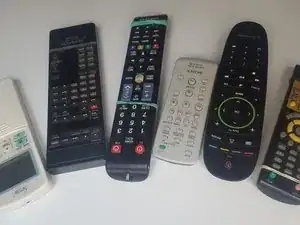
Introduzione
"A remote control is like a sponge" that absorbs moisture and dirt because it is often used with dirty or sweaty hands and sufferers from drops and knocks that can damage the seal.
Over time the most used buttons fail or stop working, To repair the buttons, it is typically best to disassemble the remote and do a simple and proper cleaning that anyone can do by following this guide.
This method may also apply to some wireless phones that have similar keypads.
-
-
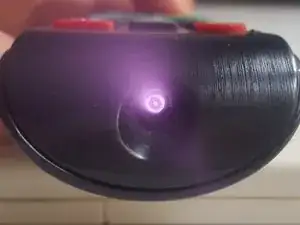
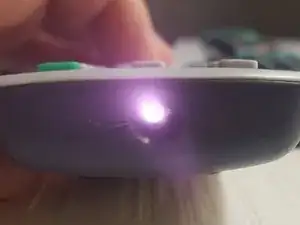
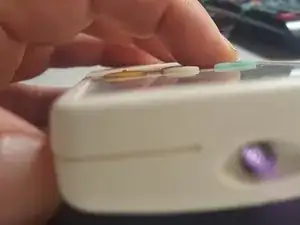
Using a digital camera: the infrared can be visible using almost any digital camera. There is no need to be fancy--simply use your phone's camera for this. Point the remote at your camera and press some buttons. They should make the LED produce a bluish-purplish light only visible in the camera screen. Here are some examples.
-
Using an AM radio: put the remote near an AM radio between 520 and 1600 kHz. You should hear some kind of click, or interference noise with different intensities based on the frequency.
-
-
-
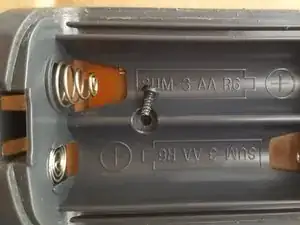
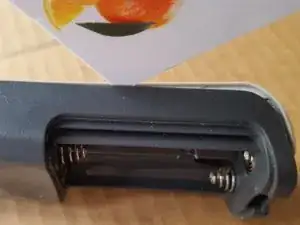
To disassemble the remote, look for the screw to remove the cover in the battery compartment, as shown in the image.
-
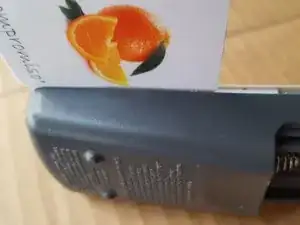
Even after the screws are removed, the front and back covers containing the circuitry might not be easily separated. To separate them, use a plastic card such as a bank card, by inserting a corner in the central part of the case. It is best not to use anything metallic to avoid damaging the case.
-
Move through the joint with the card until one of the covers is decoupled. Then the joint can be opened until the covers are completely separated.
-
-
-
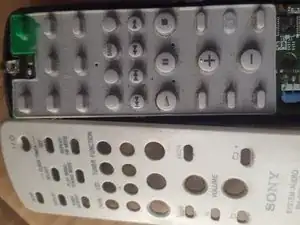
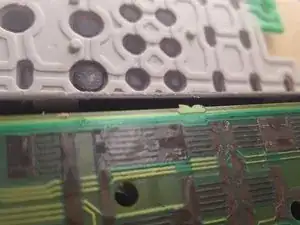
The first photo shows how much dirt and debris accumulated under the cover and on top of the flexible, grey keypad.
-
Pull the flexible rubber from the circuit, and on the back check that the keys end in a black piece that might be graphite or something similar. Normally the most used keys are more stained, as can be seen in the photos.
-
-
-
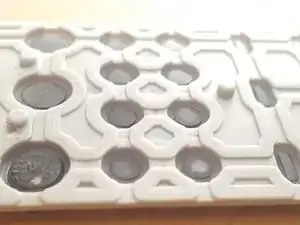
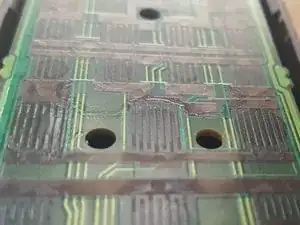
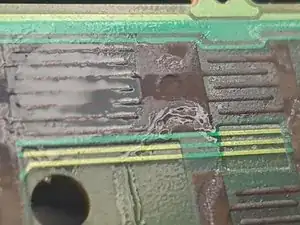
The black tracks of the circuitboard will accumulate grease and dirt, specifically on the black screen-printed tracks that form the opposing combs that come into contact with the black part of the keys when pressed.
-
Let it completely dry. Appreciate the result of the cleaning.
-
-
-
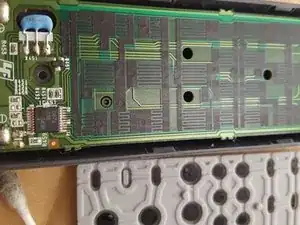
In the picture you can see how clean now is both the PCB and the switches.
-
To assembly you often have to put the PCB into he bottom half, carefully threading the battery contacts into the case rails (if any), then aligning the buttons over the PCB and finish with the top half, be mindful of the LED or window in front, buttons should align themselves.
-


Anyone can complete this cleaning task.

2 commenti
Aunque he quitado la tapa delantera y tres tornillos de la parte trasera y no hay ninguno más en el compartimento de las pilas, no veo la forma de separar las carcasas del mando del aire acondicionado Fujitsu. Se ha puesto amarillo con el tiempo y me gustaría aclararlo con una solución de peróxido de hidrógeno + luz intensa, como he hecho en otras ocasiones con otros aparatos.
Los mandos del aire acondicionado son ligeramente distintos de los de TV, porque no se ve ranura lateral. ¿Alguien sabría por dónde “atacar”?
Es de este tipo: https://www.fujitsu-general.com/global/r...
Si el mando funciona no me arriesgaría a romperlo y haría la limpieza superficialmente, pero si lo quieres intentar prueba:
- saca del todo la tapa de las pilas, por si hay algún tornillo más.
- si hay tornillos escondidos debajo de alguna etiqueta, presiona por la zona a ver si hay debajo algún agujero.
- quizás esté sujeto con pestañas y puedas hacer palanca con algún utensilio de plástico pero puede que se rompan.
Nos cuentas el resultado y nos detallas tu método de limpieza, gracias.