Introduzione

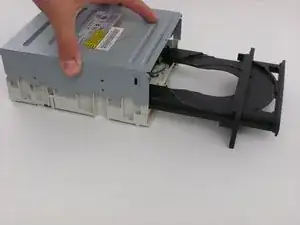
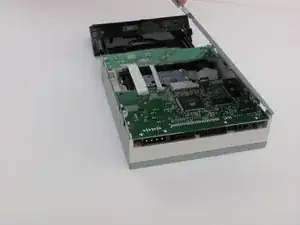
Remove the top cover of the optical drive to access the internals and replace any malfunctioning components.

  1. kjV4GRiGoMMDnEQQ
    kjV4GRiGoMMDnEQQ
    yHsuQfGnp36GRjrs
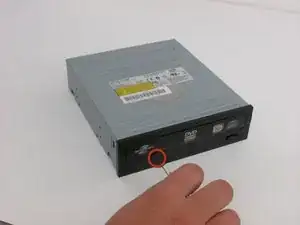
    • Insert an open paper clip into the small hole on the left side of the faceplate.

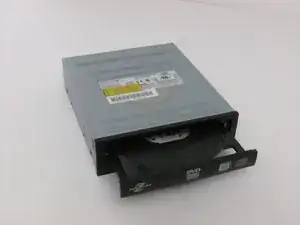
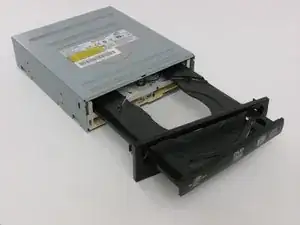
    • After the tray opens, extend it fully.

  2. YpATImlHsjBjuTA4
    YpATImlHsjBjuTA4
    tV1JEGHJJugkju2M
    h1UTTOvVJHehjWkA
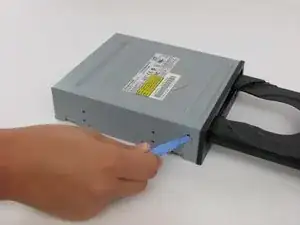
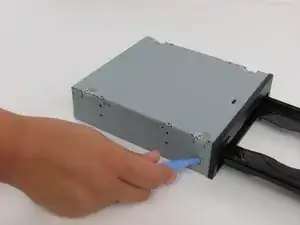
    • Use an opening device to push in the black tabs on the left, right and bottom of the outer chassis to unhook the faceplate.

  3. U1ZSBnadgKmwZOL5
    • Pull the faceplate away from the main chassis.

  4. Hl3gDZkGvONnDqYf
    • Unscrew the four 8.5 mm screws on the bottom chassis using a Philips #2 screwdriver.

  5. mtKrVUWRrTtZguQA
    mtKrVUWRrTtZguQA
    ywZoobueOoBZY2Us
    • Lift the top and bottom chassis straight up in order to remove them.

Conclusione

To reassemble your device, follow these instructions in reverse order.

James Biggs

Membro da: 12/10/11

596 Reputazione

0 commenti