
Introduzione
Strumenti
-
-
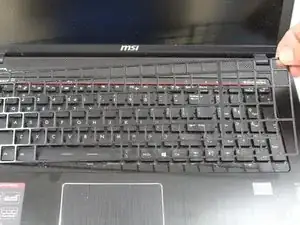
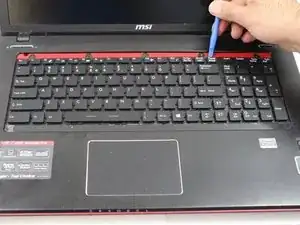
Insert iFixit opening tool as shown in the picture to pry up on the keyboard guard.
-
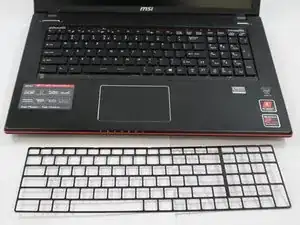
Remove the keyboard guard.
-
-
-
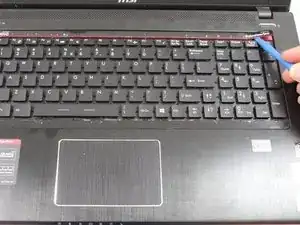
Insert the iFixit tool under the plastic screw cover.
-
Grab the plastic part with your hand and lift it off the casing.
-
Remove the plastic part to reveal the screws holding the keyboard in place.
-
-
-
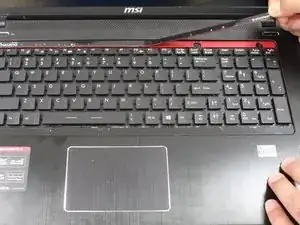
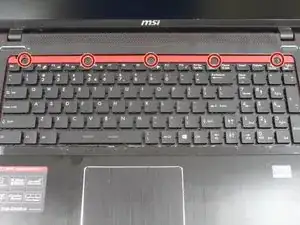
Unscrew the five screws located at the top of the keyboard.
-
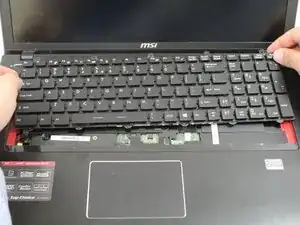
Use the opening tool to lift the keyboard from its position
-

Conclusione
To reassemble your device, follow these instructions in reverse order.
Un commento
What about step 4 detaching the ribbon cable?