Introduzione
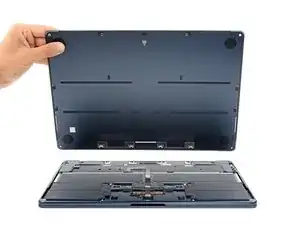
Use this guide to remove or replace the lower case on your MacBook Air 15" 2023.
-
-
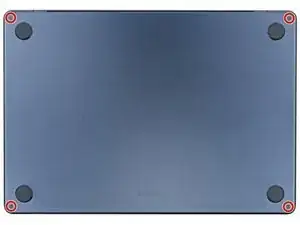
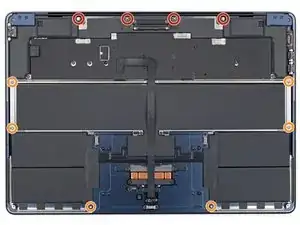
Use a P5 pentalobe screwdriver to remove the four 6.4 mm‑long screws securing the lower case.
-
-
-
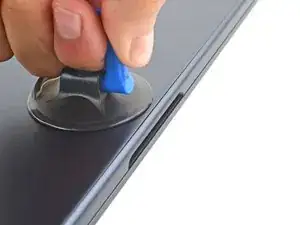
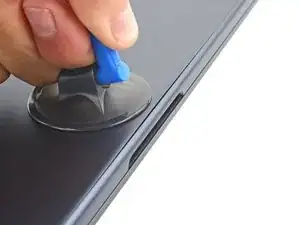
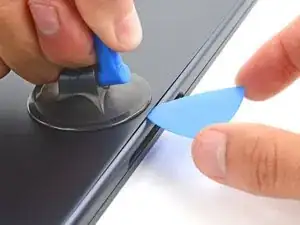
Apply a suction handle to the center of the lower case's front edge.
-
Pull up on the suction handle to create a gap between the lower case and the frame.
-
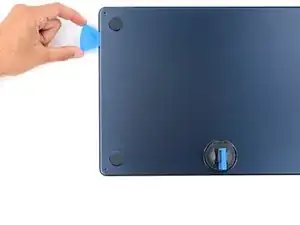
Insert an opening pick into the gap.
-
-
-
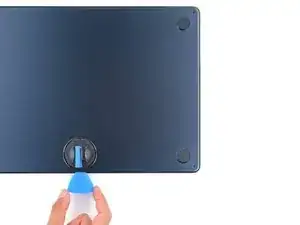
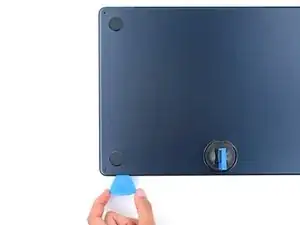
Slide the pick to the bottom right corner to release the first clip.
-
Slide the pick around the corner and up the right edge to release the next two clips.
-
-
-
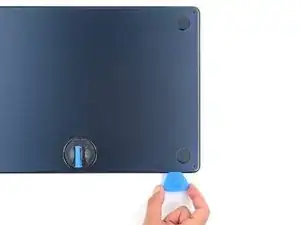
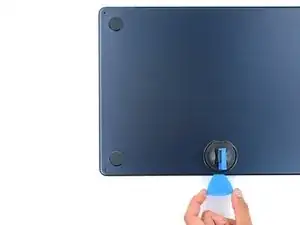
Insert the opening pick in the original gap created with the suction handle.
-
Slide the opening pick to the bottom left corner and up the left edge to release the three remaining snapping clips.
-
-
-
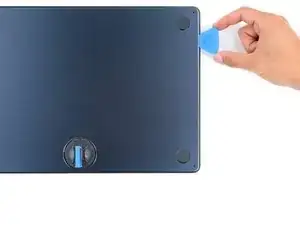
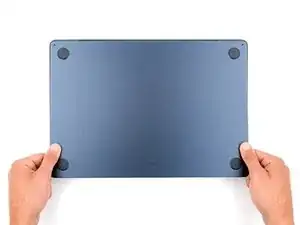
Keep the lower case flat and firmly pull it straight away from the back edge, one corner at a time, to disengage the sliding tabs.
-
-
-
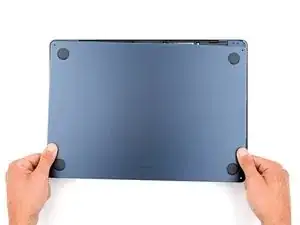
Remove the lower case.
-
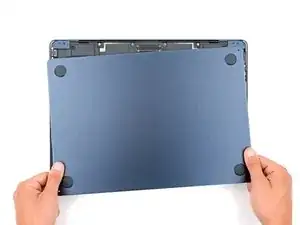
Set the lower case in place and align the sliding tabs with the screw heads they slide over. Press down and slide the lower case toward the back edge to engage the tabs—it'll stop sliding as the tabs engage.
-
Once the lower case is flush with the frame, press down firmly along the perimeter to engage the six snapping clips.
-


To reassemble your device, follow these instructions in reverse order.

2 commenti
What are the option to fix or replace the corner casing? it seems separate from the bottom and the top one. is it possible to replace it?
PHG -
Hi! I'm not entirely sure I know which component you're talking about. Are you referring to the upper case (this link is for last years model), which has the keyboard?