Introduzione
Has your Marshall Woburn been having trouble with lower-pitched audio? If so, here is the guide on how to remove the two subwoofers. All you need is the standard #1 Phillips Screwdriver head to remove the screws involved with this replacement.
Strumenti
-
-
On a flat surface, orient the device so that the front grille is facing downward.
-
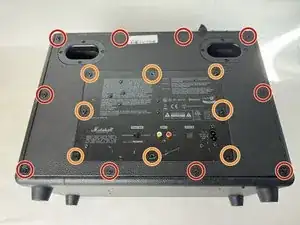
Using a Phillips #1 screwdriver, remove the ten outer 28.6 mm screws marked in red.
-
Remove the eight inner 28.6 mm screws with the Phillips #1 screwdriver.
-
-
-
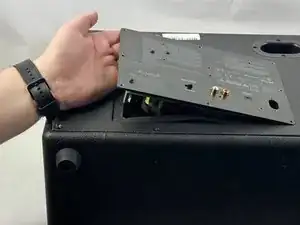
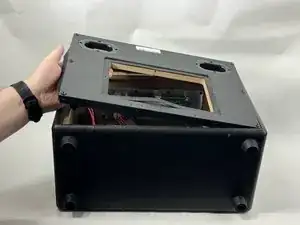
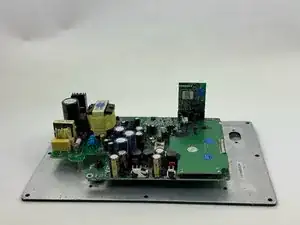
Lift the back input board slightly above the back panel.
-
Rotate the input board so that you can slide it into the hole in the back panel that it came from.
-
Fully slide the input board through the back panel and set it down gently inside the speaker.
-
-
-
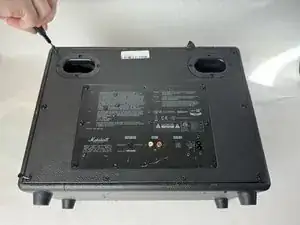
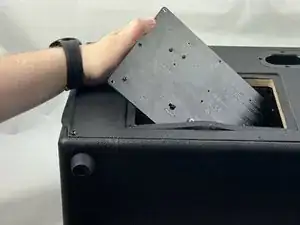
Grab the panel by the large hole and lift one side until you can fit your hand under.
-
Use your hand to fully remove the back panel from the rest of the frame.
-
-
-
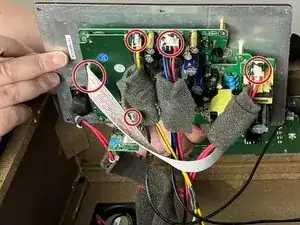
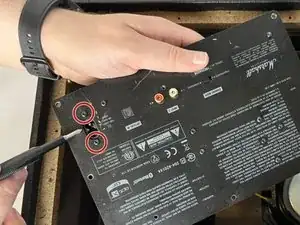
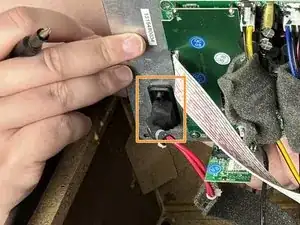
Remove the two 12.7 mm screws marked in red from the front of the back input panel with a Phillips #1 screwdriver.
-
Remove the power input from the back side of the panel.
-
-
-
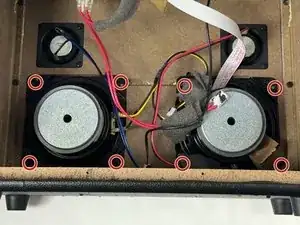
Using a Phillips #1 screwdriver, remove the eight 15.8 mm screws attaching the subwoofers to the frame.
-
-
-
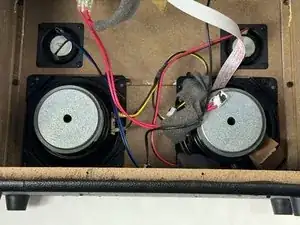
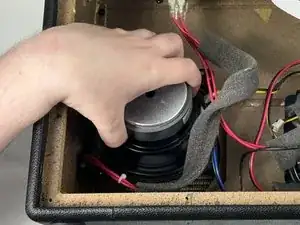
Lift each subwoofer up and out of the case and remove them together. This may require some foce.
-
To reassemble your device, follow these instructions in reverse order.