Introduzione
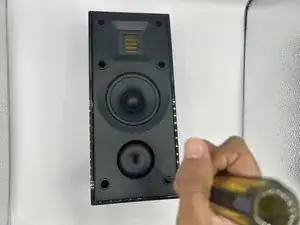
Follow this guide to replace the Folded Motion Tweeter found inside your MartinLogan Motion 4i Speaker.
You must have the back cover removed from the Speaker to start repairs. If you have already removed the back cover, please skip to step 7.
You will also need a Soldering iron to replace the Tweeter. Please be responsible with this tool and learn how to properly handle it before continuing. Unfortunately, we as students do not have access to a working soldering iron for this project so we are limited in what example pictures we can list.
-
-
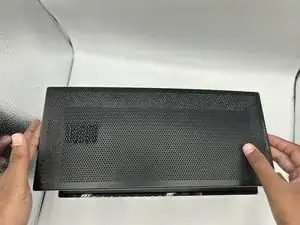
Remove the speaker grill from the face of the speaker by using both hands to grip both ends of the speaker grill and pulling up to release the magnetic ends.
-
-
-
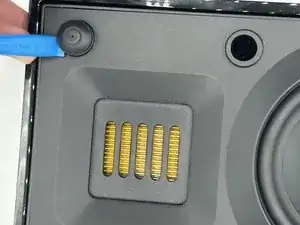
Remove the six caps from the outer edge of the face of the speaker with an iFixit opening tool.
-
-
-
Remove the six 4 mm Phillips #2 screws that are located inside each of the holes where the rubber caps used to be.
-
-
-
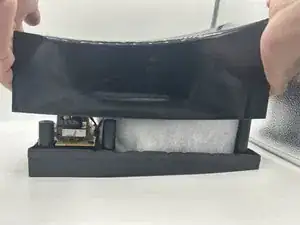
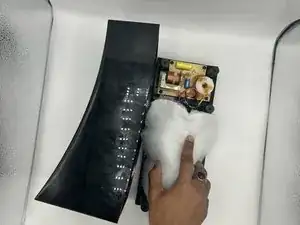
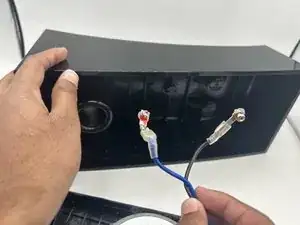
Lightly grip the material that insulates and covers the speaker components and remove it by pulling up.
-
-
-
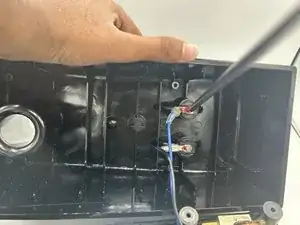
Remove both wires that are connecting the back of the speaker to the components of the speaker to fully access the speaker components.
-
-
-
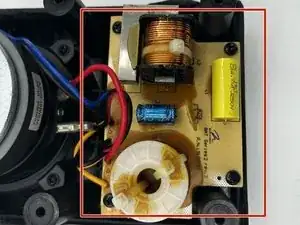
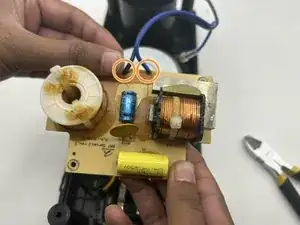
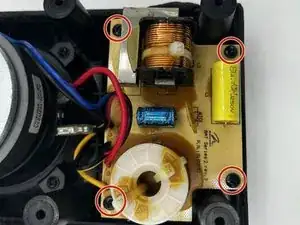
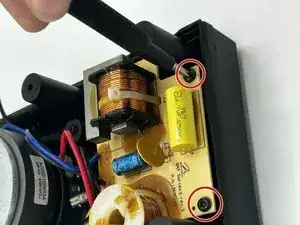
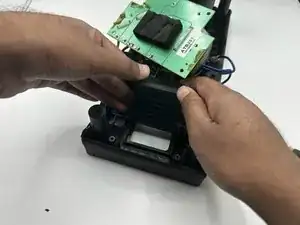
In order to access the tweeter, we must first remove the Crossover, which is highlighted in red.
-
Using the soldering iron, desolder the connections on both the blue and black wires.
-
-
-
Remove the four 3 mm Phillips #2 screws found at the top of the crossover.
-
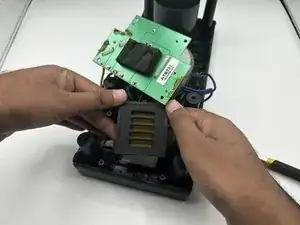
Remove the crossover from the speaker and set it aside.
-
-
-
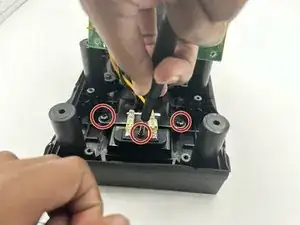
Unscrew the next three 3 mm Phillips #2 screws.
-
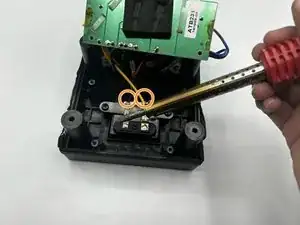
Desolder the connections on the black and yellow wires holding the tweeter in place.
-
-
-
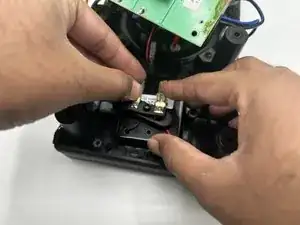
The tweeter should now be completely free. Give it a slight pull to remove it from the speaker.
-

To reassemble your device, follow these instructions in reverse order.
