Introduzione

This guide describes how to replace the arms that position the propellers for the Mavic 2 drone.

  1. jtZUFJuopS2iGFxE
    • Remove the two M2x5 screws from the plastic cover by the camera using and H1.5 Allen bit.

  2. CbblCIdaMDy1CDpS
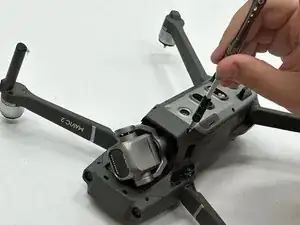
    • Gently remove the cover by the front camera by wiggling out the clips holding it in on both sides.

  3. 5hPFdUQnJZaPmEDh
    5hPFdUQnJZaPmEDh
    a6YIYCFlItcwabi6
    DxadKk5tnRgfCFej
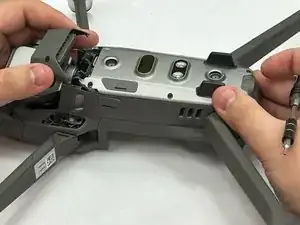
    • Remove the six M2x5 screws from the bottom plastic cover using a H1.5 Allen bit.

    • Remove the plastic cover once all screws are extracted.

  4. s6lRQLWU2JNLLBAK
    s6lRQLWU2JNLLBAK
    4U2RrwKgeeDV6MVc
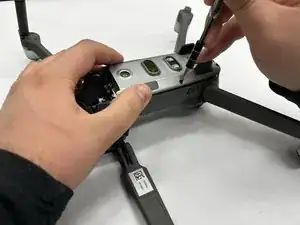
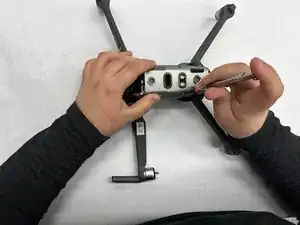
    • Using tweezers or a plastic pick, remove either the white or black wire plugging into the board.

    • Be gentle removing the wire from the plug, you can damage the plug on the board.

    • The wire being pulled depends on which arm is being replaced. The wire that is closest to the arm being replaced is the one to unplug.

  5. RHtOlOoivVStptFf
    RHtOlOoivVStptFf
    nwCoPabl2TOCDefy
    MhMccD15HccWBFa3
    • Unscrew the two M2x5 screws holding on the front nose.

    • Using a plastic pry tool, gently pry along the seem around the front nose to remove it.

  6. NRQJseoEtGQTQgxs
    NRQJseoEtGQTQgxs
    WoKHPwFClmhHriOL
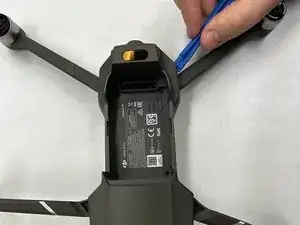
    • Remove all ten M2x5 mm screws holding the top plastic cover of the drone. Two at the back, four in the battery bay, and two at each front arm joint.

    • At each arm joint, only one screw is visible. The second screw is under the plastic piece being held on by the first screw.

  7. rRCBJh1H31JPWlyf
    rRCBJh1H31JPWlyf
    1FU3FENefFXM1PVf
    1tGkkPy3bXLMFo1N
    • Using a plastic pry tool, pry along the seem around the top cover to separate it from the chassis. Be patient as it does take a bit of time and effort to get it off.

  8. TDLWXfAombyYymfa
    TDLWXfAombyYymfa
    M3pCmoDGhQXBsvEM
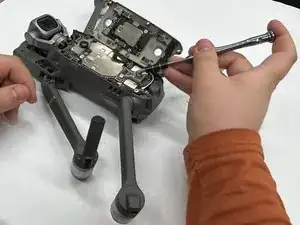
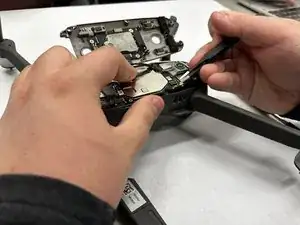
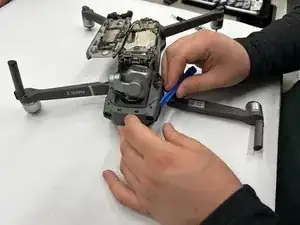
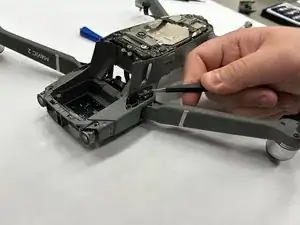
    • Use a Phillips #0 screwdriver to remove the screw that secures the arm spring.

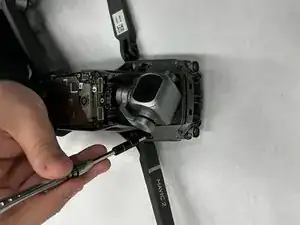
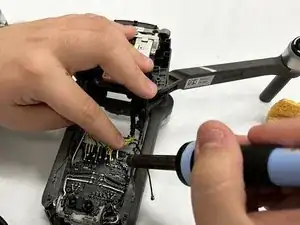
    • Then remove the spring, use either tweezers or a flat-head screwdriver to lift it up out of the arm.

  9. U3QoDnUkO3OoWIuP
    U3QoDnUkO3OoWIuP
    36fBSHTMUH1Iltb3
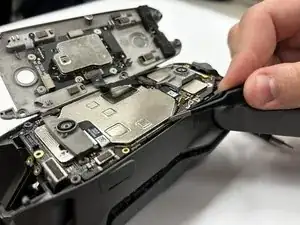
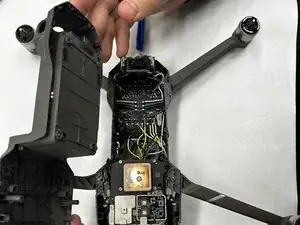
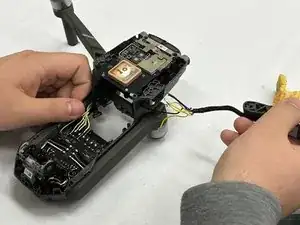
    • On the topside of the drone,desolder the wires from the main board that correspond to the arm trying to be replaced, there should be six in total.

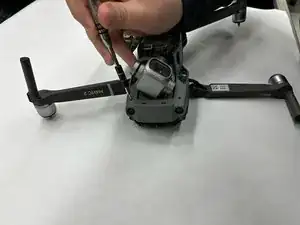
    • Remove the arm once all wires are desoldered.

    • Make note of where each wire goes on the board as the colors may not be the same across all models.

Conclusione

To reassemble your device, follow these instructions in reverse order.

Nick Imel

Membro da: 09/11/23

178 Reputazione

0 commenti