Introduzione

Removing the PCB board requires a Phillips #1 screwdriver with at least a 15 cm shaft and a set of tweezers. Make sure there are no batteries in the device and that it is not plugged in before starting the procedure.

  1. aDEMMURHs5F2if2j
    aDEMMURHs5F2if2j
    HmbFdNFQDqVP4DEG
    aAbVZ2vKevKIU6gH
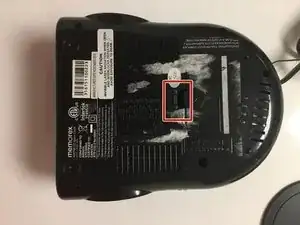
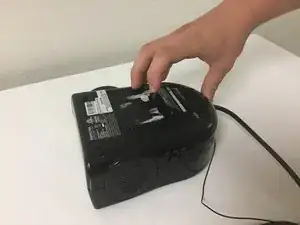
    • Turn the clock radio over so the bottom is facing up.

    • Pull the tab upward and remove the cover from the battery compartment.

    • Remove the batteries.

  2. KavJLYJyjxCNm1Ri
    KavJLYJyjxCNm1Ri
    RxWVewsZIJjiQsad
    JKEsjqjDJhPQOgTX
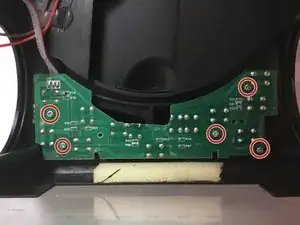
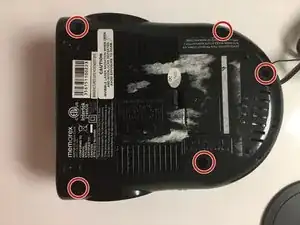
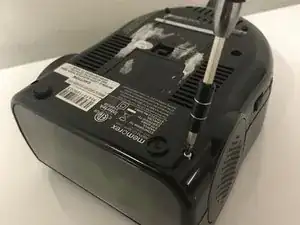
    • Remove the five screws on the bottom of the device with a screwdriver.

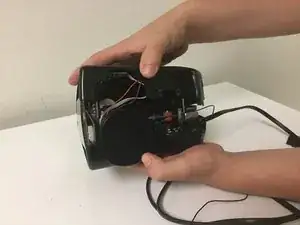
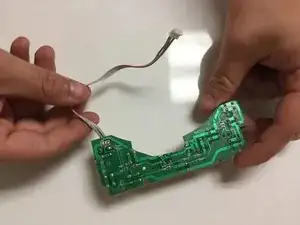
    • Grasp the top and bottom and gently pull apart.

    “deolder” -- you mean “desolder”

    Sandy Lowe -

  3. OBg1YLWTIEXaQFB4
    • Remove the (5) 7mm screws with a Phillips #1 screwdriver and a pair of tweezers.

    • Using a magnetic tip screwdriver will prevent screw loss.

  4. s3aJebp554qrJtVY
    s3aJebp554qrJtVY
    WHJbCbegDBQHZvDr
    RqD5DjAtj3ApovdS
    • Locate the wiring harness.

    • Disconnect the wiring harness using the tweezers.

  5. chJ6ndW1K1i5LYSH
    • Remove the PCB board from the device.

    • Replace the broken motherboard with a new PCB board.

Conclusione

To reassemble your device, follow these instructions in reverse order.

Aubrey Frank

Membro da: 15/02/18

399 Reputazione

0 commenti