Introduzione
This guide will show how to replace the strings and cables on a Mission Hammr archery bow.
Before attempting this make sure you know how everything being used for the repair operates. Incorrect use of the equipment could lead to damage and potential injuries to you as well.
When compressing the bow in the press be sure NOT to compress it anymore than what’s needed. If you do, it could result in damage to the bow and the bow press itself. If compressed enough the bow could shoot out of the press potentially harming you as well. Make sure the arms you are using in your bow press are supported in working on the Mission Hammr. If your press is not capable of holding the Mission Hammr DO NOT attempt to work on this bow in your press, doing so can seriously harm you and the equipment. Keep your fingers out of the cams. This can be tough when trying to replace the strings and cables but remember the bow is compressed and if it was to slip out while you had your fingers in them, they have the ability to break or cut off your fingers.
Warning: Exercise extreme caution when following this guide. Do not attempt to work on this bow in your press. Doing so can cause serious injury.
-
-
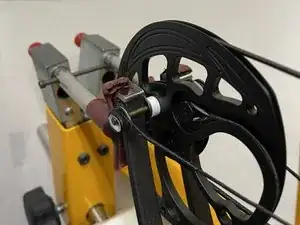
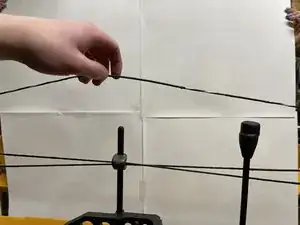
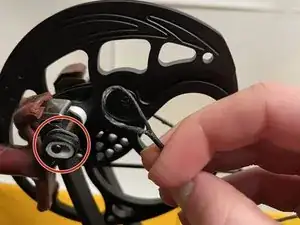
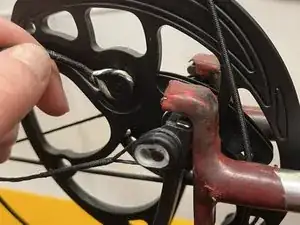
Slowly compress the bow press until the string has some slack similar to what's shown in the picture.
-
-
-
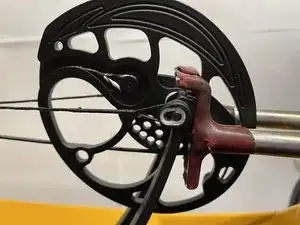
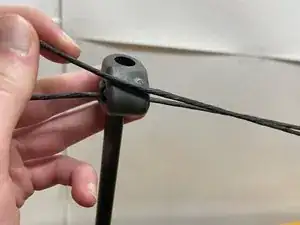
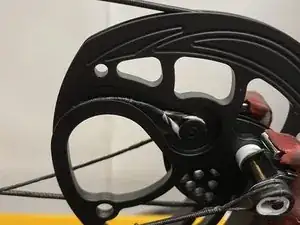
Once both sets of cables are replaced, make sure they are in the correct grooves before continuing.
-
-
-
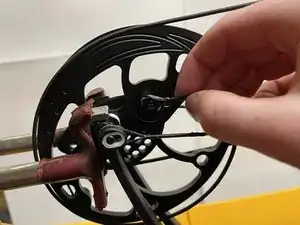
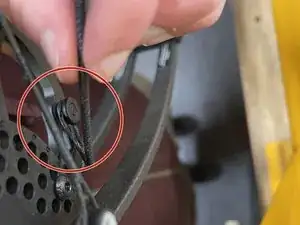
Now with the string on and in the correct groove check through everything once more.
-
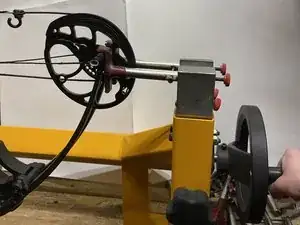
With the bow press, slowly tighten the strings and cables until it looks like it did before the replacement.
-
-
-
Now with the pressure back on the bow everything should be ready to go.
-
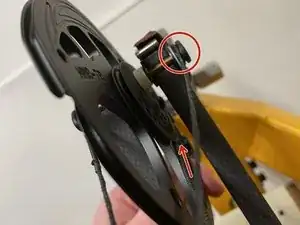
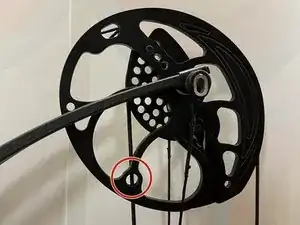
Double check to make sure the cables align in the tuning holes and the strings and cables have successfully been replaced.
-
To reassemble your device, follow these instructions in reverse order.