Introduzione

If the buttons on the front of the device aren't responding, you may have a faulty button board. Follow the instructions below to replace your button board.

  1. 5Zuyww6MUCUmwrPc
    • Turn the device so the screen is facing down.

  2. A5OVBopfhuZPGGBn
    A5OVBopfhuZPGGBn
    YjgL5CgYeabYpVYQ
    • Slide the battery lock switch next to the power slider to the unlocked position.

  3. KvYPYDKmMUeBwMjH
    KvYPYDKmMUeBwMjH
    lWYDNLysIPrpVvfu
    YsYZNQbwsPiFQGw5
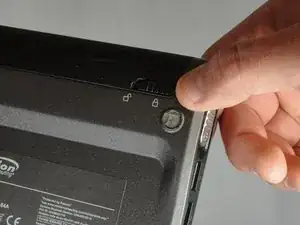
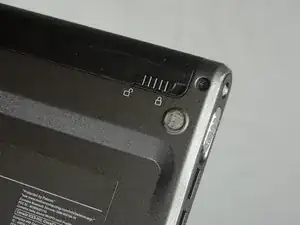
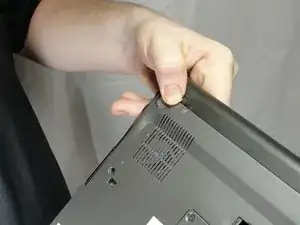
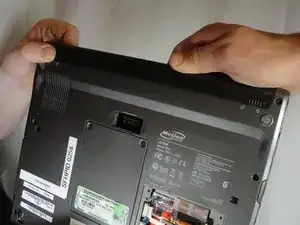
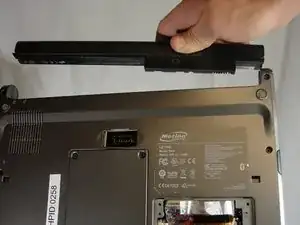
    • Slide and hold the switch by the fan vent to the unlocked position. Firmly grasp the battery and pull away from tablet.

    • When replacing the battery, place the end near the fan vent in first. Make sure to keep the other switch in the unlocked position while pushing the battery into place.

  4. NEmVOBKAWgNsOPSw
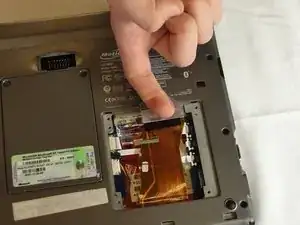
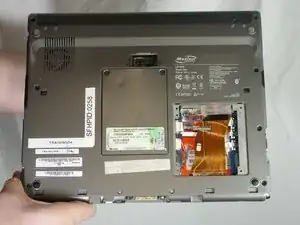
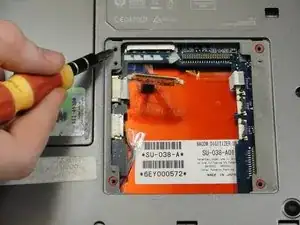
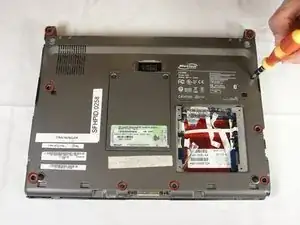
    • Unscrew hard drive panel using a Phillips head #1 screwdriver.

    • (Our device was not given to us with a hard drive or a hard drive panel)

  5. bkapbmOJOkIcsqWk
    bkapbmOJOkIcsqWk
    mmH1ZPTYWnKYJ5T3
    gbOIOyWq12aKQrGu
    • Pull clear plastic tab to detach hard drive from tablet.

  6. NUVHPniWRKtDCTu4
    NUVHPniWRKtDCTu4
    PFslxaOYKqfAgvTV
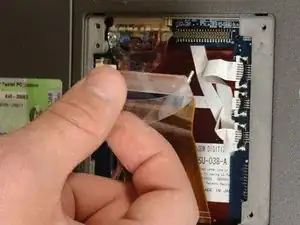
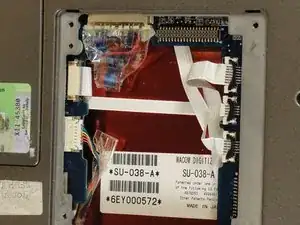
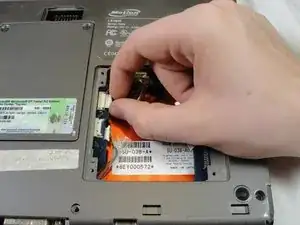
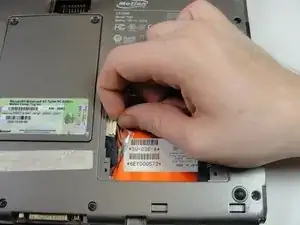
    • To disconnect the three white ribbon cables on the side closest to the hard drive connector, pull the white plastic tabs.

  7. GG1BcryBg1vLlJp1
    • Pull the brown tabs to disconnect the white ribbon cable on the other side.

  8. SwVqUXeFHXyHy5Db
    SwVqUXeFHXyHy5Db
    ZuA1bVNBbeyI1LMD
    • Caution: do not pull on the wires, instead pull from the plastic connectors.

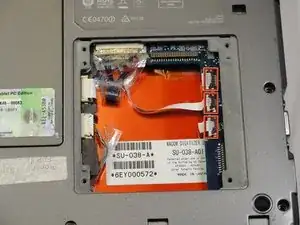
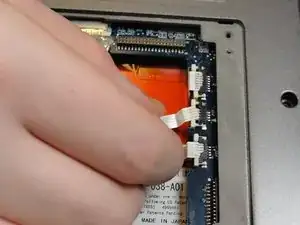
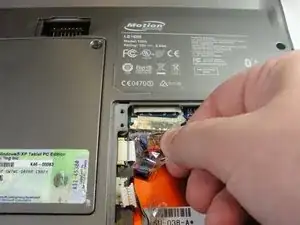
    • To disconnect the remaining ribbon cables, pull the plastic connectors away from their connections.

  9. XeOuHVpekKvUJuCG
    • With a Phillips #1 screwdriver, Unscrew the nine 10mm screws holding the case together.

  10. ClSOBvIecCUZbeba
    ClSOBvIecCUZbeba
    YIcGmCjLNpwiOyoe
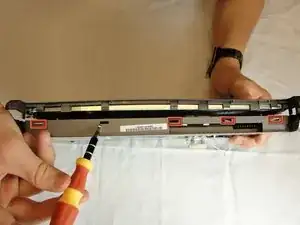
    • Using a spudger, press in the five tabs on the side where the battery was.

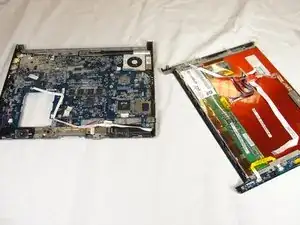
    • This should separate the two halves of the device. Carefully set the side with the motherboard off to the side.

  11. 1hCnBOnRFbYEKipr
    1hCnBOnRFbYEKipr
    Lf55jytIZ16rc5fE
    • Unplug the three ribbon cables by pulling on the brown tabs and unplugging cable.

  12. EabZeKIGRZ62QODK
    EabZeKIGRZ62QODK
    wnn4GrGA3kmVvbki
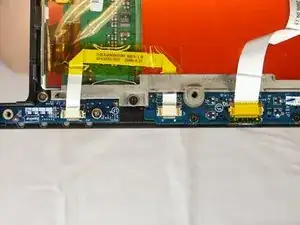
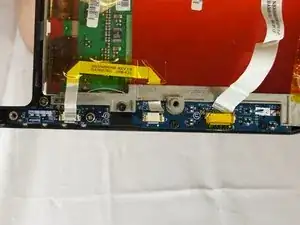
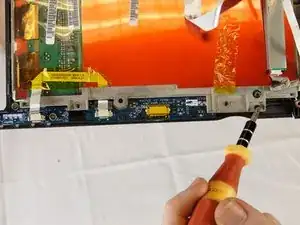
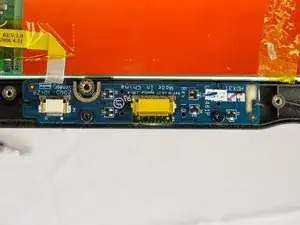
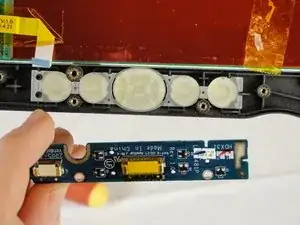
    • With a Phillips #1 screwdriver, unscrew the three 4mm screws holding the display bracket on the back side of the front buttons.

  13. E2ZT4sPIPnXILCX3
    E2ZT4sPIPnXILCX3
    3WDiAGWarGMMOToj
    • Remove the button board and replace.

Conclusione

To reassemble your device, follow these instructions in reverse order.

Fred Wilby

Membro da: 03/04/12

65 Reputazione

0 commenti