
Introduzione
If your computer with an NZXT H510i case and an ASRock B450 Pro4 motherboard is shutting down unexpectedly or is not receiving enough power, use this guide to replace the power supply.
The power supply is what delivers power to all the other parts of the computer and is one of the fundamental components in any computer. A faulty or damaged power supply can result in a computer shutting down unexpectedly, or can result in the computer not receiving enough power to turn on.
After shutting down the computer, you will need to put on an anti-static wristband. For more information about this, and other ESD news, check out this article.
-
-
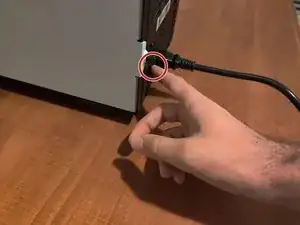
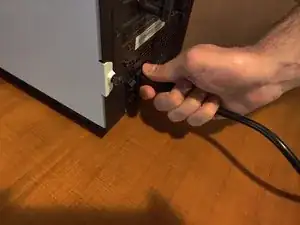
Turn off the computer using the switch on the power supply. Unplug the power cable from the power supply.
-
This step is very important. Otherwise the computer will still be powered and it could damage its components or get you an electrical shock.
-
-
-
Drain the capacitors by pressing the power switch.
-
Wait several minutes after doing this to ensure that the capacitors are drained of all residual power.
-
Put on the anti-static wrist strap.
-
-
-
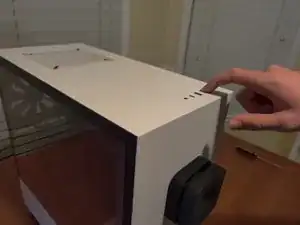
Remove the side panel by unscrewing the captive thumb screws keeping it in place. There will be one towards the top of the panel and another towards the bottom.
-
-
-
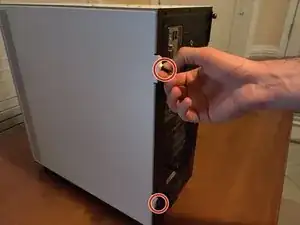
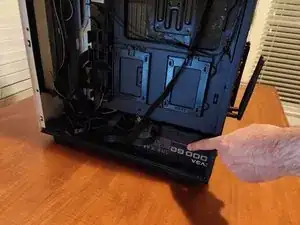
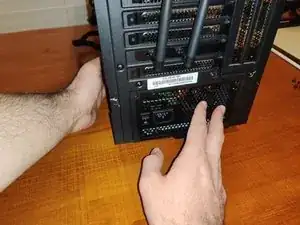
Identify the old power supply that will be replaced. As shown, it should be towards the bottom of the case, and towards the back of the computer.
-
Take a picture of how the cables are arranged so that this can be replicated later.
-
-
-
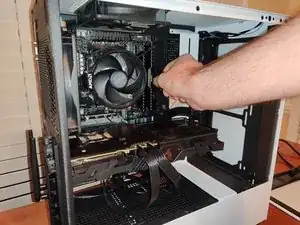
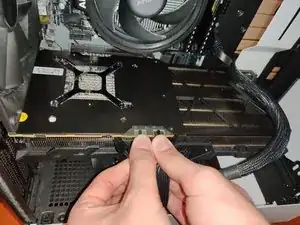
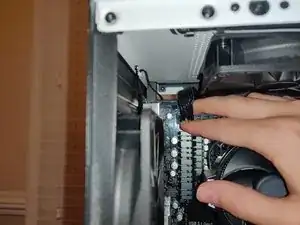
Unplug the various power cables. These include the Mainbords big 24 pin cable, the processor's power cable, the graphics card power cable, the SATA cables for the fan control, and the motherboard's power cable
-
-
-
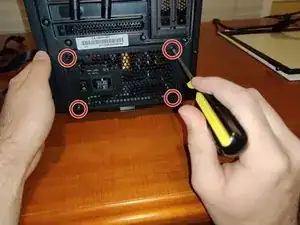
Using a Phillips #0 screwdriver, remove the four 6-32 x 6mm screws attached to the power supply.
-
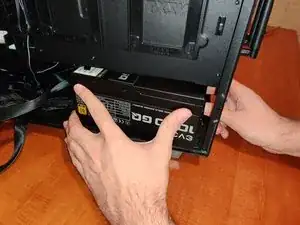
Remove the old power supply from the case.
-

To reassemble your device, follow these instructions in reverse order.