Introduzione

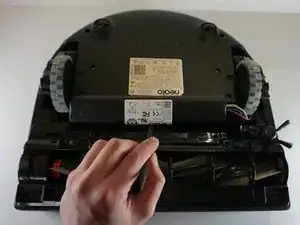
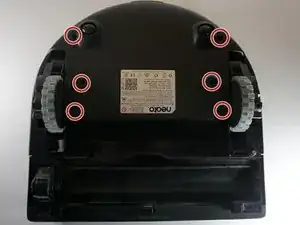
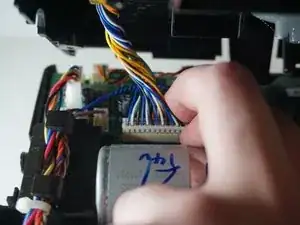
In this guide you will be able to replace the side wheel of the Neato Botvac Connected. This wheel will need to be replaced if it is not moving the vacuum properly. The wheel will also need to be replaced if the vacuum decides to stop moving at all. Using this guide comes after having to remove the battery as a precaution.

  1. JxTf5FESEpAYLZZL
    • Place the top of the Neato Botvac Connected against a flat surface.

  2. I1VBxxGJVUaWONWZ
    I1VBxxGJVUaWONWZ
    ecocLqHSQLKRy1Qt
    • Remove the two 5.5 mm screws with a Phillips #2 screwdriver.

  3. hvXQuugkQkLrLvBv
    hvXQuugkQkLrLvBv
    mwyiZ6JYEH6MR5ZS
    • Using the spudger, remove the panel covering the battery.

  4. DxUSMhlG4PT2VlnN
    DxUSMhlG4PT2VlnN
    c1I5pYQ1nDPvjkVH
    uvwbWob3CQeQFRCy
    • Gently remove the connecting wires attached to the battery.

    • The wires are attached to the vacuum through a clip.

  5. b1raCqKE1IhWccDx
    • Using the spudger, gently remove the battery from the device.

  6. jpqa1uTIYaVCIDuy
    jpqa1uTIYaVCIDuy
    suaB6khXjvpi2iiR
    • Remove the following screws with a Torx screwdriver:

    • Four 2.3 mm screws.

  7. NXWuDcnfEwORn6qh
    • Gently remove the thin panel held by the four screws with a spudger.

  8. GjtiWXFiSvaIHEiJ
    • Gently remove the two small wheels, and the axles attached to them.

  9. vBSPXKtwjVHGdTbP
    • Gently remove the panel that is on top of the front roller with the spudger.

  10. EJEIIUEU46yJZQJQ
    • Gently remove the front brush.

  11. 4aIMjDRiF61NndI3
    4aIMjDRiF61NndI3
    WjGEPeIXJdSXQjqd
    • Gently twist the side brush back and forth.

  12. SyfkTq21cRLoSUlC
    SyfkTq21cRLoSUlC
    ZHIQITjfDcSAEulK
    vXTHtKsQoRftJWqk
    • Spin the side brush counter counterclockwise.

  13. XRgXN1Ormp1Bslj3
    • Use the spudger to gently pry up and remove the side brush.

  14. twBj2yDXNBsFi2gO
    • Flip the cleaner around and locate the front panel.

  15. 52BFFsAOZcBfZ4JC
    • Gently remove the front panel by opening it with a spudger.

  16. HWorexUE5DXLJREP
    HWorexUE5DXLJREP
    qkSVBJlARlSSwRiq
    • Use the spudger to gently remove the paper filter.

  17. E1h3dBUBdqY2QUNQ
    • Remove the following screws with a TR10 Torx screwdriver:

    • Six 2.3 mm screws.

  18. fQFgOWZYjp2IdFx1
    fQFgOWZYjp2IdFx1
    CoSeNOh2agBqFIlB
    • Remove the front bumper by pulling it horizontally on each side.

  19. osND1Oj5BZIerZKQ
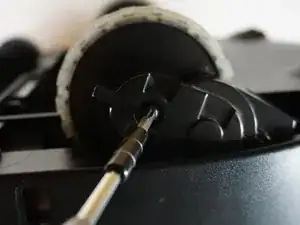
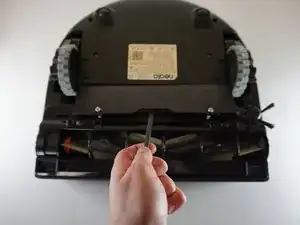
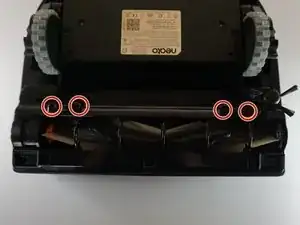
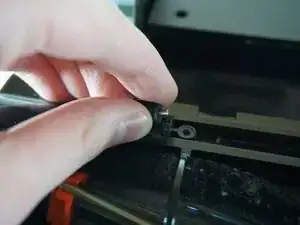
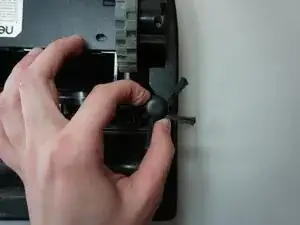
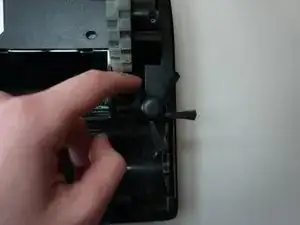
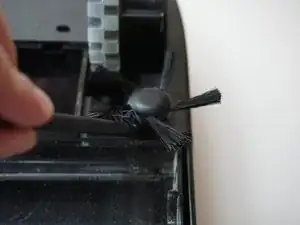
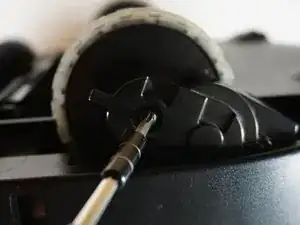
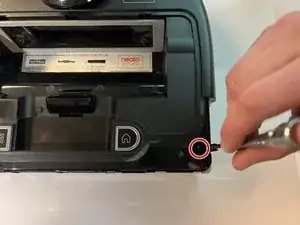
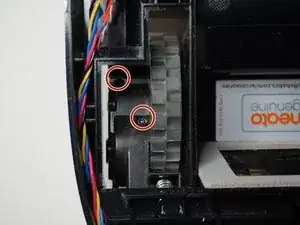
    • Remove the screw that is directly attached to the wheel on the side using a Phillips #2 screwdriver.

  20. rZnLbGCsoAnSCZpi
    • Remove the two 2.3 mm screws on the front of the vacuum with a TR10 Torx screwdriver.

  21. GJhErCywDsbMF3y4
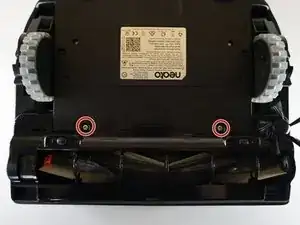
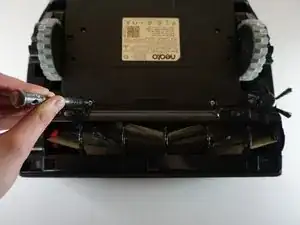
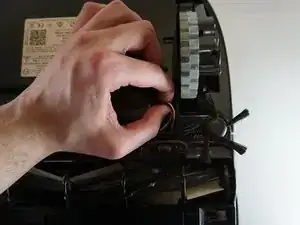
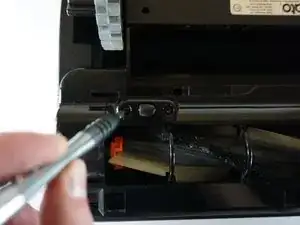
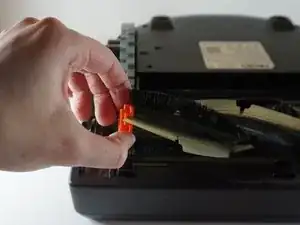
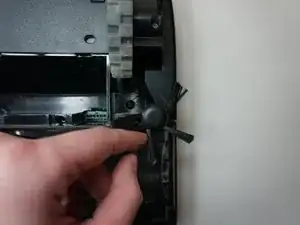
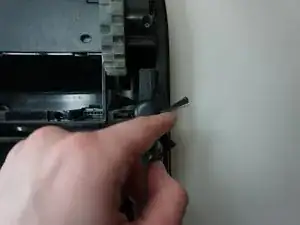
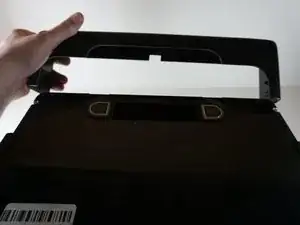
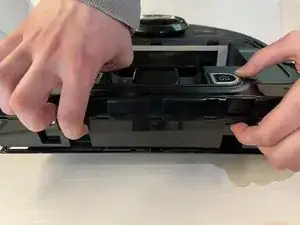
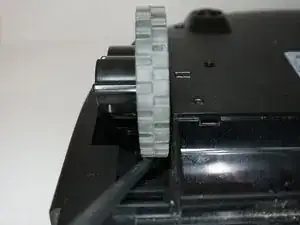
    • Remove the layer below the front bumper by pressing firmly on the two levers located nearby.

  22. C1VNWOb24khhFCnp
    C1VNWOb24khhFCnp
    NRmqNf1ImkPNjYTi
    U2nO6QTJ3HQvkUBG
    • Gently take out the top panel, and take out the connecting wires.

  23. MVRlRirfEGWiSGuB
    • Remove the following screws with a TR10 Torx screwdriver:

    • Two 2.3 mm screws.

  24. sYJC1NXMl5BVttYV
    • Flip around the vacuum and remove the wheel with the spudger.

Conclusione

To reassemble your device, follow these instructions in reverse order.

Justin Silva

Membro da: 20/03/23

645 Reputazione

0 commenti