Introduzione
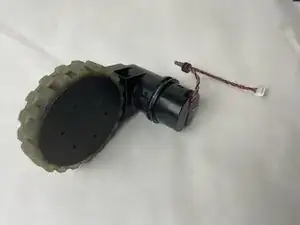
If your robot is struggling to scoot across the floor, the wheels may be jammed up. You will want to remove and clean, or even replace the wheels when necessary. As a prerequisite, make sure you remove the main roller brush before attempting to replace the brush motor.
-
-
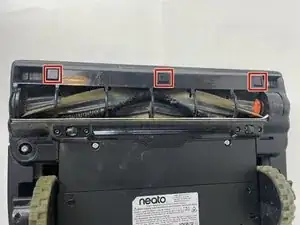
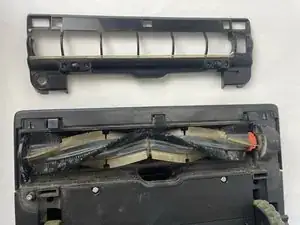
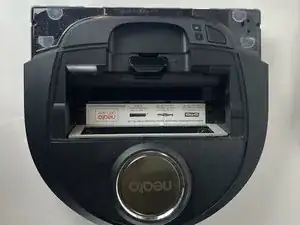
Pop the tabs shown on the main brush cover, and then pull. It should come right off. You can put it aside for now.
-
-
-
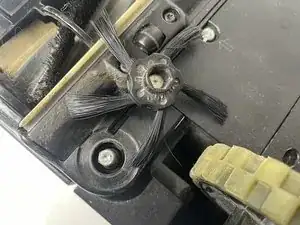
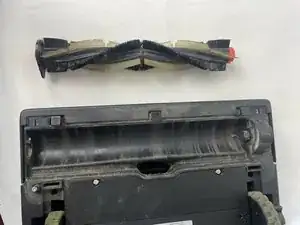
The Main brush will pop right out when you attempt to remove it.
-
When replacing the main brush make sure to orient it correctly.
-
-
-
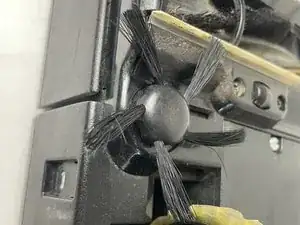
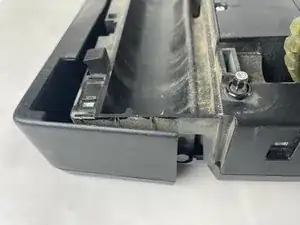
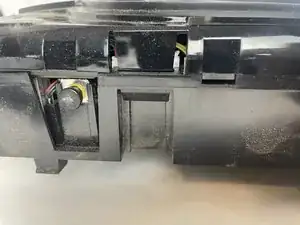
The bumper bar needs to come off next. There are two tabs that are holding it on either side of the brush housing.
-
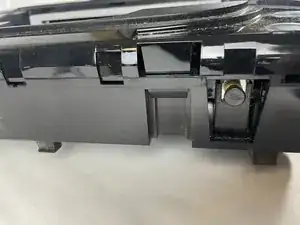
Pull one side away from the brush bar. Keep in mind while this plastic is strong it is not invincible.
-
After dislodging the bumper bar from the main housing, pull it towards the front of the BOTVAC.
-
-
-
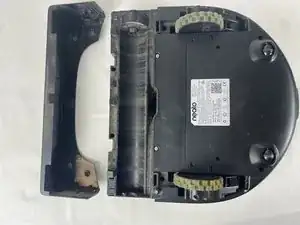
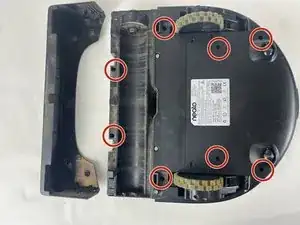
There are eight 12 mm screws on the bottom that you will need to remove in order to get the top panel off. All of these screws use the TR10 screwdriver bit.
-
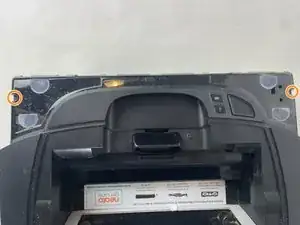
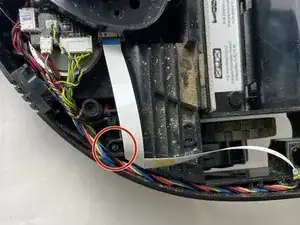
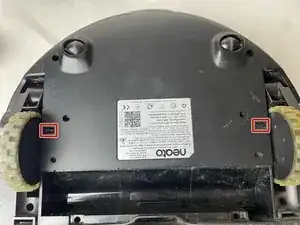
Now flip over your BOTVAC. Remove the two 12 mm TR10 screws that are there.
-
-
-
There are some more plastic clips you will need to push in, in order to be able to remove the top cover.
-
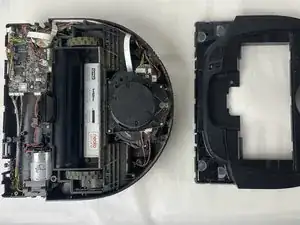
After the top should pop right off.
-
-
-
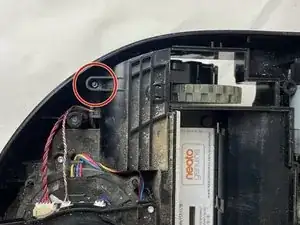
There are two more 12 mm TR10 screws that must be removed in order to remove the vacuum module.
-
-
-
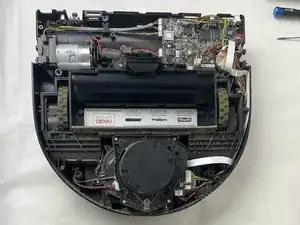
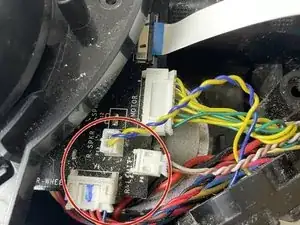
You must unplug the majority of cables in order to safely remove the vacuum module. This is in the way of the wheels and needs to not be.
-
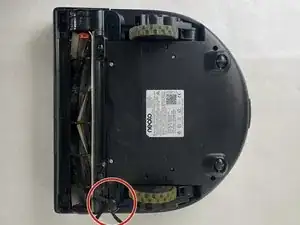
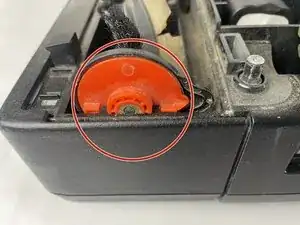
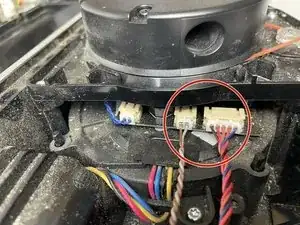
The circled cables need to be unplugged while any others do not NEED to be. You can remove them if you like though.
-
-
-
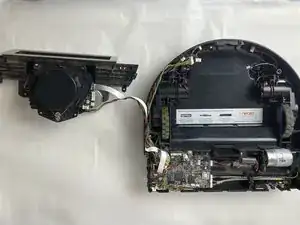
Flip the BOTVAC back over, and push these two tabs in. Now these are VERY difficult to push in I would advise using a spudger to help dislodge them.
-
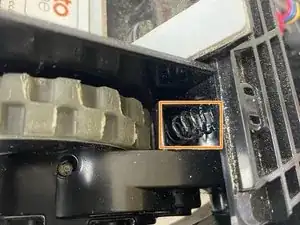
After the vacuum unit is dislodged. MAKE SURE YOU DO NOT LOSE THESE SPRINGS!
-

To reassemble your device, follow these instructions in reverse order.