Introduzione
This guide will aid you in replacing the wall sensor on your Botvac.
-
-
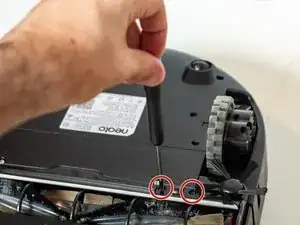
Flip the Botvac over so that the underside is facing up and the flat front is facing toward you.
-
Remove the four screws lining the front roller using a TR10 Torx screwdriver.
-
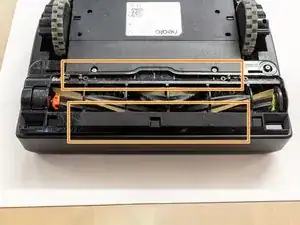
Remove the black panel behind and in front of the roller.
-
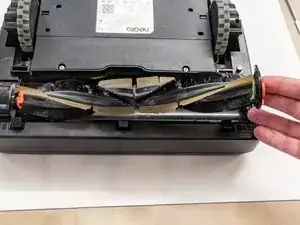
Gently lift the roller by the right side to remove it.
-
-
-
Remove the two screws behind the front roller of the robot using a Phillips #2 screwdriver.
-
Remove the battery by lifting it out while pressing down on the wire clip inside the compartment.
-
-
-
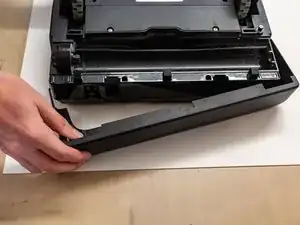
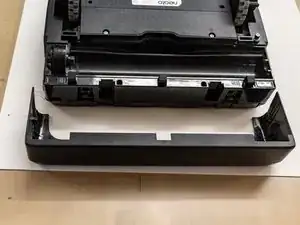
Pull one side of the front bumper out and then forward toward you. Repeat on the other side to completely detach the front bumper.
-
-
-
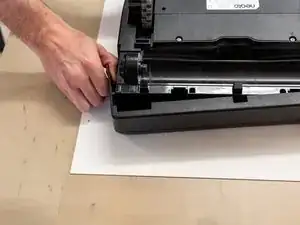
Remove the eight screws from the underside of the Botvac using a TR10 Torx screwdriver.
-
Remove the additional two TR10 screws from the top of the Botvac.
-
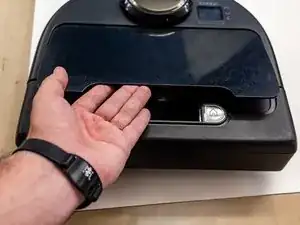
Remove the dustbin.
-
-
-
Pry the clips on the front of the robot apart.
-
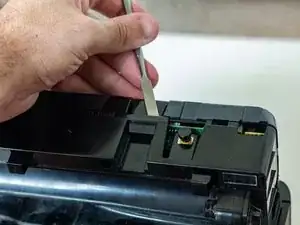
Unplug the beige connector with a spudger, working one side at a time until it comes unplugged.
-
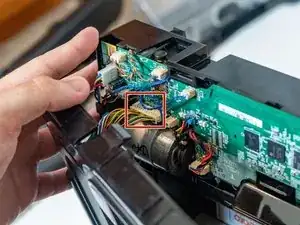
Lay the bottom of the robot inside up.
-
-
-
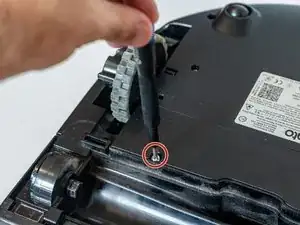
Remove the single screw on the right side of the robot using a TR10 Torx screwdriver.
-
Remove the sensor by lifting it straight up.
-
Unplug the connector by pulling firmly on the plastic.
-
Plug the new sensor into the open port.
-

To reassemble your device, follow these instructions in reverse order.
