
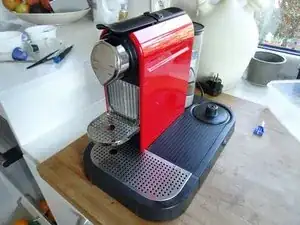
Introduzione
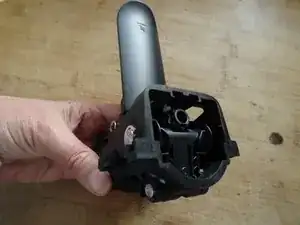
If water drips out of the coffee maker, the brewing unit may be defective. The interaction of the capsule, brewing unit and "pyramid plate" is very sensitive, small changes in tolerance cause leaks at the capsule. The brewing unit may have an crack, or the "pyramid plate" that punctures the capsule may be heavily full with debris. Replacing the brewing unit often is the solution.
-
-
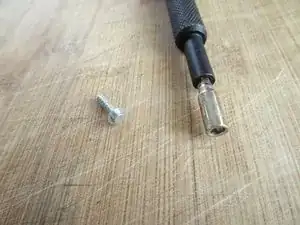
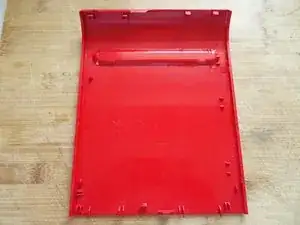
The bottom is secured by oval head screws.
-
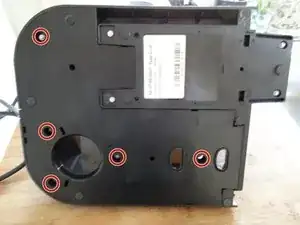
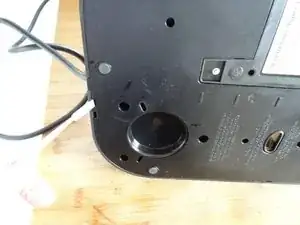
Remove five oval head screws securing the large bottom panel.
-
-
-
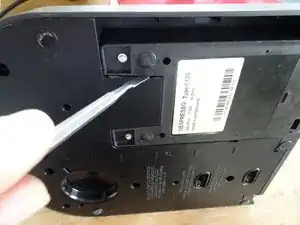
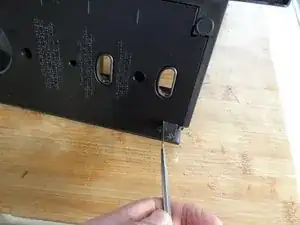
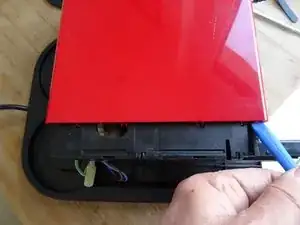
The bottom panel is just snapped into place. Insert a metal spudger into the slots and lift the panel out. It sits quite tightly and you might use some force to get it out.
-
-
-
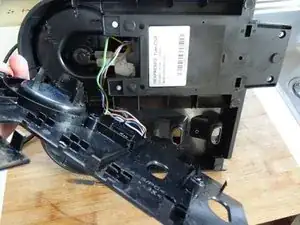
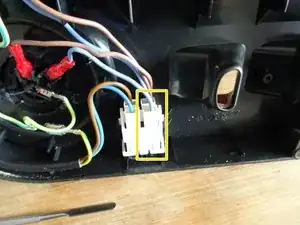
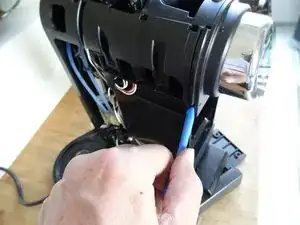
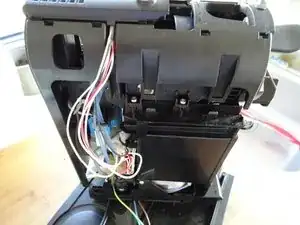
Disconnect the two spade plugs on the blue and brown wires from the power switch. The two left ones remain.
-
-
-
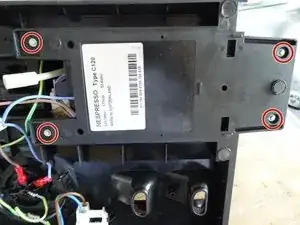
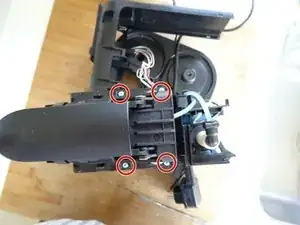
Remove four oval head screws from the small bottom panel.
-
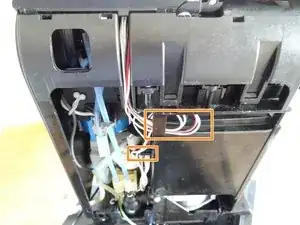
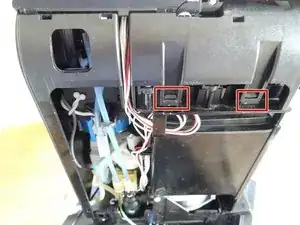
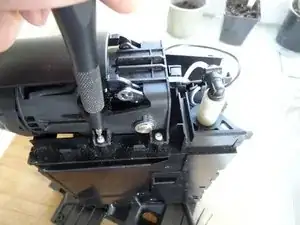
Remove the main device from the base. It´s still connected with some wires, but this doesn´t bother much.
-
-
-
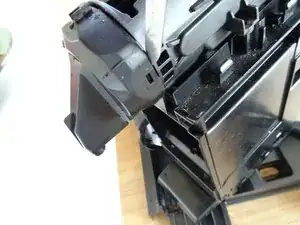
The two colored side panels are only snapped into place. However, the latches sit very tight. You really need a lot of force. First lift the lower edge using a plastic opening tool.
-
Unfold each of the side panels upwards and remove them.
-
-
-
The plastic cover over the brewing unit is secured by two clips on each side. Use a metal spudger to pry them off.
-
Lift the cover slightly, but don't remove it, it is still connected by some cables.
-
-
-
Open the lever and lift the cover out over the lever. Make sure that the cables are not strained too much.
-
Put the cover aside, but leave the cables connected.
-
-
-
Use a metal spudger and insert it into the seam between the inner coffee spout and the brewing unit. Pry off the coffee spout.
-
Remove the inner coffee spout.
-
-
-
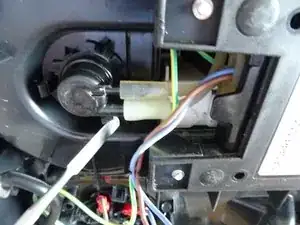
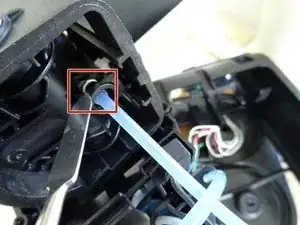
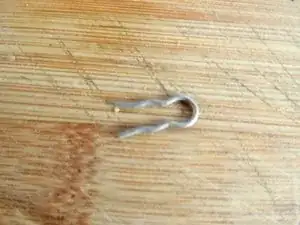
The brewing unit now remains only attached to the hot water hose. Use the metal spudger to pull out the metal clip at the end of the hose.
-
Pull out the end of the hot water hose.
-


To reassemble your device, follow these instructions in reverse order.
4 commenti
Hallo schönen guten Tag ich habe Problem mit meine Gran Maestria Espressomaschine... habe einen neuen Brühkopf eingebaut wie komme ich an den Wasserschlauch in der Maschine..mfg
Hallo ich habe Problem mit meinen Nespresso-Maschine gran Maestria.. habe den Brühkopf neu ausgetauscht wie komme ich an den Wasserschlauch dran
Brilliant! A very helpful guide and essential to have the ifixit special tools. Two points - the inner coffee spout is easier to remove once the brewing unit has been unscrewed (Steps 13 + 14). Also, suggect the the inner coffee spout is cleaned before replacing as it can often be partially blocked which can lead to leaks.
It can often be difficult finding the correct brewing unit (my machine was a KRUPS) - obviously the manufacturers try to make it difficult for you!