Introduzione

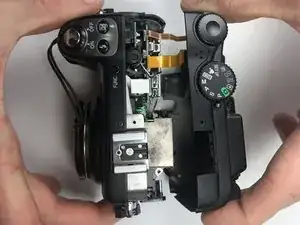
This guide will walk you through how to remove the back case of the Nikon Coolpix 5400. The processes only requires a handful of screws to be removed and a few connecting wires. When removing the wire connectors, be careful not to break the plastic fittings.

  1. WAD1SSbYKHauvj5X
    • Remove one 3.0mm Phillips #0 screw from the top of the case.

  2. MV2AHlP6jjjr5lCm
    • Remove two 3.0mm Phillips #0 screws from the card reader side of the case.

  3. uivN3fJbqhZUWsM1
    • Remove four 3.0mm Phillips #0 screws from the bottom of the camera.

  4. yd6DpHmxZtMeiGKW
    • Remove one 3.0mm Phillips #0 screw from the side of the camera.

  5. gVXS3aZoUaNSuQO3
    • Use a plastic opening tool to gently remove the back case from the rest of the camera.

  6. ECVMfFZU5yGqV4Au
    • Pull the back of the camera cover apart.

    • Connecting wires that are still attached to the back cover are fragile.

  7. h56RClslsxD2M6dQ
    h56RClslsxD2M6dQ
    GfuRrphTwW33JdQh
    • Remove the two 4.0mm Phillips #0 screws holding the circuit board to the back case.

  8. iwtSrPBE6X2dJiNl
    • Pull the LCD screen cables in the direction that the wires are exiting the circuit board.

    • Pull the wire connector gently, the plastic is very fragile.

  9. fShLtJcFyWmnEHUU
    fShLtJcFyWmnEHUU
    jVFpC2SaVtGvvVVc
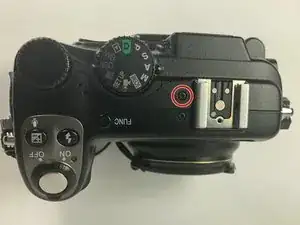
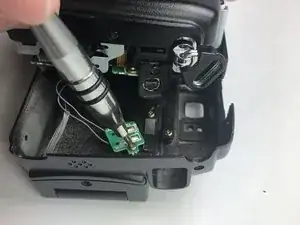
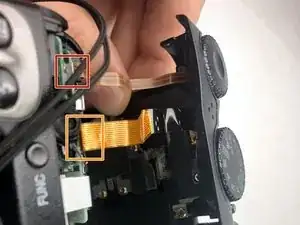
    • Pull the toggle wheel wire connector up and away from the top of the camera.

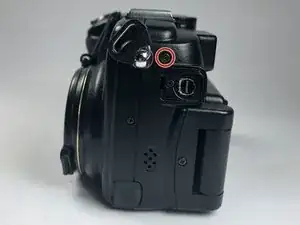
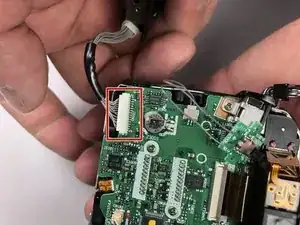
    • Pull the button control panel wire connector up and away from the top of the camera.

    • Gently remove the wire connectors; the plastic is fragile.

  10. MQessbaOUXoYxJrG
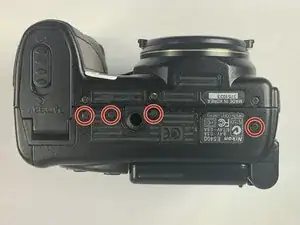
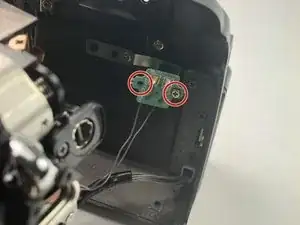
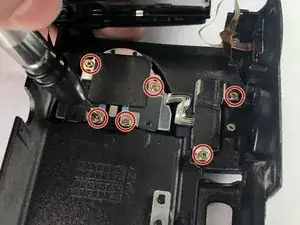
    • Remove the six 3.0mm Phillips #0 screws holding the button control panel.

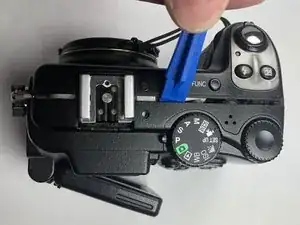
    • Remove the back cover from the camera body.

Conclusione

To reassemble your device, follow these instructions in reverse order.

Rhett Myers

Membro da: 05/04/19

231 Reputazione

0 commenti