Introduzione
Tubing is prone to leaking and replacing the hot water tubing may eliminate any problems you may be facing with your device or prevent problems down the road. Replacing the main hot water tube involves removing screws on both the top and bottom panel, so it may be a good idea to use the iFixit magnetic pad to keep track of loose screws.
Strumenti
-
-
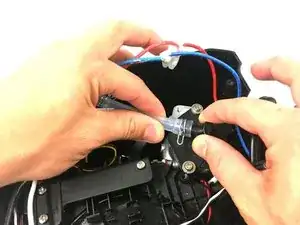
Detach the valve tubes from the valve by squeezing the pins and pulling them away from the valve.
-
-
-
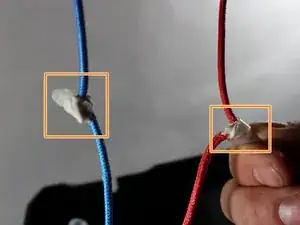
Detach the valve tubes from the device by pinching the pins and sliding the valve tubes off.
-
-
-
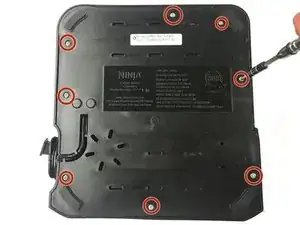
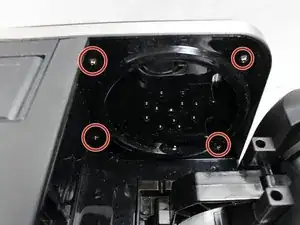
Unscrew the four 6mm #1 Phillips head screws from the underside of the basket area.
-
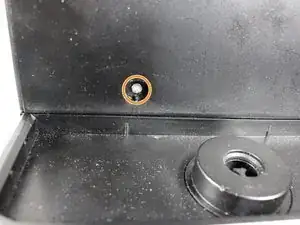
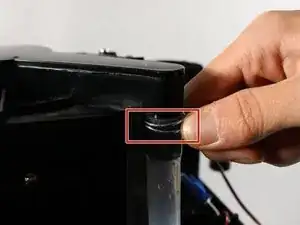
Remove the single 6mm #1 Phillips-head screw from the side of the unit.
-
-
-
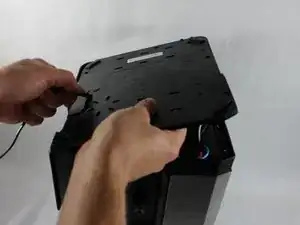
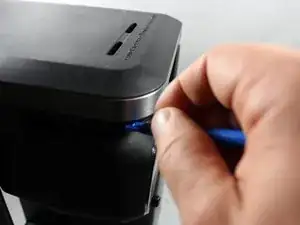
Slowly pry the upper cover away from the unit on top of the brew basket, and near the base of the water reservoir along the side of the upper cover.
-
-
-
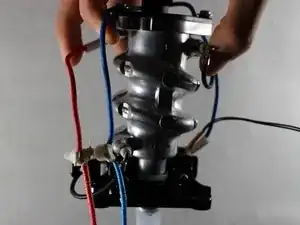
Using a #1 Phillips head screwdriver with an extension, remove three 6mm screws holding the heater to the unit.
-
-
-
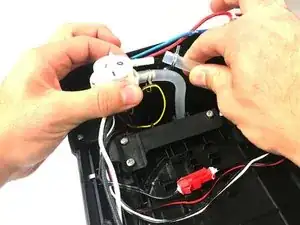
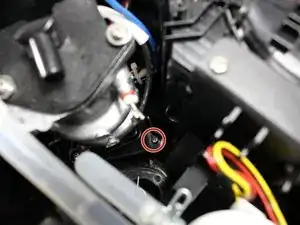
Squeeze clip and separate signal wiring.
-
Using wire stripper/crimping tool, uncrimp wiring connectors
-
-
-
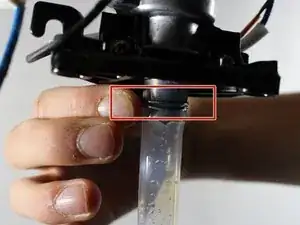
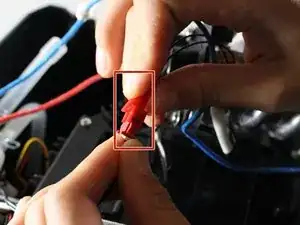
Squeeze connector and pull tubing away from heater.
-
Inspect tubing for damage and/or weak spots and replace if necessary.
-


To reassemble your device, follow these instructions in reverse order.
2 commenti
what size tubing does this require?
Hi Kyle,
Thanks for this. I’m having trouble getting the top to separate. Any suggestions?
S. D. G. -
My Ninja has T10 Security-head screws. Several are recessed quite deep in the bottom cover. I found a set of 60mm long security torx bits on Amazon for around $12 The extended length worked great for the deep recessed screws.
Mike Stroven -