Introduzione
No one likes a sticky R-button. Clean it out and get back to beating your siblings at Mario Kart.
Strumenti
Ricambi
-
-
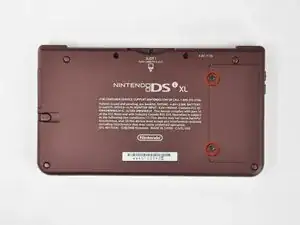
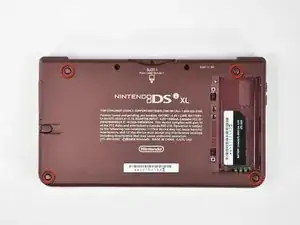
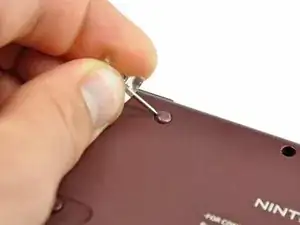
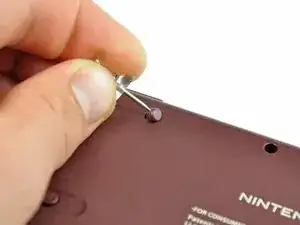
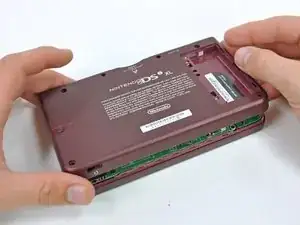
Remove the two Phillips screws securing the battery cover to the back of the handheld console.
-
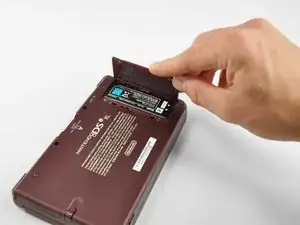
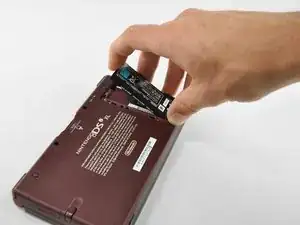
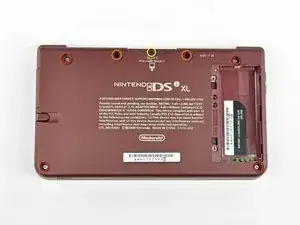
Lift the battery cover off the back of the DSi XL.
-
-
-
Remove the following seven Phillips screws that secure the lower case to the rest of the DSi XL:
-
Four silver 5.3 mm screws
-
Two black 5.3 mm screws
-
One black 2.5 mm screw
-
-
-
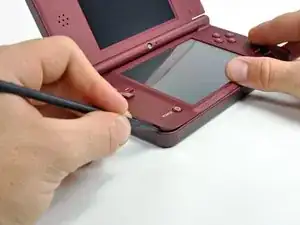
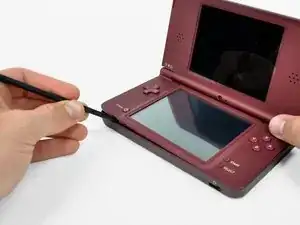
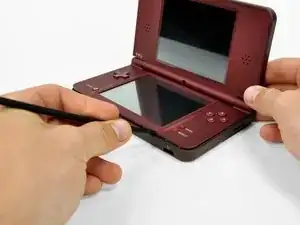
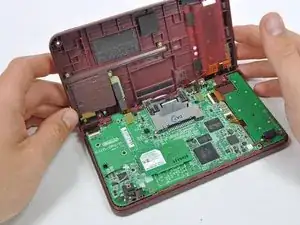
Insert a spudger between the upper and lower case at the bottom left corner of the DSi.
-
Slide the spudger along the bottom edge of the upper case to release the latches securing the upper case to the lower case.
-
-
-
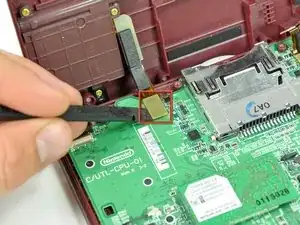
Using a spudger, pry the SD card/right shoulder button connector off its socket.
-
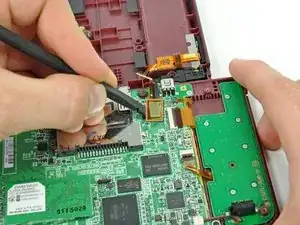
Pry the volume button/left shoulder button connector off its socket on the motherboard with a spudger.
-
-
-
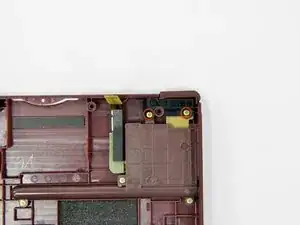
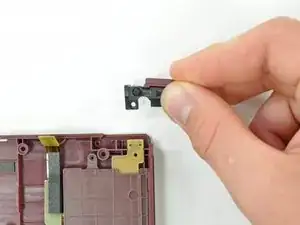
Remove the two gold 4.0 mm Phillips screws securing the right shoulder button assembly to the back case.
-
Lift the right shoulder button assembly from the back case.
-
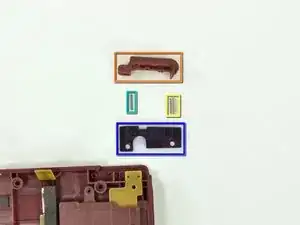
The components of the right shoulder button assembly:
-
Right shoulder button
-
Shoulder button spring
-
Retaining pin
-
Right shoulder button holding panel
-
To reassemble your device, follow these instructions in reverse order.

rust/white powder built up on a screw and can’t unscrew it
Eco -