Introduzione

This guide is all about installing the rumble motor. The rumble motor is responsible for the vibration you feel in your controller during certain game actions. You may want to use this guide if your controller won't rumble.

  1. dcSYZ1UnVsl6SqWL
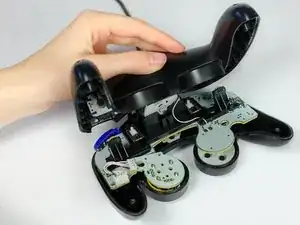
    • Place the controller (buttons down) on a solid surface.

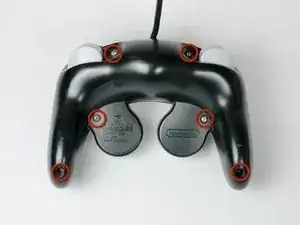
    • Remove the six 9.2mm Tri-wing Y0 screws that hold the back panel in place.

  2. SubSoUIKRilFSPLf
    • Gently lift the back panel up, separating it from the front panel.

    • Some of the buttons may fall out if they are knocked around.

    For some reason, it was simpler to take the top half off, although it could be because it is most probably refurbished before

    Rukir Gaming -

  3. BQUirnGSsufXkwwG
    BQUirnGSsufXkwwG
    AdvobFhUkQhZLVSu
    • Grab the Z-button by the peg with tweezers and lift it out of the controller.

    • During re-assembly, make sure the plastic rim and spring fit into the slot provided, or else the case will not shut.

    So how do you put it back in like the replacement because I have a controller I'm working a junker my Friend gave me and I'm trying to fix it the z button doesn't work here it's a pelican wireless controller it's actually not to bad bulky but not bad

    Justin Sebastian -

  4. oywDlnUm2aXc3Se4
    • Carefully unhook the cable that is looped around the peg.

    Um can soneone explain the peg and cable part? I dont understand it...

    Tyler Goamez -

    I would say that the cable is somehow "hooked" to the case and you have to get the cable away from the case so that you can pull out the board

    My1 -

  5. NYSTuZVnjIra26fC
    • Lift the circuit board out of the controller.

    • Do not grab the rumble motor to lift the circuit board as shown in the picture. It will in many cases just remove the rumble motor. Instead, grab the edges of the board.

  6. suIT2QwIhKbZlNjD
    suIT2QwIhKbZlNjD
    WjkwgmRFlapJTZvU
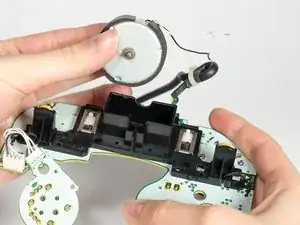
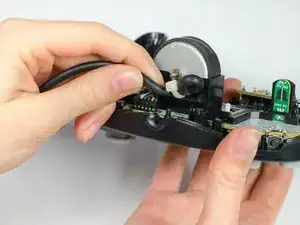
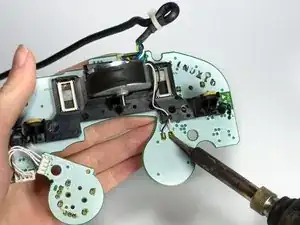
    • Press the tip of the soldering iron against one of the leads and wait until solder is viscous. Carefully pull wire away from lead.

    • Repeat for the second lead and wire.

    • During reassembly, solder the white wire to (+) lead on the right side, and the black wire to the (-) lead on the left side.

    • For more information, please refer to this soldering guide.

  7. 3qkAxMxekeg3qYJd
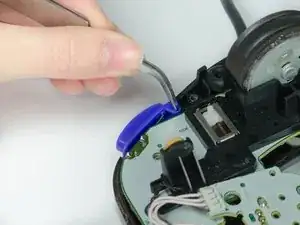
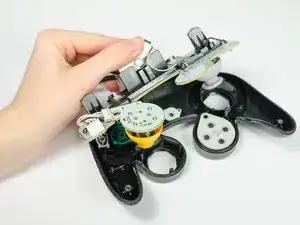
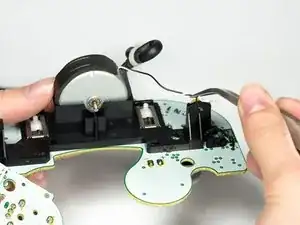
    • Using tweezers, unhook the wires from the small black bracket keeping them attached to the circuit board.

  8. xTy5uglORVDEbNmR
    • Lift the motor out of the bracket.

    • Remember to not pull by the wires! This can make your repair a lot more complicated.

Conclusione

To reassemble your device, follow these instructions in reverse order.

Sean Michel

Membro da: 14/01/13

2496 Reputazione

0 commenti