Introduzione
Strumenti
-
-
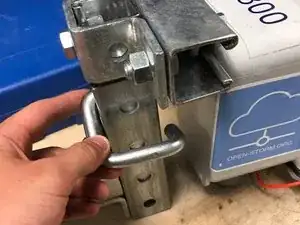
with the front tapcon removed you should be able to swing the node back toward the concrete surface it's mounted on
-
you'll likely need to loosen the back tapcon and pull up on the cantilever for the node to pivot freely
-
-
-
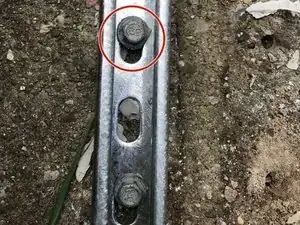
first, note if the pin is weight bearing. if so make sure to support the node while you remove the pin (or lock)
-
pull old node out
-
-
-
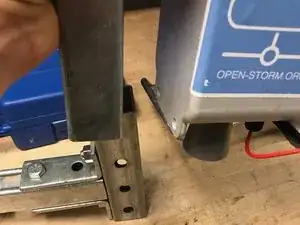
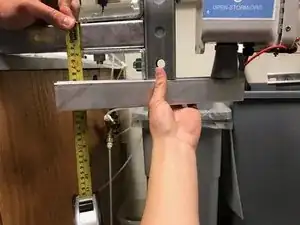
after sliding a new node in and replacing the pin or lock, measure the distance from the bottom of the ultrasonic depth sensor cone to the top of the cantilever beam. you may find a spare piece of strut to help with this.
-
you should do this before reattaching the front tapcon or clamp
-
-
-
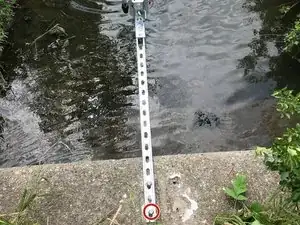
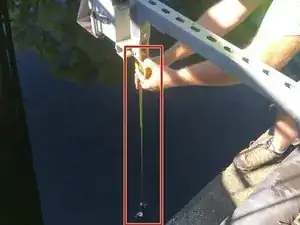
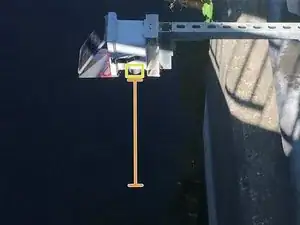
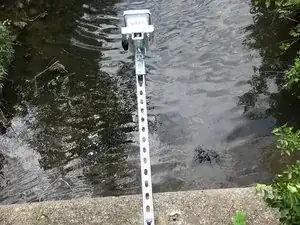
Using a (weighted) tape measure, measure and record the distance from the bottom of the depth sensor node to the bottom of the river.
-
The bottom of the depth sensor node is defined as the bottom of the sensor cone.
-
-
-
if node is drilled into concrete swivel the cantilever back to its full extent and reattach the front tapcon
-
if the node is clamped, reclamp the node at its full extent
-
for a pole-mounted node, you should be able to swap without altering the structure at all
-