Introduzione

How to replace faulty heating coils.

  1. wQvKW2mnRMOyl3WZ
    • Firmly grip your hand around the slot lever.

  2. 3uKar4sLpjZBpNSY
    • Stabilize the toaster by placing your hand on top.

  3. dUtdXOudieotxRcc
    dUtdXOudieotxRcc
    B6mndQPAALOB4Ogk
    • Forcefully pull the slot lever away from the toaster by keeping parallel to the table.

  4. 3HyiogBBxXVkhVDi
    • Both slot levers can be removed.

  5. htXNCWCDFHtO3nal
    • Place the toaster upside down so the bottom is facing the ceiling.

  6. dqTTAImhTGblZi3R
    dqTTAImhTGblZi3R
    21RK2aRLQb5Urjnu
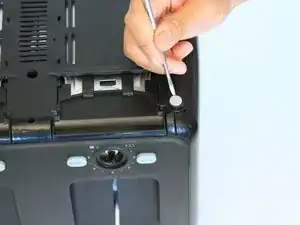
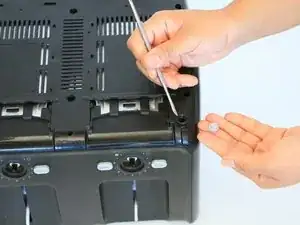
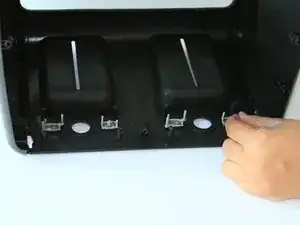
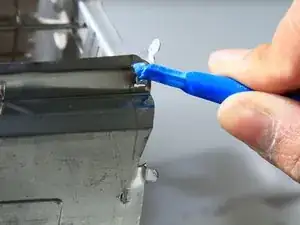
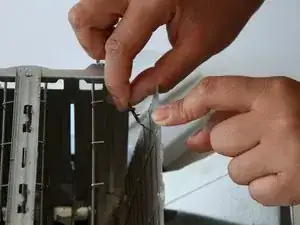
    • Take off both rubber feet using a small metal spudger.

    • Wedge a spudger under the feet and pull up to pop off.

  7. 2kET52AqcBAhC3Cs
    • Use a PH#2 screw bit to remove eight 12mm screws that are located around the perimeter.

    • There are two screws under the rubber feet.

  8. df1xAxTxDD3hivQm
    • Place the toaster right side up.

  9. llSMmqURAJZfBEPc
    llSMmqURAJZfBEPc
    LrOkSN4dLGGXloJY
    • Grab the outer shell firmly and pull up towards the face of the toaster.

  10. L2s1ec4aHCDcGxMv
    • For this part, you might need to wiggle the toaster to get the outer shell off.

    • The shell will not completely come off until the motherboard is removed in the next step.

  11. c1MDVCIlIpSDXLJp
    c1MDVCIlIpSDXLJp
    2C5fCOiEenQTFF31
    R5FXynN11Jy1sjQ4
    • Use a J1 screw bit to unscrew eight 8mm screws from the motherboard.

  12. nHAOjlI1yeeSikl2
    nHAOjlI1yeeSikl2
    N6wCWQLunBWaPrQ3
    • Take out the grey “cancel” and “bagel” buttons from the shell.

  13. nNo4aUBHxYHJ5WSI
    • Once the outer shell is removed, rotate toaster so the back is facing you.

  14. WfEU2ovMUdgR3nFw
    WfEU2ovMUdgR3nFw
    wGiQHfrwvq3m5w42
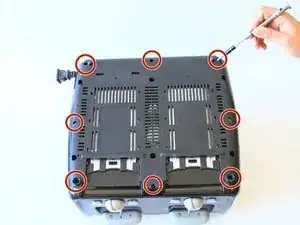
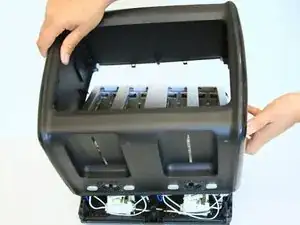
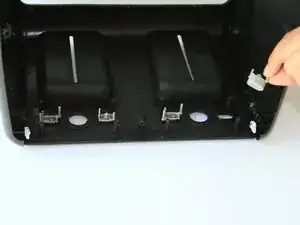
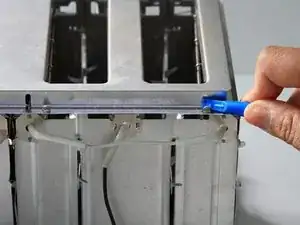
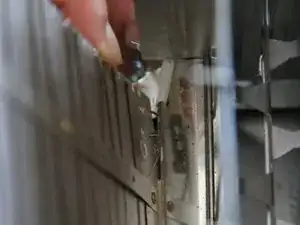
    • Use flat head tweezers and plastic opening tool to remove the top metal panel by prying the metal tabs upwards so they are able to slide through the openings and pull upwards.

    • There is a total of 8 tabs, 4 on each side.

  15. e1UgXEPIN1X22VFV
    e1UgXEPIN1X22VFV
    wYQWNNZlCobffkU6
    OIN25VnYqNyPQl1l
    • Once top metal panel is unhooked. Lift and let hang off the side of the toaster.

  16. rvRdqhAHxRAPvfuV
    rvRdqhAHxRAPvfuV
    ggo2mHrIWIyBKUFD
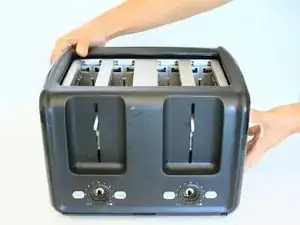
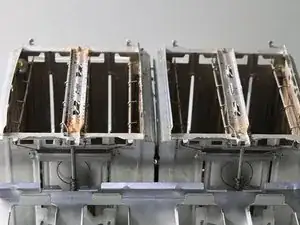
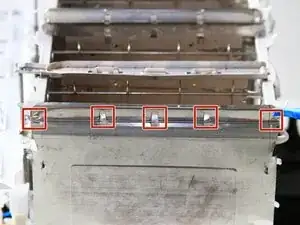
    • Turn the toaster so that the faulty wire side is facing you.

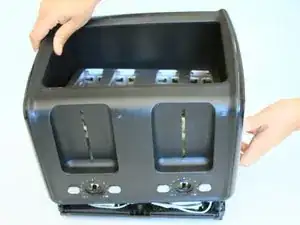
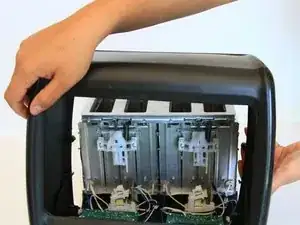
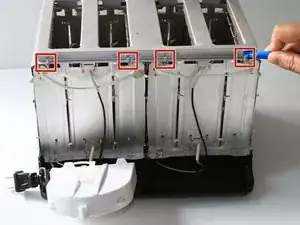
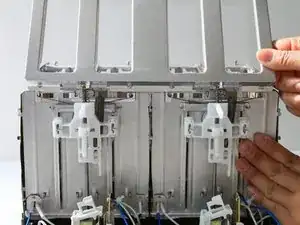
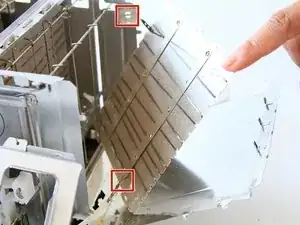
    • Position the top 5 metal tabs to fit through slots .

  17. QtAGgnBx5bB3HQjb
    • Position the 4 side tabs to fit thought the slots.

  18. ZrjIVfDOoVtUXkw2
    ZrjIVfDOoVtUXkw2
    AjXMbiaDSj2h3bIy
    • Pull the metal sheet away from the toaster to expose the heating board.

  19. trutTPlWTFsg1K4u
    trutTPlWTFsg1K4u
    PyQ6hSyUrqtmSLPe
    • Position the 4 metals tabs on the heating board. Found at the top right and bottom left.

  20. VUgHDKKgDNEomS1d
    VUgHDKKgDNEomS1d
    EuyUuKHxMUVcstwQ
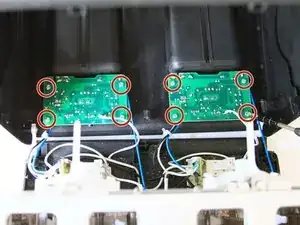
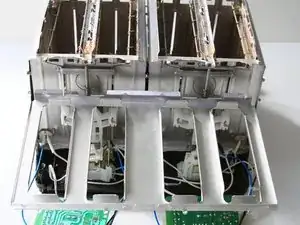
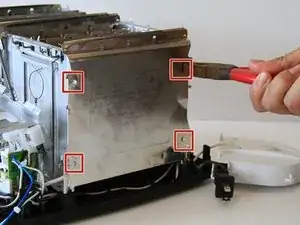
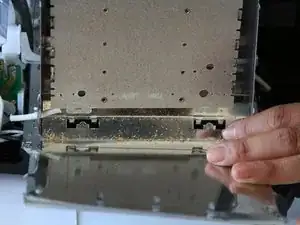
    • At the bottom of the heating board, there are 2 tabs holding it to the rest of the toaster, pull those 2 tabs upwards to release heating board from the toaster.

  21. NmSEpFuKWeZXvSca
    NmSEpFuKWeZXvSca
    uXFJfpSNfA5qjYTA
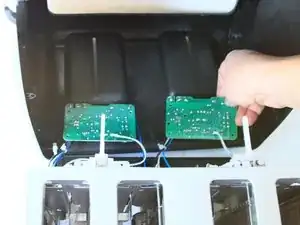
    • There should now be 2 wires connected to the heating board that would need to be de-soldered to disconnect.

    • You can replace the wires on the heating board or if your wires are damaged or disconnect, solder together to fix

Conclusione

To reassemble your device, follow these instructions in reverse order.

Alexus Reyes

Membro da: 12/09/16

233 Reputazione

0 commenti