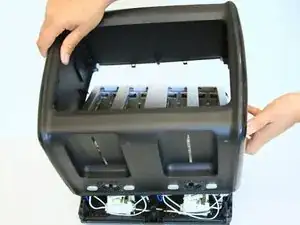
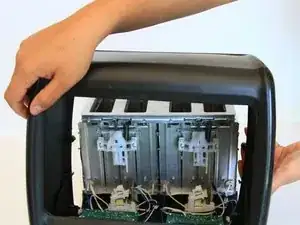
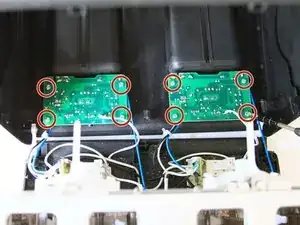
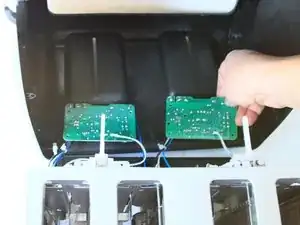
Introduzione

Prerequisite only.

  1. wQvKW2mnRMOyl3WZ
    • Firmly grip your hand around the slot lever.

  2. 3uKar4sLpjZBpNSY
    • Stabilize the toaster by placing your hand on top.

  3. dUtdXOudieotxRcc
    dUtdXOudieotxRcc
    B6mndQPAALOB4Ogk
    • Forcefully pull the slot lever away from the toaster by keeping parallel to the table.

  4. 3HyiogBBxXVkhVDi
    • Both slot levers can be removed.

  5. htXNCWCDFHtO3nal
    • Place the toaster upside down so the bottom is facing the ceiling.

  6. dqTTAImhTGblZi3R
    dqTTAImhTGblZi3R
    21RK2aRLQb5Urjnu
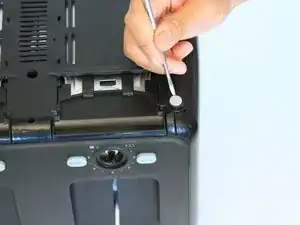
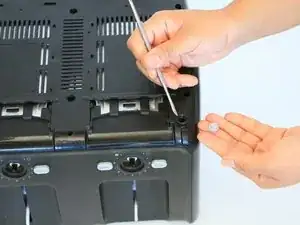
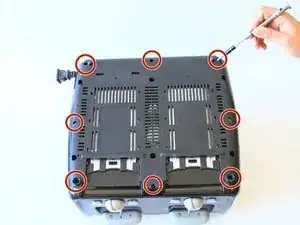
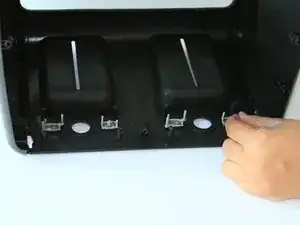
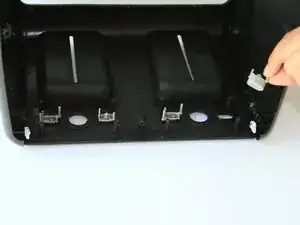
    • Take off both rubber feet using a small metal spudger.

    • Wedge a spudger under the feet and pull up to pop off.

  7. 2kET52AqcBAhC3Cs
    • Use a PH#2 screw bit to remove eight 12mm screws that are located around the perimeter.

    • There are two screws under the rubber feet.

  8. df1xAxTxDD3hivQm
    • Place the toaster right side up.

  9. llSMmqURAJZfBEPc
    llSMmqURAJZfBEPc
    LrOkSN4dLGGXloJY
    • Grab the outer shell firmly and pull up towards the face of the toaster.

  10. L2s1ec4aHCDcGxMv
    • For this part, you might need to wiggle the toaster to get the outer shell off.

    • The shell will not completely come off until the motherboard is removed in the next step.

  11. c1MDVCIlIpSDXLJp
    c1MDVCIlIpSDXLJp
    2C5fCOiEenQTFF31
    R5FXynN11Jy1sjQ4
    • Use a J1 screw bit to unscrew eight 8mm screws from the motherboard.

  12. nHAOjlI1yeeSikl2
    nHAOjlI1yeeSikl2
    N6wCWQLunBWaPrQ3
    • Take out the grey “cancel” and “bagel” buttons from the shell.

Conclusione

To reassemble your device, follow these instructions in reverse order.

Melissa

Membro da: 12/09/16

198 Reputazione

0 commenti