Introduzione
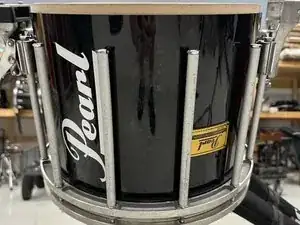
Marching Snare Drums will inevitably take a beating throughout every season of use and it is undoubtable that you will eventually find yourself with a punctured or ripped bottom snare head at some point. A broken snare head can cause an uneven and weaker sound out of your drum so it is very important that it is fixed as soon as possible to ensure you get the best sound of your equipment. Luckily, it is a relatively simple repair and with a budget friendly set of tools, we will show you how to get your drum fixed in no time!
Strumenti
Ricambi
-
-
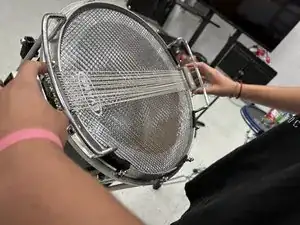
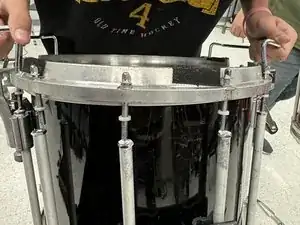
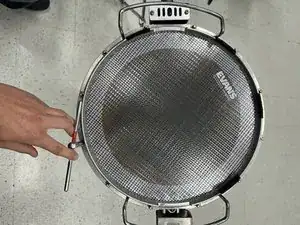
Station the drum upside down on a flat stable surface where you can work comfortably.
-
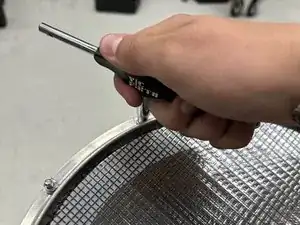
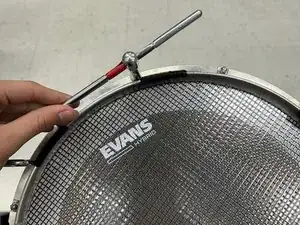
Using the high tension drum key, loosen the lugs around the bottom rim one by one slowly in a star pattern until all of the lugs are completely removed.
-
-
-
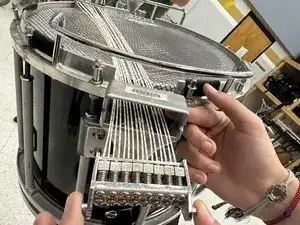
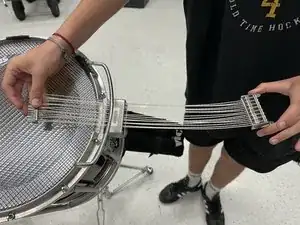
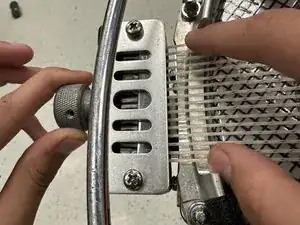
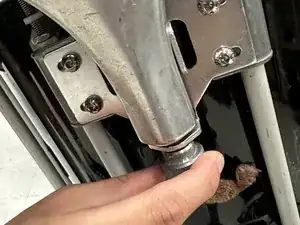
Loosen the knob on the side of the snare guts (the strips across the bottom of the drum) in order to remove the tension from the guts.
-
Carefully pull the snare guts out the side once they are removed.
-
-
-
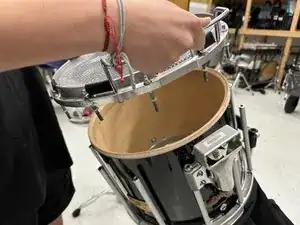
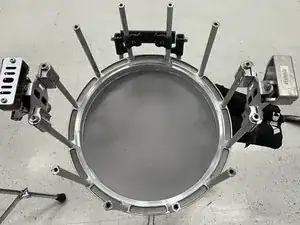
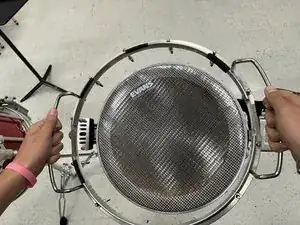
Once everything is removed from the bottom of the drum, remove the entire rim from the casing making sure to grab it by the edges.
-
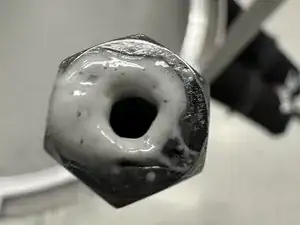
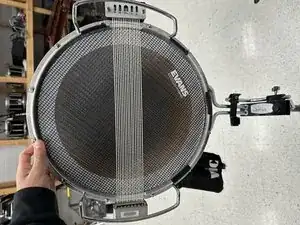
Pop the broken drum head off of the rim.
-
-
-
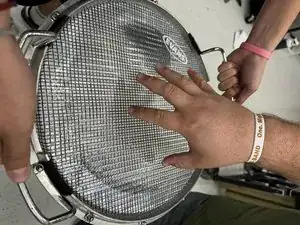
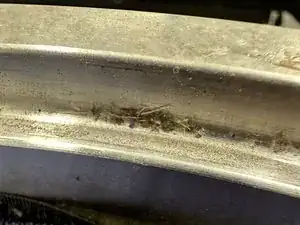
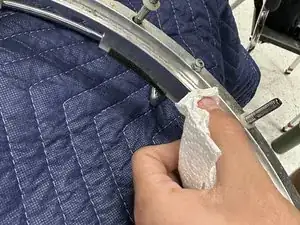
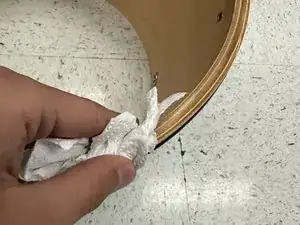
Use your microfibre cloth or paper towels to clean any debris from the removed rim of the drum.
-
-
-
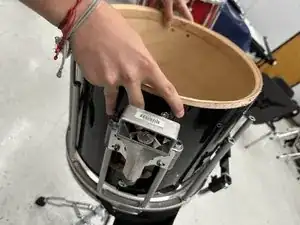
Remove the shell of the drum from the top head by pulling it off with your hands.
-
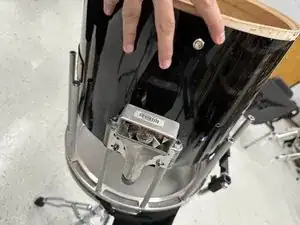
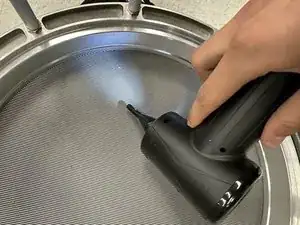
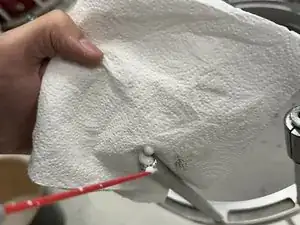
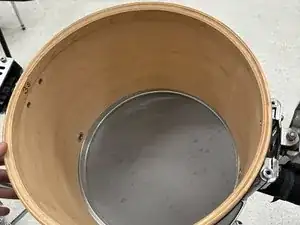
Use a paper towel or cloth to clean the interior of the shell.
-
-
-
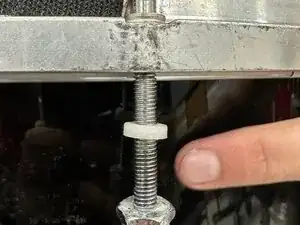
Carefully apply a small amount of white lithium grease making sure to only lightly coat the inside of the screw hole.
-
-
-
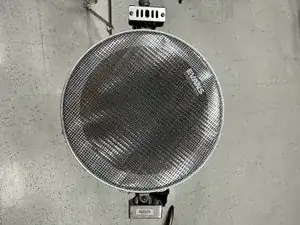
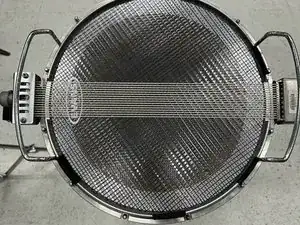
Place the new head on the shell as shown, and then place the rim back over it aligning the lugs over the screw holes.
-
-
-
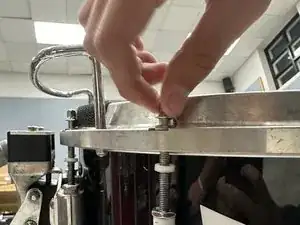
Hand tighten each of the lugs while pushing down in order to get them to bite into the threads so that you can begin to tighten with the T key.
-
-
-
Retighten each of the lugs slowly in a star pattern once again until they are completely tightened again.
-
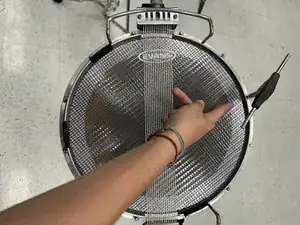
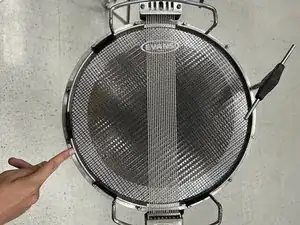
Check the tuning by flicking the head around each of the lugs to ensure they all produce the same pitch.
-
-
-
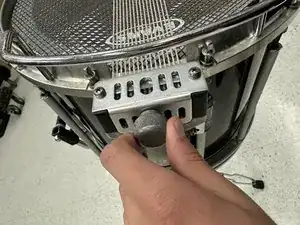
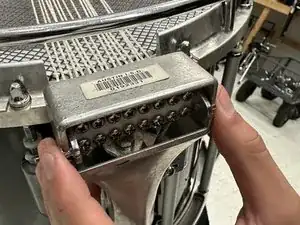
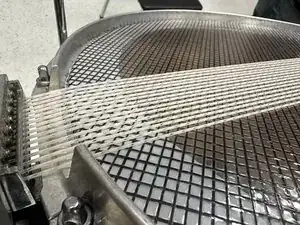
Place the snare guts back into their original place by sliding them back into the slot as shown and screwing them in at the end with the knob.
-
-
-
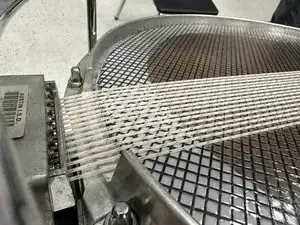
Ensure that the snare guts are tight enough by making sure that they completely hug the edges of the head as shown by tightening the knob underneath the guts.
-