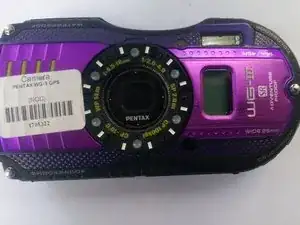
Introduzione

  1. OqNdxN3ThKdHO4q1
    OqNdxN3ThKdHO4q1
    wgjZE15ceNdPlCJ2
    23NUsQR4XTphoZmx
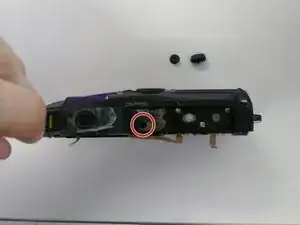
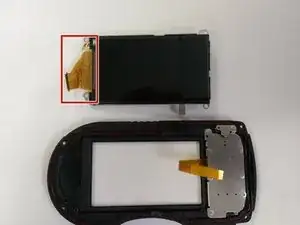
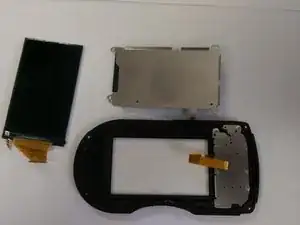
    • Using a Philips screwdriver (PH00), remove the 6, 5 mm screws, 4 on each corner and 2 on the sides of the device.

    • One of the side screws is hidden under the top lining of the device.The lining is glued down to the device, you will have to peel the lining back using tweezers. After you are finished with your work you will have to use glue or adhesive to re-stick the lining back to the device.

  2. hrGVEfaVEPtekMiY
    • With the small plastic pry tool lift the back of the camera off carefully.

    • Be aware of a few flex cables that connect the mother board to the screen.

    • Open the devices slowly and disconnect the flex cables. When the flex cables have been disconnected you can take the device apart.

  3. OSCAblHkoOILFhO4
    • Remove the 4, 2 mm screws from each corner of the metal screen cover.

    • The larger metal piece is the side the screen is on.

    • Be aware of a detachable metal separator under the top left screw.

  4. tyVE3n1oqZ6ODlSm
    tyVE3n1oqZ6ODlSm
    lJmKEtxoJuJdpK4R
    • Detach flex cable and replace screen component.

Conclusione

To reassemble your device, follow these instructions in reverse order.

Allison Merdian

Membro da: 05/03/15

422 Reputazione

Un commento

Any idea where you can buy the replacement screen from? I’m not having any luck finding one. Thank you!

jztmail-1989 -